Moist Red Velvet Layer Cake With Whipped Cream Frosting Recipe
Say goodbye to dry cake! This recipe creates the most velvety, melt-in-your-mouth red velvet layers you have ever tasted, topped with a dreamy, cloud-like whipped cream frosting that balances the sweetness perfectly.
30 Minutes
30 Minutes
1 Hour 30 Minutes
12 Servings
Dessert
Baking
American
Vegetarian
Hey there, lovely mamas! Welcome back to my kitchen. Today, we are tackling a classic that holds a very special place in my heart: Red Velvet Cake. But wait, this isn’t just any red velvet cake. You know how sometimes you go to a bakery and the red velvet looks gorgeous but tastes a bit… dry? Or maybe the traditional cream cheese frosting is just a little too heavy and sweet for your liking? Well, I have found the solution, and I am so excited to share it with you!
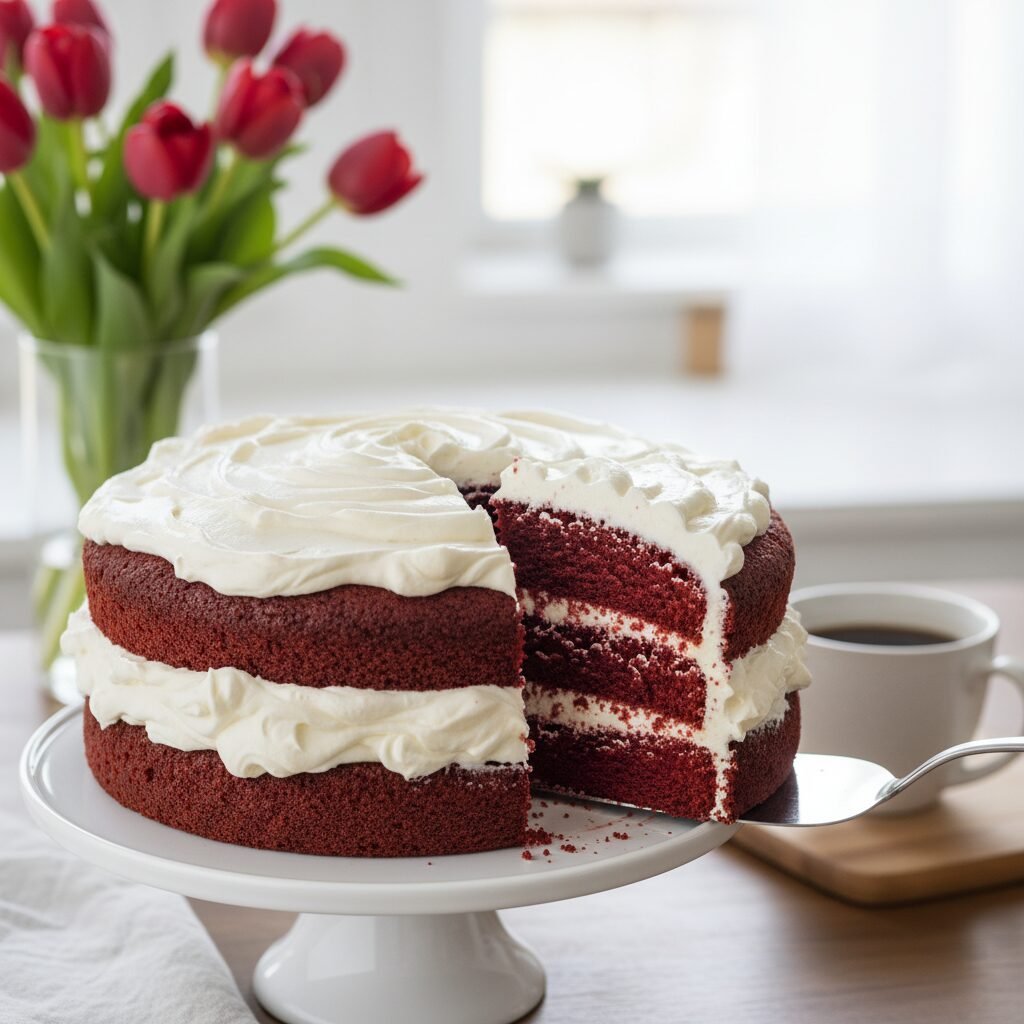
Imagine sinking your fork into a layer of cake that is incredibly moist, tender, and has that signature hint of cocoa and vanilla, but instead of being weighed down by a heavy frosting, it is enveloped in a fluffy, ethereal whipped cream topping. It is like eating a red velvet cloud! I started making this version for my daughter’s winter birthday a few years ago because she wanted something ‘fancy but not too sweet,’ and let me tell you, it was an instant hit. The plate was licked clean!
This recipe is all about balance. The oil-based batter ensures the cake stays soft for days (if it lasts that long!), and the whipped cream frosting—stabilized with a secret ingredient—holds up beautifully between the layers. Whether you are baking for Valentine’s Day, Christmas, or just a Tuesday night treat because you deserve it, this cake is guaranteed to impress without the stress. So, grab your apron and let’s bake some magic!
History & Origins
Red Velvet Cake has a fascinating and somewhat mysterious history that dates back to the Victorian era. Originally, the term ‘velvet’ was used to describe cakes with a soft, fine crumb, which was achieved by using almond flour, cornstarch, or cocoa. The red color, interestingly enough, wasn’t always from a bottle of food coloring. In the old days, raw cocoa powder processed with acidic ingredients like buttermilk and vinegar would create a chemical reaction revealing a reddish-brown hue in the chocolate. It was nature’s little magic trick!
The bright red version we know and love today became popularized during the Great Depression by the Adams Extract company to sell more food dyes and flavorings. It later became a signature dessert at the famous Waldorf-Astoria Hotel in New York City. While the traditional Southern style often pairs it with a cooked flour frosting (Ermine frosting) or cream cheese frosting, our twist today uses a stabilized whipped cream. This modern adaptation pays homage to the cake’s light, velvety texture while offering a fresher, less cloying finish that is perfect for modern palates.
Why This Recipe Works
So, why is this recipe foolproof? It all comes down to the science of moisture and acidity. First, we use vegetable oil instead of butter. While butter adds flavor, oil coats the flour proteins better, preventing gluten formation and keeping the cake incredibly moist and tender even after refrigeration. Since red velvet has a mild chocolate flavor, the oil allows the cocoa and vanilla notes to shine through without competition.
Secondly, the combination of buttermilk, vinegar, and baking soda is non-negotiable. This acidic trio not only helps tenderize the crumb but also provides the leavening power that gives the cake its lift. The reaction between the vinegar and the baking soda creates bubbles that make the cake fluffy. Finally, for the frosting, we use a stabilized whipped cream containing mascarpone cheese. Regular whipped cream can deflate or weep over time, but adding a bit of mascarpone adds structure and a rich, creamy taste that mimics the tang of cream cheese without the heaviness. It holds the layers up perfectly!
Why You’ll Love This Recipe
- ✓Incredibly moist texture thanks to the oil and buttermilk method
- ✓Vibrant red color that stays bright after baking
- ✓Light and airy stabilized whipped cream frosting
- ✓Perfect balance of mild cocoa and sweet vanilla flavors
- ✓Sturdy enough to stack but melts in your mouth
- ✓Crowd-pleaser for holidays and birthdays
Equipment You’ll Need
- ✓Two 9-inch round cake pans
- ✓Electric stand mixer or hand mixer
- ✓Large mixing bowls
- ✓Whisk
- ✓Sifter or fine-mesh sieve
- ✓Parchment paper
- ✓Offset spatula
- ✓Wire cooling rack
Ingredients
- ✓2 1/2 cups Cake flour (sifted)
- ✓1 1/2 cups Granulated sugar
- ✓1 teaspoon Baking soda
- ✓1 teaspoon Cocoa powder (unsweetened)
- ✓1 teaspoon Salt
- ✓2 large Eggs (room temperature)
- ✓1 1/2 cups Vegetable oil (or canola oil)
- ✓1 cup Buttermilk (room temperature)
- ✓1 teaspoon White vinegar
- ✓1 teaspoon Vanilla extract
- ✓1-2 tablespoons Red food coloring (liquid or gel)
- ✓2 cups Heavy whipping cream (cold)
- ✓1/2 cup Powdered sugar
- ✓8 oz Mascarpone cheese (cold, strictly for stabilizing)
- ✓1 teaspoon Pure vanilla extract (for frosting)
Instructions
- Step 1: Prep the Oven and Pans. Preheat your oven to 350°F (175°C). Grease two 9-inch round cake pans generously with butter or cooking spray. I always recommend lining the bottoms with parchment paper to ensure your beautiful layers come out perfectly intact. Dust the sides with a little flour and tap out the excess.
- Step 2: Mix Dry Ingredients. In a medium bowl, sift together the cake flour, baking soda, cocoa powder, and salt. Sifting is crucial here, mamas! It breaks up those cocoa lumps and ensures a smooth batter. Set this bowl aside.
- Step 3: Combine Wet Ingredients. In a large bowl (or your stand mixer bowl), whisk together the granulated sugar and vegetable oil until combined. Add the eggs one at a time, beating well after each addition. Then, stir in the buttermilk, vinegar, vanilla extract, and that vibrant red food coloring. Mix until the batter is a consistent, bright red color.
- Step 4: Create the Batter. Gradually add the dry ingredients to the wet ingredients in two or three batches. Mix on low speed just until the flour disappears. Be gentle! Overmixing leads to tough cake, and we want tender, velvety crumbs.
- Step 5: Bake. Divide the batter evenly between the two prepared cake pans. Tap the pans gently on the counter to release any large air bubbles. Bake for 28-32 minutes, or until a toothpick inserted into the center comes out clean or with just a few moist crumbs attached.
- Step 6: Cool. Remove the cakes from the oven and let them cool in the pans for about 10 minutes. Then, run a knife around the edges and invert them onto a wire rack to cool completely. They must be 100% cool before frosting, or your whipped cream will melt!
- Step 7: Make the Frosting. While the cakes cool, make the frosting. In a chilled bowl, whip the cold mascarpone cheese and powdered sugar until smooth (about 1 minute). Slowly pour in the cold heavy cream and vanilla while the mixer is running on low. Gradually increase speed to high and whip until stiff peaks form. Watch closely so you don’t turn it into butter!
- Step 8: Assemble. Place one cake layer on your serving platter. Spread a generous layer of the whipped cream frosting over the top. Place the second cake layer gently on top. Cover the top and sides of the cake with the remaining frosting. Use an offset spatula to make swirl patterns for that rustic, homemade look.
Expert Cooking Tips
- ✓Room Temperature Ingredients: Ensure your eggs and buttermilk are at room temperature. This helps them emulsify better with the oil, creating a smoother batter.
- ✓Don’t Skimp on the Red: If you want that classic deep red color, don’t be shy with the food coloring. The baking process can fade the color slightly.
- ✓Chill the Bowl: Before making the whipped cream, place your mixing bowl and beaters in the freezer for 10 minutes. Cold equipment equals fluffier whipped cream!
- ✓Cake Flour is Key: Use cake flour instead of all-purpose flour for a lighter, softer crumb. If you don’t have it, make your own by removing 2 tablespoons of AP flour per cup and replacing it with cornstarch.
Substitutions and Variations
If you don’t have buttermilk handy, you can make a quick substitute by adding 1 tablespoon of lemon juice or vinegar to a cup of regular milk and letting it sit for 5 minutes. For the mascarpone in the frosting, you can use full-fat cream cheese, but the flavor will be tangier. If you want to avoid red dye, you can use beet powder or beet juice, though the color will be more of a rusty brown-red rather than vibrant crimson.
Common Mistakes to Avoid
The most common mistake is overbaking. Red velvet can dry out quickly because of the cocoa powder. Start checking it at the 28-minute mark. Another oopsie is frosting a warm cake. Whipped cream is very sensitive to heat; if the cake is even slightly warm, your beautiful frosting will slide right off. Patience is a virtue here, ladies!
Serving Suggestions
This cake looks stunning when garnished with fresh berries like raspberries or strawberries to pop against the white frosting. You can also save the crumbs from leveling the cake layers and sprinkle them on top for a classic red velvet decoration. Serve it with a hot cup of coffee or a cold glass of milk.
Storage and Reheating Tips
Because of the whipped cream and mascarpone frosting, this cake must be stored in the refrigerator. Keep it in a cake carrier or cover it loosely with plastic wrap (once the frosting is set) for up to 4 days. Let slices sit at room temperature for 15 minutes before eating for the best texture. You can freeze the unfrosted cake layers for up to 3 months.
Nutrition Facts (Estimated)
| Serving Size | 1 Slice |
| Calories | 450 kcal |
| Fat | 28g |
| Saturated Fat | 12g |
| Unsaturated Fat | 14g |
| Trans Fat | 0g |
| Cholesterol | 65mg |
| Sodium | 280mg |
| Carbohydrates | 48g |
| Fiber | 1g |
| Sugar | 32g |
| Protein | 5g |
Frequently Asked Questions
Can I use butter instead of oil for the cake?
Technically yes, but I don’t recommend it. Oil keeps the cake much moister for longer. Butter adds flavor but can make the texture denser and drier in this specific recipe.
Why do I need vinegar in a cake recipe?
Vinegar reacts with the baking soda to create carbon dioxide gas, which helps the cake rise. It also helps preserve the red color of the anthocyanins in the cocoa powder.
My frosting is too runny, what happened?
You likely didn’t whip the cream long enough, or the ingredients weren’t cold enough. Mascarpone helps stabilize it, but ensure you whip until you see stiff peaks that hold their shape.
Can I make this into cupcakes?
Absolutely! This recipe will make about 24 standard cupcakes. Bake them for 18-22 minutes at the same temperature.
Is the mascarpone necessary?
It acts as a stabilizer. Without it, regular whipped cream might deflate after a few hours. You can use cream cheese or a packet of whip stabilizer if you prefer.
Can I use natural food coloring?
Yes, there are natural red dyes available, or you can use beet juice. Just be aware the color won’t be as neon-bright as artificial dye.
How do I get the frosting smooth?
Use an offset spatula and run it under hot water (then dry it) to smooth the final layer. However, I love the swoopy, rustic look for this home-style cake!
Can I freeze the frosted cake?
Freezing whipped cream frosting can be tricky as it might separate when thawing. It is best to freeze the cake layers separately and frost fresh.
Conclusion
There you have it, friends! A Red Velvet Cake that is actually moist and a frosting that feels like a hug. I hope this recipe becomes a staple in your home just like it is in mine. It is truly the perfect way to show someone you love them—through the stomach! If you make this, please tag me in your photos; I absolutely love seeing your creations. Happy baking!

