Moist Red Velvet Layer Cake For Valentines Day Recipe
If you are looking for the way to someone’s heart, this is it! This Red Velvet Cake is impossibly soft, vibrant red, and smothered in the silkiest cream cheese frosting you have ever tasted.
45 minutes
35 minutes
1 hour 20 minutes
12-14 Servings
Dessert
Baking
American
Vegetarian
Hey there, lovely mamas and baking enthusiasts! Valentine’s Day is just around the corner, and let’s be honest—nothing says “I love you” quite like a homemade dessert. Sure, chocolates and flowers are nice, but a tall, dramatic, ruby-red slice of cake made from scratch? That is a whole new language of love.
I used to be so intimidated by Red Velvet. Is it chocolate? Is it vanilla? Why is it red? For the longest time, I relied on box mixes, but I always felt they lacked that dense, velvety texture you get from a high-end bakery. After years of testing (and tasting—it’s a tough job, but someone has to do it!), I have finally cracked the code. This isn’t just a cake; it is an experience. It is moist, tender, and has that signature subtle chocolate tang that pairs perfectly with sweet, creamy frosting.
Whether you are baking for your hubby, treating your kids to a special ‘red dessert,’ or hosting a Galentine’s party, this recipe is a showstopper. It holds up beautifully, slices cleanly, and honestly tastes even better the next day. So, grab your aprons, put on a romantic playlist, and let’s bake some magic!
History & Origins
Red Velvet cake has such a fascinating and slightly mysterious history! While many people think it’s just chocolate cake with food coloring, its origins go back to the Victorian era. The term “Velvet” was actually used to describe cakes with a soft, velvety crumb, distinguishing them from the coarser sponge cakes of the time.
Originally, the reddish hue wasn’t from a bottle of dye. In the early 20th century, unprocessed cocoa powder would react with the acidic ingredients like buttermilk and vinegar, revealing a natural reddish-brown tint. During the Great Depression and World War II, when foods were rationed, bakers began using boiled beet juices to enhance the color and keep the cakes moist.
However, the vibrant neon red we know and love today really took off thanks to the Adams Extract company in Texas, which popularized the use of red food dye in the 1930s to sell more extracts. Later, the Waldorf-Astoria Hotel in New York claimed the cake as its signature dessert, cementing its status as a symbol of luxury and indulgence. Today, it is the quintessential Valentine’s Day treat!
Why This Recipe Works
There is actually some really cool science happening in your mixing bowl with this recipe! The secret to that signature “velvet” texture lies in the interaction between the acidic ingredients and the leavening agents. We use buttermilk and white vinegar, which react with the baking soda. This reaction creates tiny bubbles that fluff up the cake, while the acid tenderizes the gluten in the flour.
Another key to success here is using oil instead of butter for the cake batter. While I love butter for flavor, oil is superior for retaining moisture. Because oil remains liquid at room temperature, it ensures your cake stays soft and moist for days, whereas butter-based cakes can dry out faster. Finally, we use a specific amount of cocoa powder—enough to give a hint of flavor and that slightly earthy depth, but not so much that it becomes a chocolate cake. It is a delicate balance that makes Red Velvet unique!
Why You’ll Love This Recipe
- ✓Incredibly moist texture that stays soft for days
- ✓Vibrant, romantic red color perfect for Valentine’s Day
- ✓Tangy, classic cream cheese frosting that isn’t too sweet
- ✓Stable structure that makes it easy to stack and frost
- ✓No fancy equipment needed—just standard bowls and pans
- ✓Can be made ahead of time for stress-free entertaining
Equipment You’ll Need
- ✓Three 8-inch round cake pans
- ✓Stand mixer or handheld electric mixer
- ✓Large mixing bowls
- ✓Wire cooling racks
- ✓Parchment paper
- ✓Off-set spatula for frosting
- ✓Measuring cups and spoons
- ✓Sifter or fine-mesh sieve
Ingredients
- ✓For the Cake:
- ✓2 1/2 cups cake flour (spooned and leveled)
- ✓1 1/2 cups granulated sugar
- ✓1 teaspoon baking soda
- ✓1 teaspoon salt
- ✓1 teaspoon cocoa powder (unsweetened)
- ✓1 1/2 cups vegetable oil
- ✓1 cup buttermilk, room temperature
- ✓2 large eggs, room temperature
- ✓2 tablespoons red food coloring (gel is best)
- ✓1 teaspoon white distilled vinegar
- ✓1 teaspoon pure vanilla extract
- ✓For the Cream Cheese Frosting:
- ✓16 oz (2 blocks) full-fat cream cheese, softened
- ✓1 cup (2 sticks) unsalted butter, softened
- ✓4-5 cups powdered sugar, sifted
- ✓1 tablespoon heavy cream or milk
- ✓2 teaspoons pure vanilla extract
- ✓Pinch of salt
Instructions
- Step 1: Prep and Preheat. Preheat your oven to 350°F (175°C). Grease three 8-inch round cake pans with butter or cooking spray. Line the bottoms with parchment paper circles to guarantee easy removal later. This step is a lifesaver, trust me!
- Step 2: Mix Dry Ingredients. In a medium bowl, sift together the cake flour, sugar, baking soda, salt, and cocoa powder. Sifting is crucial here to ensure there are no lumps of cocoa or soda, giving you that smooth velvet texture.
- Step 3: Combine Wet Ingredients. In a large bowl (or your stand mixer bowl), mix the vegetable oil, buttermilk, eggs, food coloring, vinegar, and vanilla extract. Whisk vigorously until everything is fully combined and the mixture is a bright, vibrant red.
- Step 4: Make the Batter. Slowly add the dry ingredients to the wet ingredients. Mix on low speed just until combined. Do not overmix! Stop as soon as the flour streaks disappear. Overmixing leads to a tough cake.
- Step 5: Bake. Divide the batter evenly among the three prepared pans. I like to use a kitchen scale to make sure the layers are perfectly even. Bake for 30-35 minutes, or until a toothpick inserted into the center comes out clean or with just a few moist crumbs. Be careful not to overbake.
- Step 6: Cool. Remove cakes from the oven and let them cool in the pans for about 10 minutes. Then, gently run a knife around the edges and invert them onto a wire rack to cool completely. They must be 100% cool before frosting, or your frosting will slide right off!
- Step 7: Make the Frosting. In a large bowl using a handheld or stand mixer, beat the softened cream cheese and butter together on high speed until smooth and creamy (about 3 minutes). Add the vanilla and salt. Gradually add the powdered sugar, one cup at a time, beating on low speed. Once incorporated, switch to high speed and beat for 2 minutes until fluffy. Add a splash of heavy cream if it’s too stiff.
- Step 8: Assemble. Place one cake layer on your serving stand. Spread a generous layer of frosting over the top. Repeat with the second and third layers. Use the remaining frosting to cover the top and sides of the cake. Decorate with sprinkles, cake crumbs, or piped rosettes!
Expert Cooking Tips
- ✓Room Temperature is Key: Ensure your eggs, buttermilk, cream cheese, and butter are all at room temperature. This helps them emulsify properly, creating a smoother batter and frosting.
- ✓Don’t Skimp on the Dye: If you want that bakery-style bright red, you need to use a good amount of coloring. Gel food coloring works best as it is more concentrated and adds less liquid to the batter.
- ✓Cake Flour Substitute: If you don’t have cake flour, you can make your own! For every cup of all-purpose flour, remove 2 tablespoons of flour and replace it with 2 tablespoons of cornstarch. Sift 3 times.
- ✓Crumb Coat: To get a professional look, apply a thin layer of frosting all over the cake first (the crumb coat) and chill it for 20 minutes. This seals in the red crumbs so they don’t streak your final white layer of frosting.
Substitutions and Variations
We all have those moments where we are missing one ingredient! Here are some swaps that work perfectly:
- Buttermilk: Add 1 tablespoon of lemon juice or white vinegar to a cup of regular milk and let it sit for 5 minutes until it curdles.
- Vegetable Oil: Canola oil or melted coconut oil works well too. I don’t recommend olive oil as the flavor is too strong.
- Cream Cheese Frosting: If you aren’t a fan of cream cheese, a classic vanilla buttercream or a cooked flour frosting (Ermine frosting) is delicious and traditional too.
- Natural Coloring: If you want to avoid artificial dyes, you can use beet powder or reduced beet juice, though the color will be more of a deep maroon than a bright red.
Common Mistakes to Avoid
The biggest mistake I see is overbaking. Red velvet dries out faster than chocolate cake because of the cocoa powder. Start checking your cake at the 28-minute mark. Another common mishap is frosting a warm cake. I know it smells amazing and you want to eat it now, but patience is a virtue! If the cake is even slightly warm, the butter in the frosting will melt, and you will have a sad, sliding mess.
Serving Suggestions
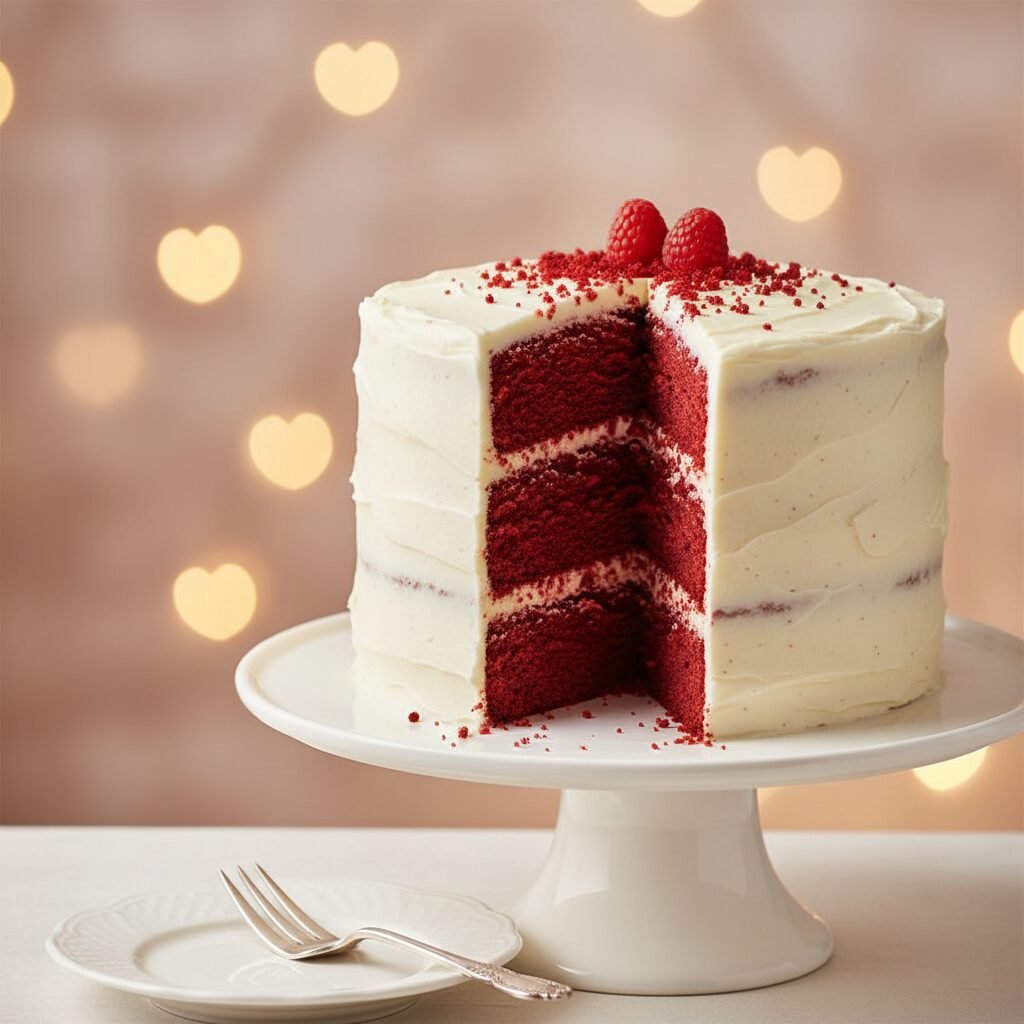
For Valentine’s Day, I love serving this on a crisp white platter to let the red color pop. A few fresh raspberries or strawberries on top adds a lovely fresh element. If you are feeling fancy, shave some dark chocolate curls over the top or sprinkle some red velvet crumbs (save the trimmings when you level the cakes!) around the base. Serve with a glass of cold milk or a glass of champagne for the adults!
Storage and Reheating Tips
Because of the cream cheese frosting, this cake needs to be refrigerated. However, cold cake can be a bit dense. I recommend taking the cake (or slices) out of the fridge about 30 minutes to an hour before serving to let it come to room temperature for the best texture. It will keep in the fridge for up to 5 days. You can also freeze individual slices wrapped tightly in plastic wrap for up to 2 months.
Nutrition Facts (Estimated)
| Serving Size | 1 Slice |
| Calories | 650 |
| Fat | 38g |
| Saturated Fat | 14g |
| Unsaturated Fat | 22g |
| Trans Fat | 0.5g |
| Cholesterol | 85mg |
| Sodium | 380mg |
| Carbohydrates | 72g |
| Fiber | 2g |
| Sugar | 45g |
| Protein | 6g |
Frequently Asked Questions
Can I make this cake ahead of time?
Absolutely! In fact, I think the flavor improves after sitting for a day. You can bake the layers, wrap them tightly in plastic, and freeze them. Or, assemble the whole cake and keep it in the fridge for up to 2 days before serving.
Why is my red velvet cake dry?
It was likely overbaked or you measured the flour incorrectly. Always spoon and level your flour rather than scooping the cup directly into the bag, which packs it down.
Can I use all-purpose flour instead of cake flour?
You can, but the texture won’t be as fine or tender. Cake flour has less protein, which means less gluten formation. If using all-purpose, use slightly less (remove about 2 tablespoons per cup).
Can I turn this recipe into cupcakes?
Yes! This recipe makes about 24-30 standard cupcakes. Bake them for 18-22 minutes at 350°F.
Do I really need the vinegar?
Yes, do not skip it! The vinegar is essential for activating the baking soda (giving the cake lift) and preserving the red color.
Can I use butter instead of oil for the cake?
You can use melted butter, but the cake will not be as moist. Oil coats the flour proteins better, preventing gluten formation and keeping the cake tender.
How do I get the frosting so white?
Beat the butter for a good 5 minutes before adding anything else to make it pale. Also, use clear vanilla extract if you want it stark white, though regular vanilla adds better flavor.
What if I don’t have three cake pans?
You can bake in two pans (cooking time will increase slightly) for thicker layers, or bake in batches. Just keep the batter at room temperature while the first batch bakes.
Conclusion
There you have it, friends! The ultimate Red Velvet Cake recipe that is sure to make your Valentine’s Day extra sweet. It is rich, dramatic, and undeniably delicious. I hope this cake brings as much joy to your family as it does to mine. Don’t forget to snap a picture before you devour it—it is too pretty not to share! Happy baking!

