Moist Red Velvet Layer Cake For Small Celebration Recipe
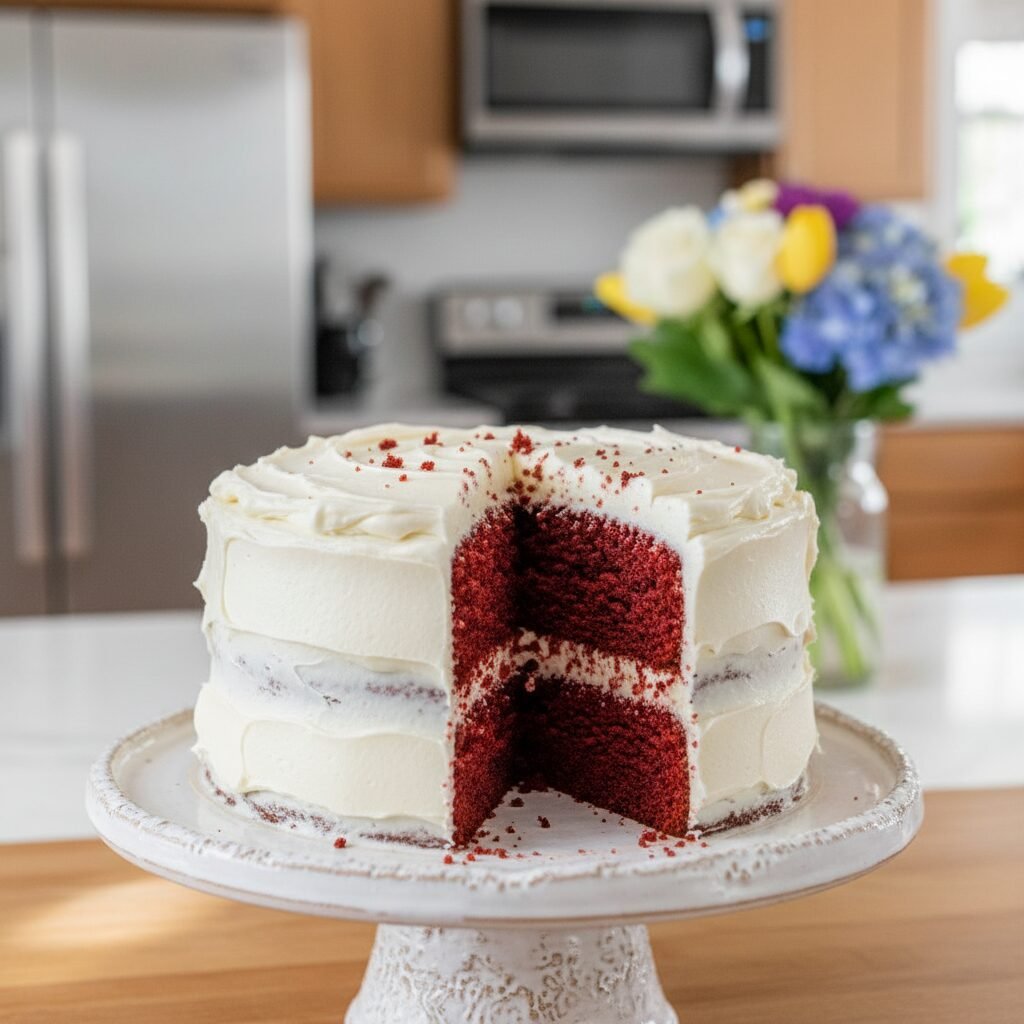
This isn’t just a chocolate cake disguised in red; it’s a velvety, tender, and perfectly tangy masterpiece scaled down for smaller gatherings. Topped with a luscious cream cheese frosting, this 6-inch layer cake is the ultimate way to say ‘I love you’ without having leftovers for weeks.
30 mins
25 mins
2 hrs
1 6-inch Cake (6-8 Slices)
Dessert
Baking
American
Vegetarian
Hey there, lovely mamas and baking enthusiasts! Let’s talk about celebrations. We often think that to celebrate, we need a massive three-tier cake that feeds a village. But honestly? Some of my favorite memories are the quiet ones. A first birthday smash cake, a cozy anniversary dinner at home after the kids are asleep, or just a Tuesday night where we decided we deserved something fancy. That is exactly where this Moist Red Velvet Layer Cake for Small Celebrations comes in.
Red velvet is one of those enigmatic flavors that feels incredibly sophisticated yet comforting. It’s not quite vanilla, not quite chocolate, but something magical in between. The texture is distinct—truly smooth like velvet—and that vibrant red hue just screams ‘party!’
I specifically developed this recipe for a 6-inch cake pan because, let’s face it, sometimes a standard 9-inch cake is just too much cake. This recipe yields a tall, elegant, bakery-style cake that serves about 6 to 8 people perfectly. It is incredibly moist (thanks to a secret weapon ingredient!), holds up beautifully to stacking, and is slathered in the most heavenly, not-too-sweet cream cheese frosting you will ever taste. So, grab your aprons, because we are about to bake a little slice of heaven!
History & Origins
Have you ever wondered where this dramatic cake comes from? It’s actually a bit of a culinary history mystery! There is a popular myth that it started at the Waldorf Astoria in New York, but the roots go a bit deeper. Originally, in the Victorian era, ‘velvet’ cakes were simply cakes with a very fine crumb, achieved by using almond flour or cornstarch to break down the protein in the flour.
The ‘red’ part is where science comes in! Before Dutch-processed cocoa was the norm, cocoa powder was more acidic. When that raw cocoa mixed with acidic ingredients like buttermilk and vinegar, it created a chemical reaction that revealed a reddish-brown hue. During the Great Depression and WWII, when ingredients were rationed, bakers used beet juice to keep cakes moist and enhance the color. Later, the Adams Extract company popularized the bright red food dye version we know and love today to sell more food coloring and extracts. So, when you bake this, you are partaking in a delicious evolution of American baking history!
Why This Recipe Works
Alright, let’s put on our science goggles for a second—don’t worry, I’ll keep it simple! You might be asking, ‘Why can’t I just dye a vanilla cake red?’ You could, but it wouldn’t have that signature flavor or texture. This recipe works because of the acid-base reaction.
We use both buttermilk and white vinegar in this batter. This acidity reacts with the baking soda (the base) to create carbon dioxide bubbles, which gives the cake a tremendous lift and a super tender, airy structure. This acidity also does two other things: it tenderizes the gluten in the flour, preventing the cake from becoming tough, and it adds that subtle, signature tang that cuts through the sweetness.
Furthermore, I use oil instead of butter for the cake batter. While I love butter, oil is superior for cakes that you want to stay moist for days. Oil remains liquid at room temperature (and in the fridge), meaning your cake won’t dry out or harden as quickly as a butter-based cake might. The result is a crumb that is plush, soft, and literally melts in your mouth.
Why You’ll Love This Recipe
- ✓Perfect 6-inch size for small families or intimate parties.
- ✓Uses oil for superior moisture that lasts for days.
- ✓Classic tangy cream cheese frosting that is stable enough to pipe.
- ✓No fancy mixer required for the cake batter—just two bowls!
- ✓Beautiful vibrant red color without affecting the taste.
- ✓Ideal balance of chocolate and vanilla flavors.
Equipment You’ll Need
- ✓Two 6-inch round cake pans
- ✓Parchment paper
- ✓Large mixing bowl
- ✓Medium mixing bowl
- ✓Whisk
- ✓Rubber spatula
- ✓Wire cooling rack
- ✓Offset spatula for frosting
- ✓Electric hand mixer or stand mixer (for frosting)
Ingredients
- ✓For the Cake:
- ✓1 1/4 cups All-Purpose Flour
- ✓1/4 cup Unsweetened Cocoa Powder (not Dutch-processed)
- ✓3/4 cup Granulated Sugar
- ✓1/2 tsp Baking Soda
- ✓1/4 tsp Fine Sea Salt
- ✓1 large Egg (room temperature)
- ✓1/2 cup Vegetable Oil (or Canola oil)
- ✓1/2 cup Buttermilk (room temperature)
- ✓1 tsp Pure Vanilla Extract
- ✓1 tbsp Red Gel Food Coloring (or 2 tbsp liquid)
- ✓1/2 tsp Distilled White Vinegar
- ✓For the Cream Cheese Frosting:
- ✓8 oz Full-Fat Cream Cheese (block style, softened)
- ✓1/4 cup Unsalted Butter (softened)
- ✓2 cups Powdered Sugar (sifted)
- ✓1 tsp Vanilla Extract
- ✓Pinch of salt
Instructions
- Prep the Oven and Pans: Preheat your oven to 350°F (175°C). Grease two 6-inch round cake pans with butter or cooking spray. Line the bottoms with parchment paper circles and grease the paper. Dust with a little cocoa powder or flour and tap out the excess.
- Whisk Dry Ingredients: In a large bowl, sift together the flour, cocoa powder, baking soda, and salt. Sifting is crucial here to ensure there are no lumps of cocoa in your beautiful red cake! Whisk in the granulated sugar.
- Mix Wet Ingredients: In a separate medium bowl, whisk together the egg, vegetable oil, buttermilk, vanilla extract, red food coloring, and white vinegar. Whisk vigorously until the mixture is fully emulsified and bright red.
- Combine: Pour the wet ingredients into the dry ingredients. Using a rubber spatula, gently fold the mixture together just until the flour streaks disappear. Do not overmix, or the cake will be dense instead of velvety.
- Bake: Divide the batter evenly between the two prepared pans. Bake for 23-28 minutes, or until a toothpick inserted into the center comes out clean or with just a few moist crumbs attached. Be careful not to overbake.
- Cool: Let the cakes cool in the pans for about 10 minutes. Then, run a knife around the edges and invert them onto a wire rack to cool completely before frosting. If you try to frost a warm cake, your icing will melt into a sad puddle!
- Make the Frosting: In a large bowl using a hand mixer (or stand mixer), beat the softened cream cheese and butter together until completely smooth and creamy (about 2-3 minutes).
- Finish Frosting: Gradually add the powdered sugar, about 1/2 cup at a time, beating on low speed until incorporated. Add the vanilla and salt, then increase speed to medium-high and whip for 2 minutes until fluffy and white.
- Assemble: If your cake layers have domed tops, trim them flat with a serrated knife. Place one layer on your serving plate. Spread a generous layer of frosting on top. Place the second cake layer upside down (so the flat bottom is on top) over the frosting. Cover the top and sides with the remaining frosting. Decorate with sprinkles or cake crumbs if desired!
Expert Cooking Tips
- ✓Room Temperature is Key: Ensure your egg, buttermilk, cream cheese, and butter are all at room temperature. This ensures they emulsify properly for a smooth batter and frosting.
- ✓Don’t Skip the Vinegar: It might seem odd to add vinegar to a cake, but it activates the baking soda and preserves the red color.
- ✓Gel vs. Liquid Color: I recommend gel food coloring because it is more concentrated. You get a vibrant color without adding too much extra liquid to the batter.
- ✓Crumb Coat: Red velvet crumbs are dark and can mess up your white frosting. Apply a thin layer of frosting first (the crumb coat), chill for 20 minutes, then apply the final thick layer of frosting.
Substitutions and Variations
If you don’t have buttermilk, you can make a quick substitute by adding 1.5 teaspoons of lemon juice or white vinegar to a measuring cup and filling it to the 1/2 cup line with whole milk. Let it sit for 5 minutes until it curdles. For a natural dye option, you can use beet powder, though keep in mind it may alter the flavor slightly to be earthier. If you only have Dutch-processed cocoa, replace the baking soda with baking powder to ensure the cake still rises, though the color might be a darker, moodier red.
Common Mistakes to Avoid
The biggest mistake with red velvet is overbaking. Because the cake is dark red, it’s hard to see it browning. Trust your timer and the toothpick test. Another common issue is cold cream cheese. If your cream cheese is cold when you start mixing the frosting, you will end up with tiny lumps that are impossible to whip out later. Patience is a virtue—let it sit on the counter for an hour!
Serving Suggestions
This cake is stunning on its own, but you can dress it up for the occasion! For Valentine’s Day, top with fresh raspberries or chocolate shavings. For a birthday, colorful sprinkles pop beautifully against the white frosting. Serve it with a cold glass of milk or a hot cup of coffee to balance the sweetness.
Storage and Reheating Tips
Because of the cream cheese frosting, this cake should be stored in the refrigerator. It will keep in an airtight container for up to 5 days. However, cold cake can be a bit firm (because of the butter in the frosting). I highly recommend letting the slice sit at room temperature for 15-20 minutes before eating to get that soft, velvety texture back. You can also freeze the unfrosted cake layers for up to 2 months wrapped tightly in plastic wrap.
Nutrition Facts (Estimated)
| Serving Size | 1 Slice |
| Calories | 480 kcal |
| Fat | 28g |
| Saturated Fat | 10g |
| Unsaturated Fat | 16g |
| Trans Fat | 0g |
| Cholesterol | 65mg |
| Sodium | 210mg |
| Carbohydrates | 54g |
| Fiber | 1g |
| Sugar | 38g |
| Protein | 4g |
Frequently Asked Questions
Can I make this into cupcakes?
Absolutely! This recipe will make about 6-8 standard cupcakes. Reduce the baking time to 18-20 minutes.
Does it taste like chocolate cake?
Not exactly. It has a mild chocolate flavor, but it’s much lighter than a devil’s food cake. It’s more of a vanilla-chocolate hybrid with a distinct tang.
Can I double this recipe for a 9-inch cake?
Yes, doubling the ingredients works perfectly for two 8-inch or 9-inch pans. You will just need to increase the baking time to about 30-35 minutes.
Why did my cake turn out brown instead of red?
This usually happens if you use too much baking soda or Dutch-processed cocoa without enough food coloring. The pH balance affects the color.
Can I use butter instead of oil in the batter?
You can, but I don’t recommend it for red velvet. Oil provides a superior moist texture that characterizes this specific type of cake.
Do I have to use cake flour?
No, this recipe is designed for All-Purpose flour. It’s sturdy enough to hold the structure but the vinegar keeps it tender.
My frosting is too runny, what do I do?
This happens if the butter was melted rather than softened, or the kitchen is too hot. Add more powdered sugar or chill the frosting bowl for 20 minutes and whip again.
Can I leave this cake out overnight?
I wouldn’t recommend it. The cream cheese in the frosting is perishable. It’s safe at room temp for a few hours during a party, but store it in the fridge overnight.
Conclusion
And there you have it, friends! A perfectly portioned, incredibly moist, and visually stunning Red Velvet Cake that proves good things really do come in small packages. Whether you are celebrating a milestone or just celebrating making it through the week, this cake is a hug in edible form. I hope this recipe brings a little extra joy and sweetness to your kitchen. Don’t forget to tag me in your photos on Pinterest and Instagram—I love seeing your beautiful creations!

