Moist Red Velvet Sheet Cake For Valentines Day Recipe
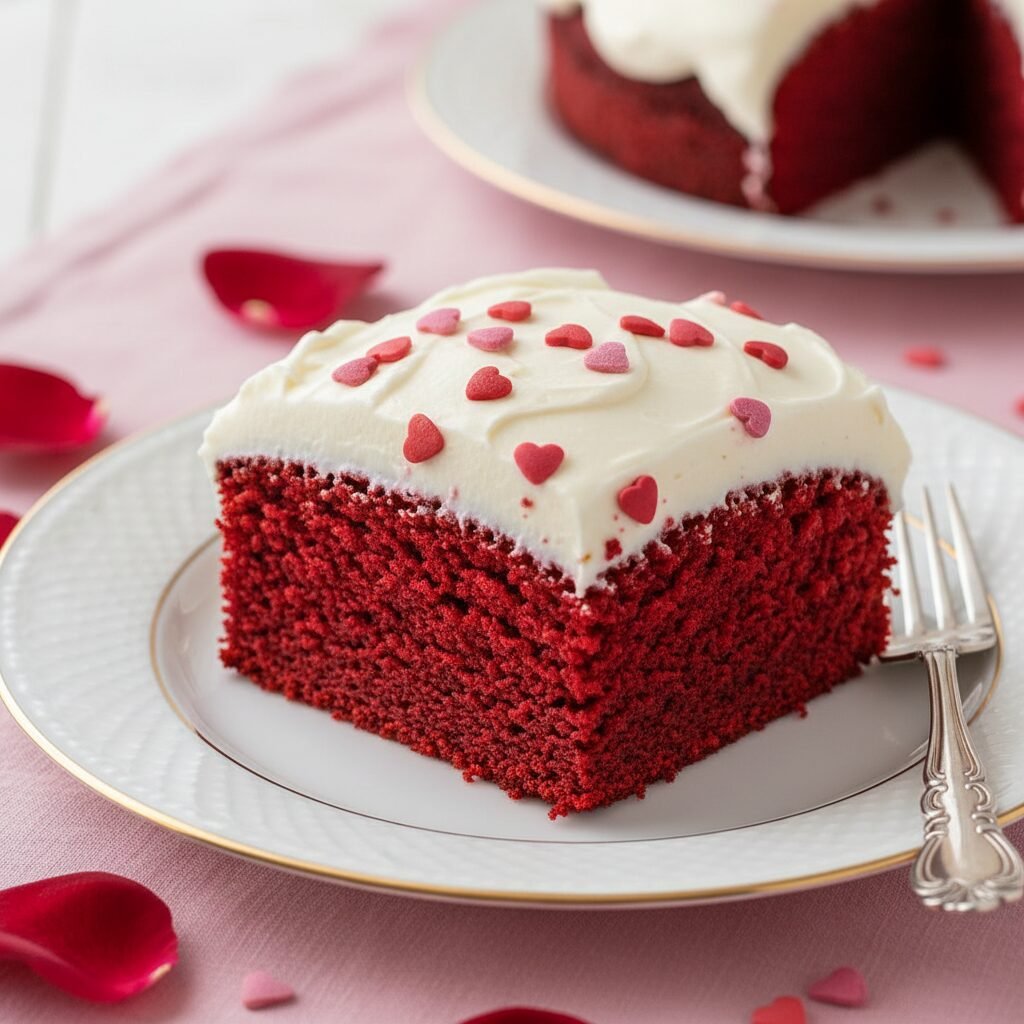
If you are looking for the way to your family’s heart this Valentine’s Day, this Red Velvet Sheet Cake is the secret key! It is impossibly soft, vibrant red, and slathered in the most decadent cream cheese frosting you will ever taste. Best of all, it feeds a crowd without the fuss of stacking layers!
20 minutes
30 minutes
50 minutes (plus cooling)
24 squares
Dessert
Baking
American
Vegetarian
Let’s be real for a second, mamas. Valentine’s Day can be a bit of a whirlwind. Between getting the kids’ classroom cards ready, planning a nice dinner for the hubby, and trying to keep the house from looking like a tornado hit it, baking a complicated three-tier layer cake is often the last thing on our to-do list. But we still want that wow factor, right? We want that dessert that makes everyone stop, take a bite, and just say, "Mmm."
Enter the Red Velvet Sheet Cake. This is my absolute go-to recipe when I want all the romance and drama of a classic red velvet cake but with zero stress. There is no leveling of cake layers, no crumb coating, and no sliding tiers. You just bake it in a trusty 9×13 pan, spread that luscious cream cheese frosting right on top, and add some cute sprinkles. It is rustic, homemade perfection.
What makes this specific recipe a keeper is the texture. We are talking about a crumb so tender it practically melts in your mouth. It has that signature subtle chocolate flavor—not too rich, but just enough to satisfy a craving—paired perfectly with the tang of buttermilk and cream cheese. Whether you are hosting a Galentine’s brunch or just treating your little loves after school, this cake is pure magic on a plate.
History & Origins
Have you ever wondered why Red Velvet is, well, red? It is actually a fascinating little slice of culinary history! Back in the Victorian era, "velvet" cakes were a thing, named for their smooth, soft texture. When bakers started adding cocoa powder to these cakes, a chemical reaction occurred. The natural cocoa powder back then contained anthocyanins, and when mixed with acidic ingredients like buttermilk and vinegar, the batter turned a reddish-brown hue.
However, the vibrant, stop-sign red we know and love today has a more modern origin. During the Great Depression, an extract company called Adams Extract wanted to sell more food coloring and vanilla. They printed a recipe for "Red Velvet Cake" that used a significant amount of red dye, and it became a sensation in American households. It later gained legendary status (and a few myths about expensive recipes) at the Waldorf-Astoria Hotel in New York. Today, it is the quintessential Valentine’s Day dessert, symbolizing love and passion with every crimson crumb.
Why This Recipe Works
There is a little bit of science behind why this cake is so incredibly moist and tender, and it is all about the ingredients working in harmony. First, we use oil instead of just butter for the fat. While butter provides flavor, oil is liquid at room temperature, which keeps the cake feeling moist and soft for days, unlike butter-based cakes that can firm up.
Secondly, the combination of buttermilk, vinegar, and baking soda is crucial. This acidic trio does two things: it helps tenderize the gluten in the flour (hello, velvety texture!), and it creates a fizzy chemical reaction that gives the cake a beautiful lift and fluffiness. Finally, we use a splash of hot coffee or boiling water at the end. This blooms the cocoa powder, intensifying that chocolatey depth without making the cake taste like a latte. It is a foolproof formula for the perfect crumb!
Why You’ll Love This Recipe
- ✓Requires only one pan – no stacking or leveling needed!
- ✓Stays incredibly moist for up to 4 days.
- ✓Perfect balance of mild chocolate and tangy sweetness.
- ✓Festive red color makes it ideal for Valentine’s Day.
- ✓Cream cheese frosting is whipped to fluffy perfection.
- ✓Feeds a crowd easily, perfect for parties or potlucks.
Equipment You’ll Need
- ✓9×13 inch baking pan
- ✓Stand mixer or hand mixer
- ✓Large mixing bowl
- ✓Medium mixing bowl
- ✓Whisk
- ✓Rubber spatula
- ✓Measuring cups and spoons
- ✓Offset spatula for frosting
Ingredients
- ✓2 1/2 cups All-Purpose Flour (sifted)
- ✓1 1/2 cups Granulated Sugar
- ✓1 teaspoon Baking Soda
- ✓1 teaspoon Salt
- ✓1 teaspoon Cocoa Powder (unsweetened)
- ✓1 1/2 cups Vegetable Oil (or Canola oil)
- ✓1 cup Buttermilk (room temperature)
- ✓2 large Eggs (room temperature)
- ✓2 tablespoons Red Food Coloring (liquid works best here)
- ✓1 teaspoon White Distilled Vinegar
- ✓1 teaspoon Vanilla Extract
- ✓16 oz Cream Cheese (softened, for frosting)
- ✓1/2 cup Unsalted Butter (softened, for frosting)
- ✓4 cups Powdered Sugar (sifted)
- ✓1 teaspoon Vanilla Extract (for frosting)
- ✓Valentine’s sprinkles (optional)
Instructions
- Preheat and Prep: Preheat your oven to 350°F (175°C). Grease a 9×13 inch baking pan generously with non-stick spray or butter and flour. I like to line the bottom with parchment paper just to be safe!
- Mix Dry Ingredients: In a medium bowl, whisk together the flour, sugar, baking soda, salt, and cocoa powder. Sifting the flour and cocoa helps prevent any lumps in your batter.
- Combine Wet Ingredients: In a large bowl (or your stand mixer bowl), beat together the vegetable oil, buttermilk, eggs, food coloring, vinegar, and vanilla extract. Mix until everything is fully combined and looking bright red.
- Combine Wet and Dry: Slowly add the dry ingredients to the wet ingredients. Mix on low speed just until combined. Do not overmix! Stop as soon as the flour streaks disappear. Scrape down the sides of the bowl with a spatula to ensure everything is incorporated.
- Bake: Pour the batter into your prepared pan and smooth it out into an even layer. Bake for 28-32 minutes, or until a toothpick inserted into the center comes out clean or with just a few moist crumbs. Be careful not to overbake, or it will dry out.
- Cool Completely: This is the hardest part! Let the cake cool completely in the pan on a wire rack. If you try to frost a warm cake, your frosting will melt into a sad puddle.
- Make the Frosting: While the cake cools, beat the softened cream cheese and butter together in a large bowl until smooth and creamy (about 2-3 minutes). Gradually add the powdered sugar, one cup at a time, mixing on low speed. Add the vanilla and a pinch of salt. Increase speed to high and whip for 2 minutes until fluffy.
- Decorate: Spread the frosting generously over the cooled cake using an offset spatula. Top with festive heart sprinkles or shaved chocolate. Slice into squares and serve!
Expert Cooking Tips
- ✓Room Temperature Ingredients: Ensure your eggs, buttermilk, cream cheese, and butter are all at room temperature. This ensures a smooth batter and a lump-free frosting.
- ✓Don’t Skimp on the Dye: For that classic deep red color, you really need the full amount of food coloring. If you use gel paste, you can use less, but liquid is traditional for this recipe.
- ✓Sift the Cocoa: Cocoa powder tends to clump up in the pantry. Always sift it with your flour to avoid biting into a bitter pocket of dry powder.
- ✓Watch the Clock: Red velvet can dry out faster than chocolate cake. Start checking it at the 28-minute mark.
Substitutions and Variations
If you find yourself missing an ingredient, don’t panic! Here are some easy swaps:
- Buttermilk: If you don’t have buttermilk, make your own! Add 1 tablespoon of lemon juice or vinegar to a measuring cup, then fill to the 1-cup line with milk. Let it sit for 5 minutes until it curdles.
- Cake Flour: While I used All-Purpose here for ease, you can use Cake Flour for an even lighter crumb. If you do, add an extra 2 tablespoons of flour per cup.
- Natural Dye: If you are avoiding Red 40, you can use beet powder or a natural food coloring brand, though the color will be more of a rusty, earthier red than a vibrant crimson.
Common Mistakes to Avoid
The biggest mistake people make with Red Velvet is overmixing the batter. Once the flour hits the wet ingredients, you want to mix gently. Overmixing develops gluten, which turns your tender cake into a chewy bread-like texture. Another common pitfall is frosting too soon. I know it smells amazing, and you want to dig in, but if that cake is even slightly warm, the butter in the cream cheese frosting will separate and slide right off.
Serving Suggestions
This cake is a showstopper on its own, but you can dress it up for Valentine’s Day! I love serving squares on cute pink plates with a fresh strawberry sliced into a heart shape on top. A drizzle of chocolate ganache over the frosting adds a luxurious touch. For a drink pairing, a glass of cold milk is classic, but a glass of pink bubbly or a warm raspberry mocha is absolutely divine for the adults!
Storage and Reheating Tips
Because of the cream cheese in the frosting, this cake needs to be stored in the refrigerator. Cover the pan tightly with plastic wrap or transfer slices to an airtight container. It will stay fresh for up to 5 days. Actually, I think it tastes even better on day two after the flavors have melded! You can also freeze the frosted cake slices. Wrap them individually in plastic wrap and then foil; they will keep for up to 2 months. Thaw in the fridge overnight before eating.
Nutrition Facts (Estimated)
| Serving Size | 1 square |
| Calories | 340 |
| Fat | 16g |
| Saturated Fat | 7g |
| Unsaturated Fat | 8g |
| Trans Fat | 0g |
| Cholesterol | 45mg |
| Sodium | 210mg |
| Carbohydrates | 45g |
| Fiber | 1g |
| Sugar | 28g |
| Protein | 3g |
Frequently Asked Questions
Why do I need vinegar in a cake recipe?
Vinegar is essential in Red Velvet! It reacts with the baking soda to provide leavening (lift) and helps preserve the red color against the cocoa powder.
Can I bake this in round pans instead?
Absolutely! This recipe will make two 9-inch round cakes. You will just need to adjust the baking time to about 25-30 minutes.
Why did my cake turn brown instead of red?
This usually happens if you use ‘Dutch-processed’ cocoa powder, which neutralizes the acidity. Stick to regular natural unsweetened cocoa powder for the best red color.
Can I use gel food coloring?
Yes, you can. Gel is much more concentrated, so start with 1 teaspoon and add more until you reach your desired shade.
Is this cake safe for kids?
Yes! The vinegar taste disappears completely, and the small amount of cocoa is very mild. Just be mindful of the sugar rush!
Can I leave the cake out on the counter?
Only for a few hours while serving. Because of the dairy in the cream cheese frosting, it really should be refrigerated for safety.
How do I get my frosting super fluffy?
Whip the butter and cream cheese together for a good 3-5 minutes before adding any sugar. Incorporating air at this stage is the secret.
Can I make this ahead of time?
Yes! You can bake the cake the day before, wrap it, and frost it the day of. Or make the whole thing a day in advance—the fridge time actually improves the texture.
Conclusion
There you have it, friends! The easiest, most delicious way to say "I Love You" this Valentine’s Day. This Moist Red Velvet Sheet Cake is truly a labor of love that requires very little actual labor (my favorite kind!). Whether you are baking for a classroom party, a romantic night in, or just because you deserve a treat, this recipe will not let you down. Happy baking, and I hope your day is filled with love, laughter, and lots of cake!

