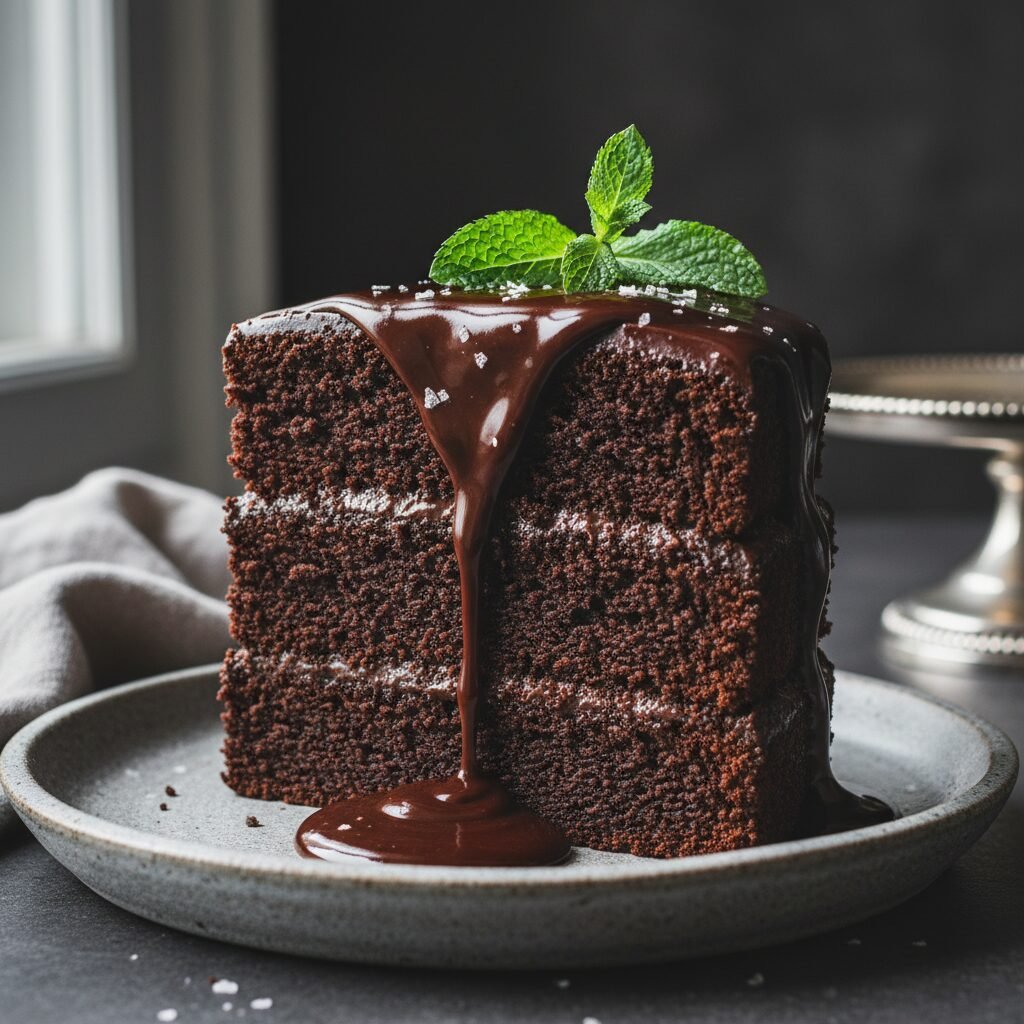
Moist Chocolate Layer Cake With Chocolate Buttercream Recipe
Forget dry, crumbly cakes; this is the gold standard of chocolate desserts. Featuring a deeply fudge-like crumb and a silky, cloud-like chocolate buttercream, this recipe guarantees a bakery-quality result right from your home kitchen that stays moist for days.
30 minutes
35 minutes
1 hour 5 minutes
12-14 servings
Dessert
Baking
American
Vegetarian
There are few things in the culinary world as universally beloved yet surprisingly difficult to master as the perfect chocolate cake. We have all been there: you see a stunning, dark, towering slice of cake at a bakery or in a magazine, only to take a bite and find it dry, lackluster, or overly reliant on sugar rather than deep cocoa flavor. This recipe is the antithesis of those disappointments. It is the result of years of testing, tweaking, and obsessing over the science of baking to produce a cake that is unapologetically rich, incredibly dark, and impossibly moist. This is not just a dessert; it is a centerpiece for celebrations, a comfort food for rainy days, and a testament to the magic of simple ingredients coming together to create something extraordinary. The crumb is tender but sturdy enough to hold up to layers of frosting, possessing a melt-in-your-mouth quality that is often sought after but rarely achieved in home baking. The chocolate buttercream is equally important; it is whipped to an airy consistency that balances the density of the cake, using high-quality cocoa powder and a touch of heavy cream for a luxurious mouthfeel. Whether you are a seasoned baker looking for a reliable go-to recipe or a novice attempting your first layer cake, this guide provides every detail you need. From the bloom of the cocoa powder to the precise temperature of the ingredients, we cover the ‘why’ and ‘how’ to ensure your success. Prepare to ruin all other chocolate cakes for yourself, because once you try this homemade version, box mixes and grocery store bakeries simply will not compare.
History & Origins
The history of chocolate cake is a fascinating journey that mirrors the evolution of chocolate itself, transforming from a luxury beverage to the solid confection we know today. For centuries, chocolate was consumed primarily as a drink by the Maya and Aztecs, and later by European aristocracy. It wasn’t until the mid-19th century that chocolate began to find its way into solid baked goods. In 1828, Coenraad van Houten of the Netherlands invented a hydraulic press that could separate cocoa butter from cacao seeds, leaving behind a defatted powder that could be ground into what we now know as cocoa powder. This invention was pivotal, making chocolate more affordable and easier to bake with. However, the earliest ‘chocolate cakes’ in the United States, appearing around the 1880s, were actually yellow or white cakes covered in chocolate frosting or glaze; the batter itself did not contain chocolate. The true chocolate cake as we recognize it emerged in the late 19th and early 20th centuries as cocoa powder became more accessible and baking powder and baking soda were popularized, allowing for lighter, aerated textures without relying solely on whipped eggs. The specific term ‘Devil’s Food Cake’ appeared in print around 1902, distinguishing itself from the standard chocolate cake by its reddish hue (caused by the reaction between cocoa and baking soda) and its incredibly moist, airy texture. During the Great Depression and World War II, recipes adapted to scarcity, leading to the invention of ‘Wacky Cake’ or ‘Depression Cake’ which used oil and vinegar instead of butter and eggs. This recipe borrows from that lineage by utilizing oil for supreme moisture, while incorporating the richness of modern availability like buttermilk and high-quality cocoa, bridging the gap between historical ingenuity and contemporary indulgence.
Why This Recipe Works
This recipe succeeds where many others fail due to a specific combination of chemical reactions and ingredient choices that prioritize moisture retention and flavor depth. First and foremost is the use of oil instead of butter in the cake batter. While butter provides flavor, it is roughly 20% water and solidifies at room temperature, which can lead to a drier, firmer crumb. Oil remains liquid at room temperature, ensuring the cake stays soft and moist on the palate for days. Secondly, we utilize the ‘blooming’ technique. By pouring boiling hot coffee over the cocoa powder, we dissolve the cocoa solids and release the flavor compounds that are otherwise trapped, resulting in a significantly more intense chocolate taste without adding more sugar. The coffee also enhances the chocolate notes without making the cake taste like mocha. Thirdly, the inclusion of buttermilk is non-negotiable. The acidity in the buttermilk reacts with the baking soda to create carbon dioxide gas, which gives the cake a tender, airy lift, breaking down the long gluten strands that can make a cake tough. Finally, the ratio of sugar to flour is carefully balanced not just for sweetness, but because sugar is hygroscopic—it attracts and holds water. This high sugar ratio locks moisture into the cake structure, preventing it from drying out during the baking process. The result is a cake that is scientifically engineered to be perfectly moist and deeply flavorful.
Why You’ll Love This Recipe
- ✓Uses oil instead of butter for a cake that stays moist for days.
- ✓Hot coffee blooms the cocoa for intense chocolate flavor.
- ✓Simple one-bowl mixing method for the batter.
- ✓Perfect balance of density and fluffiness.
- ✓Frosting is whipped to a silky, cloud-like consistency.
Equipment You’ll Need
- ✓Two 8-inch or 9-inch round cake pans
- ✓Stand mixer or electric hand mixer
- ✓Large mixing bowls
- ✓Whisk
- ✓Rubber spatula
- ✓Wire cooling rack
- ✓Parchment paper
- ✓Measuring cups and spoons
- ✓Kitchen scale (optional but recommended)
- ✓Offset spatula for frosting
Ingredients
- ✓2 cups (250g) All-purpose flour
- ✓2 cups (400g) Granulated sugar
- ✓3/4 cup (65g) Unsweetened cocoa powder (natural or Dutch-process)
- ✓2 tsp Baking powder
- ✓1.5 tsp Baking soda
- ✓1 tsp Salt
- ✓1 cup (240ml) Buttermilk, room temperature
- ✓1/2 cup (120ml) Vegetable oil or canola oil
- ✓2 Large eggs, room temperature
- ✓2 tsp Pure vanilla extract
- ✓1 cup (240ml) Boiling hot coffee (or boiling water)
- ✓1.5 cups (340g) Unsalted butter, softened (for frosting)
- ✓1 cup (85g) Unsweetened cocoa powder (for frosting)
- ✓5 cups (600g) Powdered sugar (for frosting)
- ✓1/2 cup (120ml) Heavy cream (for frosting)
- ✓2 tsp Vanilla extract (for frosting)
- ✓Pinch of salt (for frosting)
Instructions
- 1. Preheat oven to 350°F (175°C). Grease two 8-inch or 9-inch round cake pans with butter or cooking spray and line the bottoms with parchment paper. Dust the sides with cocoa powder or flour.
- 2. In a large mixing bowl (or the bowl of a stand mixer), whisk together the flour, sugar, cocoa powder, baking powder, baking soda, and salt until fully combined and free of large lumps.
- 3. Add the buttermilk, vegetable oil, eggs, and vanilla extract to the dry ingredients. Beat on medium speed with a paddle attachment or hand mixer for about 2 minutes. The batter should look well-combined and slightly lighter in color.
- 4. Reduce the mixer speed to the lowest setting. Carefully pour in the boiling hot coffee. Mix just until combined. The batter will be very thin and liquid; this is normal and ensures a moist cake.
- 5. Divide the batter evenly between the two prepared cake pans. If you have a kitchen scale, weigh the pans to ensure even layers.
- 6. Bake for 30-35 minutes. Insert a wooden toothpick into the center of the cake; if it comes out clean or with just a few moist crumbs attached, the cake is done. Do not overbake.
- 7. Remove pans from the oven and let them cool on a wire rack for 10-15 minutes. Then, carefully run a knife around the edges to loosen, invert the cakes onto the rack, remove the parchment paper, and let them cool completely before frosting.
- 8. While the cakes cool, make the buttercream. In a large bowl, beat the softened butter on medium-high speed until pale and creamy (about 3 minutes).
- 9. Add the cocoa powder and mix on low until combined. Gradually add the powdered sugar, alternating with the heavy cream, mixing on low speed until incorporated.
- 10. Add the vanilla extract and a pinch of salt. Increase the speed to high and whip for 2-3 minutes until the frosting is light, fluffy, and creamy.
- 11. Once the cakes are completely cool, place one layer on a serving plate or cake stand. Spread a generous layer of buttercream over the top. Place the second cake layer on top.
- 12. Use the remaining frosting to cover the top and sides of the cake. Use an offset spatula to create swirls or smooth it out as desired. Slice and serve.
Expert Cooking Tips
- ✓Measure flour correctly: Spoon the flour into the measuring cup and level it off with a knife, or use a scale for accuracy. Scooping directly packs the flour and leads to a dry cake.
- ✓Room temperature ingredients: Ensure your eggs and buttermilk are at room temperature. This helps them emulsify better into the batter for a uniform texture.
- ✓Do not skip the parchment: Lining the bottom of your pans with parchment paper is the only guarantee that your cakes will release perfectly without tearing.
- ✓Don’t overmix: Once you add the wet ingredients to the dry, mix only until combined. Overmixing develops gluten, which makes the cake tough.
- ✓Cool completely: Never attempt to frost a cake that is even slightly warm. The butter in the frosting will melt, and the layers will slide apart.
- ✓Boiling liquid is key: The liquid must be boiling hot to properly bloom the cocoa powder. If you don’t drink coffee, boiling water works, but coffee enhances the chocolate flavor.
Substitutions and Variations
Baking is a science, so substitutions should be made with care, but there are options. If you do not have buttermilk, you can make a ‘sour milk’ substitute by adding one tablespoon of white vinegar or lemon juice to a cup of regular whole milk and letting it sit for 5 minutes until it curdles. For the oil, melted coconut oil or a light olive oil can be used, though vegetable or canola oil is best for a neutral flavor. If you are gluten-free, a high-quality 1:1 gluten-free baking flour blend usually works well in this recipe because the moisture content is so high, which helps prevent the grittiness often associated with GF baking. For the hot coffee, you can strictly use boiling water; the cake will still be delicious but will have a slightly milder chocolate punch. In the frosting, if you find it too sweet, you can substitute salted butter for unsalted butter or add a teaspoon of espresso powder to cut the sweetness with bitterness.
Common Mistakes to Avoid
The most common mistake is overbaking the cake. Because the batter is dark, you cannot rely on visual browning cues. Rely strictly on the toothpick test and start checking 5 minutes before the recipe says it should be done. Another frequent error is opening the oven door too often or too early; the sudden drop in temperature can cause the cake to collapse in the center before the structure has set. Using old baking powder or soda is another culprit for flat cakes; ensure your leavening agents are fresh (less than 6 months old). Finally, rushing the cooling process is a disaster waiting to happen. Putting a warm cake in the fridge to ‘speed cool’ it can dry it out, and frosting it warm results in a melted, messy pool of buttercream.
Serving Suggestions
This rich cake pairs beautifully with elements that cut through the sweetness and density. A scoop of vanilla bean ice cream is a classic choice, as the cold creaminess contrasts with the room-temperature cake. Fresh berries, particularly raspberries or strawberries, add a tart freshness and a pop of color that looks stunning against the dark chocolate. For a sophisticated finish, serve with a shot of hot espresso or a glass of cold milk. You can also garnish the cake with chocolate shavings, sprinkles, or a drizzle of salted caramel for extra decadence.
Storage and Reheating Tips
This cake stores exceptionally well due to its oil base. It can be kept at room temperature in an airtight cake carrier or under a glass dome for up to 4 days. In fact, many find it tastes even better on the second day as the flavors meld. If you live in a very hot or humid climate, you may need to store it in the refrigerator to prevent the buttercream from melting. If refrigerating, let the slices sit at room temperature for 20-30 minutes before eating to allow the buttercream to soften. The cake layers can also be baked ahead of time, wrapped tightly in plastic wrap, and frozen for up to 3 months. Thaw the layers in the fridge overnight before frosting.
Nutrition Facts (Estimated)
| Serving Size | 1 slice |
| Calories | 650 |
| Fat | 34g |
| Saturated Fat | 14g |
| Unsaturated Fat | 18g |
| Trans Fat | 0g |
| Cholesterol | 85mg |
| Sodium | 380mg |
| Carbohydrates | 85g |
| Fiber | 4g |
| Sugar | 55g |
| Protein | 6g |
Frequently Asked Questions
Can I use butter instead of oil in the cake batter?
Technically yes, but we strongly recommend oil. Butter contains water and solidifies at room temperature, making the cake feel drier. Oil is 100% fat and liquid at room temperature, guaranteeing a moist sensation.
Will the cake taste like coffee?
No. The amount of coffee used is just enough to enhance the richness of the cocoa powder. The final flavor profile is purely deep chocolate.
Can I make this into cupcakes?
Yes! This recipe will make approximately 24-28 standard cupcakes. Bake them at 350°F for 18-22 minutes.
Why did my cake sink in the middle?
This usually happens if the oven door was opened too early, the oven wasn’t hot enough, or there was too much leavening (baking soda/powder). It can also happen if the batter sat out too long before baking.
Can I use natural cocoa powder instead of Dutch-process?
Yes, this recipe works with both. Natural cocoa is more acidic and lighter, while Dutch-process is darker and smoother. Because the recipe uses both baking soda and baking powder, it can handle the acidity differences of either type.
My frosting is too runny. How do I fix it?
If the frosting is too soft, add more powdered sugar, 1/4 cup at a time. If the kitchen is very hot, pop the bowl in the fridge for 10 minutes then whip again.
Can I use a 9×13 pan instead of rounds?
Absolutely. A 9×13 inch rectangular pan will take slightly longer to bake, usually around 35-45 minutes. Check with a toothpick.
Is it necessary to use a stand mixer?
Not for the cake batter; a whisk and bowl work fine. However, for the buttercream, an electric hand mixer or stand mixer is highly recommended to get that fluffy, aerated texture.
Conclusion
Mastering this moist chocolate layer cake recipe is a milestone for any home baker. It strikes that elusive balance between sophisticated flavor and comforting texture, proving that you don’t need a pastry degree to create something truly spectacular. Whether you are celebrating a birthday, an anniversary, or just the fact that you made it through the week, this cake is the perfect reward. The deep chocolate flavor, combined with the ease of preparation, makes it a recipe you will return to time and time again. So, brew that coffee, sift that cocoa, and get ready to enjoy the best slice of chocolate cake you have ever had. Don’t forget to share your creation on social media and tag us—we love seeing your beautiful bakes!