Moist Chocolate Layer Cake With Buttermilk Recipe
Discover the secret to the most decadent, velvety, and impossibly moist chocolate cake you will ever bake. This fail-proof recipe uses buttermilk and hot coffee to create a deep, rich flavor profile that pairs perfectly with a silky chocolate buttercream frosting.
30 minutes
35 minutes
1 hour 5 minutes (plus cooling time)
12-14 servings (Two 9-inch round cakes)
Dessert
Baking
American
Vegetarian
There is something undeniably magical about a truly great chocolate cake. It is the centerpiece of birthdays, the comfort in times of sorrow, and the crowning jewel of holiday tables. However, the quest for the perfect chocolate cake is often fraught with disappointment. Too often, homemade cakes turn out dry, crumbly, or lacking that profound, fudgy intensity that chocolate lovers crave. This recipe for Moist Chocolate Layer Cake with Buttermilk is the answer to those baking woes. It is designed specifically to combat dryness, ensuring a crumb that is tender, springy, and stays moist for days.
What sets this cake apart is its reliance on simple chemistry and high-quality ingredients. We aren’t just making a cake; we are crafting an experience. The batter is incredibly forgiving, coming together in a single bowl without the need for creaming butter and sugar, which reduces the risk of over-mixing. The result is a dark, alluring sponge that is robust enough to hold up to stacking but delicate enough to melt in your mouth. Whether you are a novice baker looking to impress your family or a seasoned pro searching for a new ‘go-to’ standard, this recipe delivers consistent, bakery-quality results. Prepare to fill your kitchen with the intoxicating aroma of cocoa and vanilla, and get ready to slice into the most satisfying dessert you’ve ever made.
History & Origins
The history of chocolate cake is a fascinating journey that mirrors the evolution of chocolate processing itself. In the early days of American baking, specifically in the 18th and early 19th centuries, chocolate was primarily consumed as a beverage. ‘Chocolate cake’ back then likely referred to a white or yellow cake served alongside a cup of hot chocolate. It wasn’t until 1828, when Coenraad van Houten of the Netherlands invented a hydraulic press to separate cocoa butter from roasted cacao beans—creating cocoa powder—that chocolate cake as we know it began to take shape.
By the late 19th century, recipes for ‘Devil’s Food Cake’ began appearing in American cookbooks. This name was allegedly derived from the reddish hue the cake took on when the cocoa powder reacted with baking soda, a stark contrast to the ‘Angel Food’ cakes of the time. This era also saw the rise of Southern baking traditions, where buttermilk became a staple ingredient. In the days before reliable refrigeration, milk would sour quickly, and resourceful home cooks realized that this acidic liquid was a potent tenderizer for baked goods. The combination of the rich, dark Devil’s Food style with the tenderizing properties of buttermilk created a lineage of cakes known for their incredible texture. Over the decades, the recipe has been refined, moving from solid chocolate squares to cocoa powder for a deeper flavor, and incorporating oil instead of just butter to ensure lasting moisture. This recipe honors that rich history while utilizing modern techniques for the best possible outcome.
Why This Recipe Works
This recipe succeeds where others fail due to three critical scientific principles: acidity, fat state, and temperature. First, let’s talk about the buttermilk. Buttermilk is acidic, and when it reacts with baking soda (a base), it creates carbon dioxide bubbles. This reaction provides significant lift, resulting in a cake that is light and airy rather than dense and heavy. Furthermore, the acid in the buttermilk breaks down the long strands of gluten in the flour, which prevents the cake from becoming tough or chewy, leading to that desirable ‘melt-in-your-mouth’ tenderness.
Secondly, the choice of fat is crucial. While butter offers great flavor, it is solid at room temperature. Vegetable oil, however, remains liquid at room temperature. By using oil as the primary fat source, the cake retains the sensation of moisture on the palate even when it has cooled down completely. A cake made entirely with butter can often feel dry once it returns to room temperature because the fat solidifies.
Finally, the ‘blooming’ technique using hot coffee is a game-changer. Cocoa powder is essentially dried starch and flavor particles. Adding boiling hot liquid to the cocoa powder dissolves these particles effectively, releasing the full potential of the chocolate flavor and creating a smoother batter. The coffee itself doesn’t make the cake taste like a mocha latte; rather, it enhances the chocolate notes, making them taste more like chocolate than they would on their own. The result is a batter that is thin and liquid but bakes up into a structurally sound, incredibly moist crumb.
Why You’ll Love This Recipe
- ✓Incredibly moist texture that stays fresh for up to 4 days.
- ✓Deep, intense chocolate flavor enhanced by hot coffee.
- ✓Simple, one-bowl batter method—no electric mixer required for the cake.
- ✓Versatile: Can be made into layers, a sheet cake, or cupcakes.
- ✓Perfect balance of sweetness and rich cocoa bitterness.
- ✓Uses pantry staple ingredients found in most kitchens.
Equipment You’ll Need
- ✓Two 9-inch round cake pans
- ✓Large mixing bowl
- ✓Whisk
- ✓Sifter or fine-mesh sieve
- ✓Measuring cups and spoons
- ✓Parchment paper
- ✓Wire cooling rack
- ✓Stand mixer or hand mixer (for the frosting)
- ✓Offset spatula
Ingredients
- ✓2 cups (400g) granulated sugar
- ✓1 3/4 cups (220g) all-purpose flour
- ✓3/4 cup (75g) unsweetened cocoa powder (Dutch-process preferred)
- ✓1 1/2 teaspoons baking powder
- ✓1 1/2 teaspoons baking soda
- ✓1 teaspoon salt
- ✓2 large eggs, room temperature
- ✓1 cup (240ml) whole milk buttermilk, room temperature
- ✓1/2 cup (120ml) vegetable oil or canola oil
- ✓2 teaspoons pure vanilla extract
- ✓1 cup (240ml) boiling hot coffee (or boiling water)
- ✓1 cup (225g) unsalted butter, softened (Frosting)
- ✓1/2 cup (50g) unsweetened cocoa powder (Frosting)
- ✓4 cups (480g) powdered sugar (Frosting)
- ✓1/4 cup (60ml) heavy cream (Frosting)
- ✓1 teaspoon vanilla extract (Frosting)
- ✓Pinch of salt (Frosting)
Instructions
- Preheat your oven to 350°F (175°C). Grease two 9-inch round cake pans with butter or cooking spray. Line the bottoms with parchment paper rounds and grease the paper. Dust the pans with a little cocoa powder and tap out the excess.
- In a large mixing bowl, sift together the sugar, flour, cocoa powder, baking powder, baking soda, and salt. Whisk briefly to ensure the dry ingredients are evenly combined.
- Add the eggs, buttermilk, vegetable oil, and vanilla extract to the dry ingredients. Beat with a whisk or an electric mixer on medium speed for about 2 minutes. The batter should be smooth and well-incorporated.
- Stir in the boiling hot coffee by hand. Pour it in slowly while whisking gently. Note: The batter will be very thin and liquidy; this is completely normal and essential for the moist texture.
- Divide the batter evenly between the prepared cake pans. If you have a kitchen scale, weigh the pans to ensure even layers.
- Bake in the preheated oven for 30 to 35 minutes. Test for doneness by inserting a wooden toothpick into the center of the cake; it should come out clean or with just a few moist crumbs attached.
- Remove the cakes from the oven and let them cool in the pans for about 10-15 minutes. Then, run a knife around the edges to loosen them and invert them onto a wire rack to cool completely before frosting.
- While the cakes cool, prepare the frosting. In a stand mixer fitted with the paddle attachment (or using a hand mixer), beat the softened butter on medium-high speed until pale and creamy (about 3 minutes).
- Add the cocoa powder and mix until combined. Gradually add the powdered sugar, one cup at a time, alternating with the heavy cream. Add the vanilla and salt.
- Whip the frosting on high speed for 2-3 minutes until it is light, fluffy, and spreadable. If it’s too stiff, add a teaspoon more cream; if too runny, add more powdered sugar.
- Once the cakes are fully cooled, place one layer on your serving plate or cake stand. Spread a generous layer of frosting over the top. Place the second cake layer on top (bottom side up for a flat top). Cover the top and sides with the remaining frosting.
Expert Cooking Tips
- ✓Use room temperature ingredients (eggs and buttermilk) to prevent the batter from curdling and to ensure even baking.
- ✓Don’t skip the parchment paper. Chocolate cake is tender and can stick to the bottom of the pan easily; parchment guarantees a clean release.
- ✓Weigh your flour if possible. Scooping flour directly with a measuring cup can pack it down, leading to a dry cake. If using cups, use the ‘spoon and level’ method.
- ✓Do not overbake. Start checking the cake at the 30-minute mark. Overbaking is the number one cause of dry cake.
- ✓Use high-quality cocoa powder. Since chocolate is the main flavor, a higher fat content cocoa (like Valrhona or Guittard) makes a huge difference.
- ✓Let the boiling water/coffee sit for a moment with the cocoa if you want to ‘bloom’ it separately, but adding it at the end works perfectly for this specific method.
- ✓Cool completely before frosting. If the cake is even slightly warm, the butter in the frosting will melt, causing the layers to slide.
Substitutions and Variations
Baking is a science, but there is some room for flexibility if you find yourself missing an ingredient. If you don’t have buttermilk, you can make a quick DIY version by adding one tablespoon of white vinegar or lemon juice to a cup of regular whole milk and letting it sit for 5-10 minutes until it curdles. For the vegetable oil, you can substitute melted coconut oil or even light olive oil, though olive oil may impart a slight flavor. If you prefer to use butter for the fat, you can use melted unsalted butter, but be aware the cake will be slightly denser. For the hot coffee, if you are sensitive to caffeine or baking for children, you can use boiling water. The cake will still be delicious, though the chocolate flavor might be slightly less intense. Gluten-free all-purpose flour blends (specifically those with xanthan gum included) generally work well in this recipe as a 1:1 replacement for regular flour. For the frosting, you can swap heavy cream for whole milk, but use less of it as milk is thinner.
Common Mistakes to Avoid
The most common mistake with this cake is over-mixing the batter after the flour is added. While the ‘dump and mix’ method is forgiving, mixing too vigorously once wet meets dry can develop gluten, leading to a tough, rubbery texture rather than a tender crumb. Another frequent error is using baking soda that has expired. Because this cake relies heavily on the reaction between the acidic buttermilk and the baking soda for lift, inactive soda will result in a flat, dense, and gummy cake. Always check the expiration date on your leaveners. Additionally, opening the oven door too early can cause the cake to collapse in the center. Try to resist the urge to check until at least 3/4 of the baking time has passed. Finally, attempting to frost the cake before it is completely cold is a recipe for disaster; the frosting will melt and the layers will slide apart.
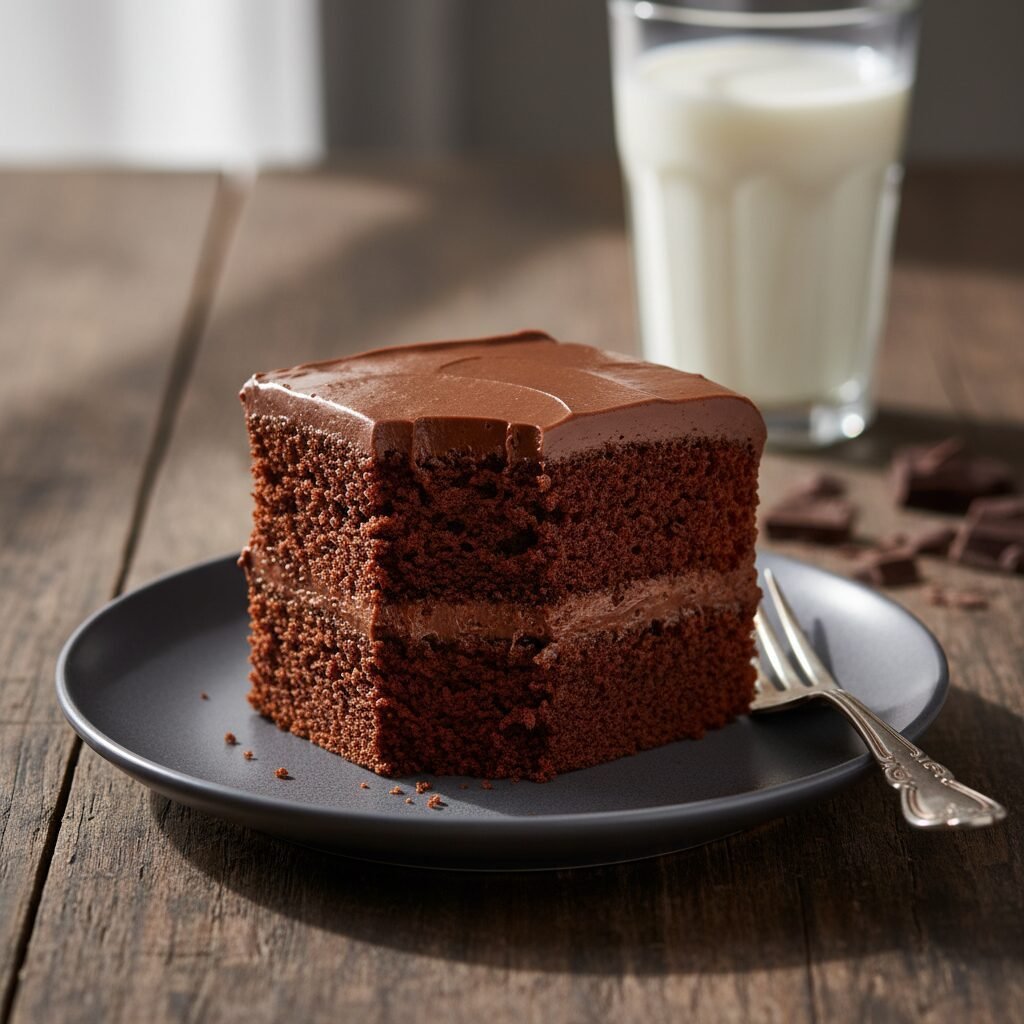
Serving Suggestions
This rich chocolate cake is a showstopper on its own, but it pairs beautifully with various accompaniments. For a classic touch, serve slices with a cold glass of milk. To cut through the richness, fresh berries like raspberries or strawberries are excellent, providing a tart contrast to the sweet chocolate. A dollop of freshly whipped cream or a scoop of vanilla bean ice cream is always a crowd-pleaser. If you want to get fancy, a drizzle of salted caramel sauce or a sprinkle of flaky sea salt on top of the frosting adds a sophisticated gourmet touch. For holidays, you can garnish the cake with chocolate shavings, crushed peppermint, or edible flowers depending on the season.
Storage and Reheating Tips
Because this cake is oil-based, it stays moist longer than butter-based cakes. It can be stored at room temperature, covered with a cake dome or in an airtight container, for up to 3-4 days. If you live in a very hot or humid climate, it is safer to store it in the refrigerator to prevent the frosting from melting or the cake from spoiling. If refrigerating, let the slices come to room temperature for about 20-30 minutes before eating for the best texture and flavor. This cake also freezes beautifully. You can freeze individual slices wrapped tightly in plastic wrap and foil for up to 3 months. Alternatively, you can freeze the unfrosted cake layers wrapped in plastic wrap for up to a month; just thaw them in the fridge overnight before frosting.
Nutrition Facts (Estimated)
| Serving Size | 1 slice |
| Calories | 580 |
| Fat | 28g |
| Saturated Fat | 10g |
| Unsaturated Fat | 16g |
| Trans Fat | 0g |
| Cholesterol | 65mg |
| Sodium | 320mg |
| Carbohydrates | 78g |
| Fiber | 4g |
| Sugar | 45g |
| Protein | 6g |
Frequently Asked Questions
Can I use natural cocoa powder instead of Dutch-process?
Yes, you can. This recipe uses baking soda, which reacts well with natural cocoa powder. However, Dutch-process cocoa will give you a darker color and a smoother, fudgier flavor.
Will the cake taste like coffee?
No, the cake will not taste like coffee. The hot coffee simply enhances and deepens the chocolate flavor. If you absolutely hate coffee, you can use hot water instead.
Why is the batter so thin?
The batter is intentionally thin because of the high liquid content (milk, oil, coffee). This ensures the flour hydrates fully and results in a very moist, light crumb. Do not add more flour to thicken it.
Can I make this recipe into cupcakes?
Absolutely. This recipe will make approximately 24-28 standard cupcakes. Bake them at 350°F for about 18-22 minutes.
My cake sank in the middle. What happened?
This usually happens if the oven door was opened too early, the oven temperature was too low, or there was too much leavening (baking soda/powder). Ensure your oven is calibrated and keep the door closed.
Can I reduce the sugar amount?
Sugar provides moisture and structure, not just sweetness. Reducing it significantly will alter the texture, making the cake drier and more bread-like. We recommend sticking to the recipe for the best texture.
Do I have to use a stand mixer?
No, you do not need a stand mixer for the cake batter; a whisk works perfectly. However, an electric mixer (hand or stand) is highly recommended for making the buttercream frosting fluffy.
Can I bake this in a 9×13 pan?
Yes, this recipe fits perfectly in a 9×13 inch rectangular pan. You will need to increase the baking time to approximately 35-45 minutes.
How do I get flat cake layers?
You can use ‘cake strips’ wrapped around the outside of the pan to insulate the edges, promoting even rising. Alternatively, simply trim the domed tops with a serrated knife once the cakes are cool.
Is this cake suitable for stacking?
Yes, despite being moist, the crumb is structured enough to support stacking. For very tall tiered cakes, always use dowels for support.
Conclusion
Mastering the art of the perfect chocolate cake is a milestone for any home baker, and with this Moist Chocolate Layer Cake with Buttermilk recipe, you have reached the summit. The combination of simple ingredients and the magic of chemistry results in a dessert that is visually stunning and texturally superior to anything you can buy in a box or a supermarket bakery. Whether you are celebrating a major life event or just treating yourself on a Friday night, this cake promises to deliver pure chocolate bliss. Don’t forget to share your creation on social media and tag us—we love seeing your beautiful bakes!

