Moist Apple Upside Down Cake Recipe
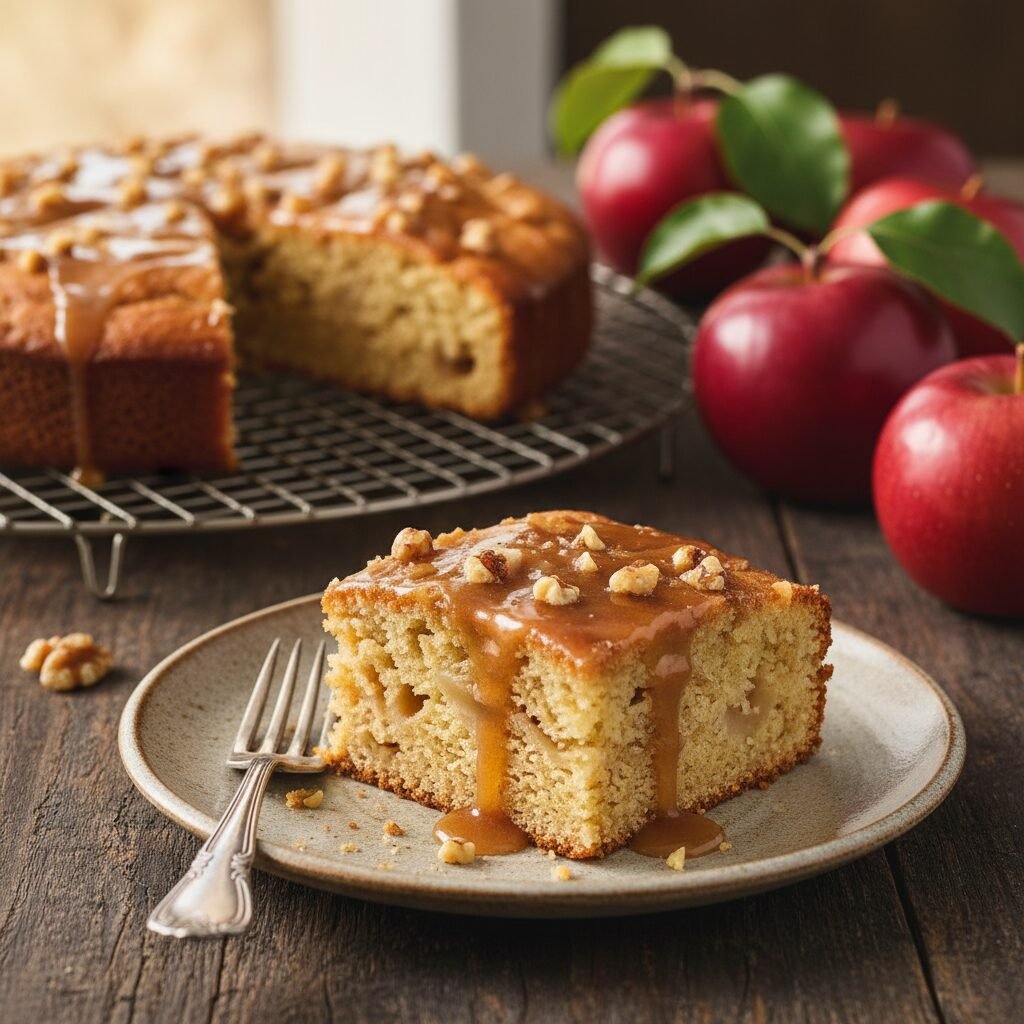
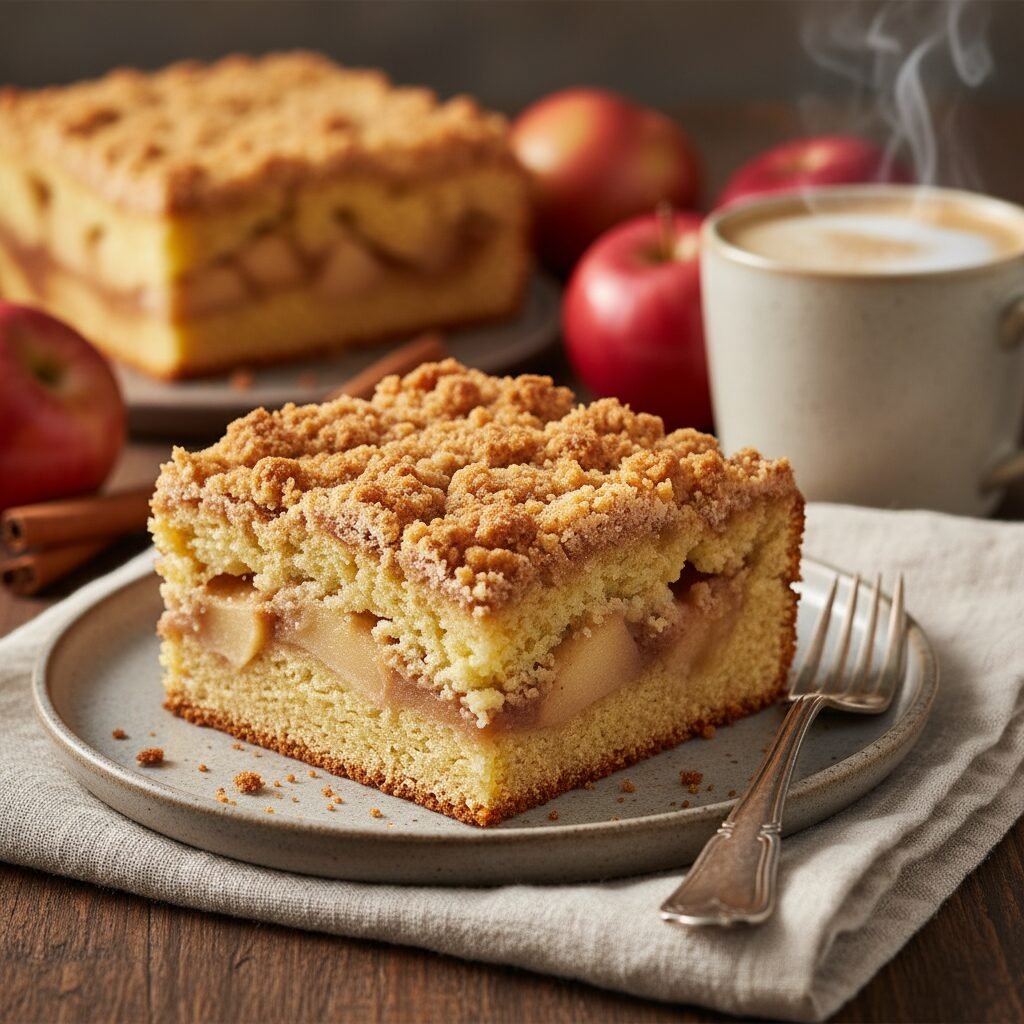
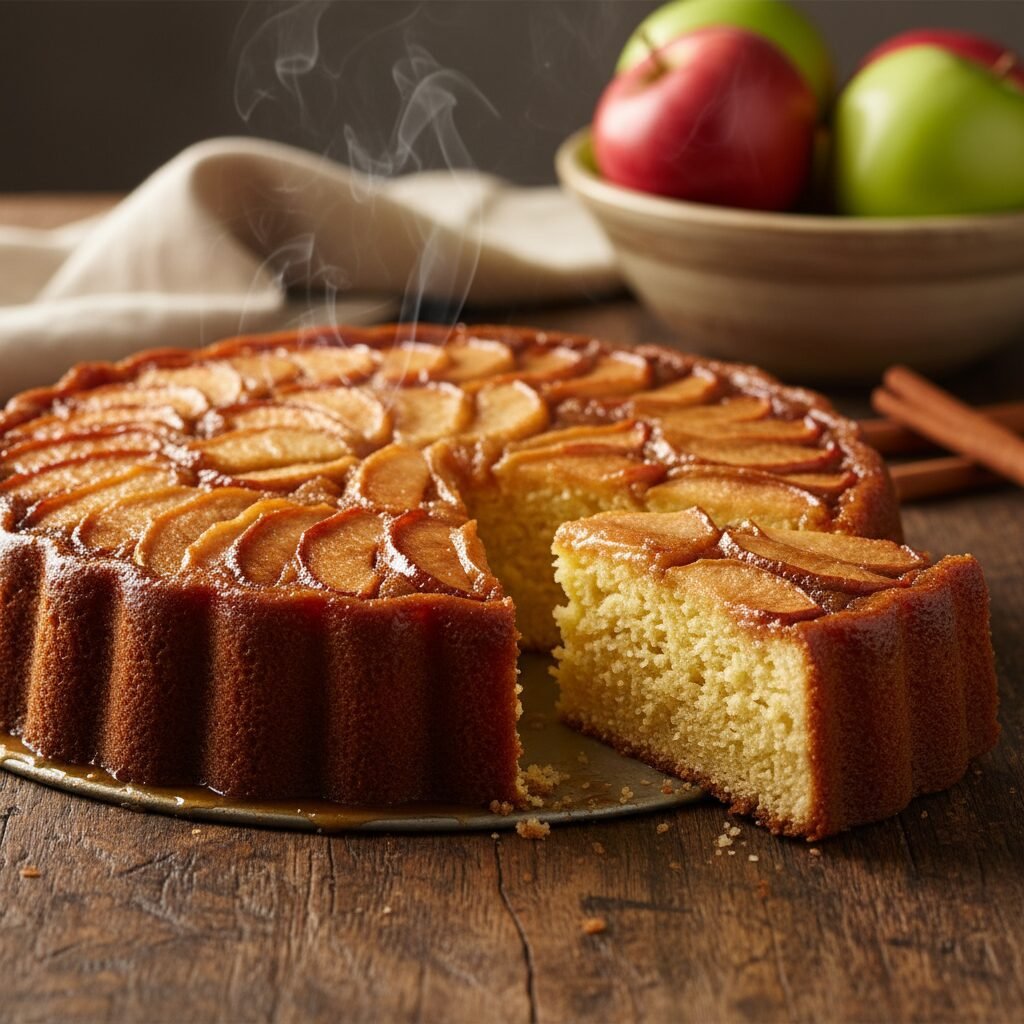
This Moist Apple Upside Down Cake features a gooey, caramelized apple topping baked right into a fluffy, spiced sponge. It is the quintessential autumn dessert that looks impressive but is surprisingly easy to make, ensuring a perfect slice every time.
20 minutes
45 minutes
1 hour 5 minutes
8-10 servings
Dessert
Baking
American
Vegetarian
There is something undeniably magical about the arrival of autumn. The crisp air, the changing leaves, and, most importantly, the shift in our kitchens toward warm, comforting spices. Among the myriad of apple recipes that flood our Pinterest feeds every season, this Moist Apple Upside Down Cake stands out as a true masterpiece of texture and flavor. Imagine a dessert where the topping creates itself—a glorious layer of tender apple slices swimming in a rich, buttery brown sugar caramel that seeps into the cake as it bakes. This isn’t just a cake; it’s an experience.
The beauty of an upside-down cake lies in its rustic elegance. You don’t need advanced decorating skills or a steady hand for piping frosting. The oven does the heavy lifting, caramelizing the fruit and sugar at the bottom of the pan, so when you flip it over, you are rewarded with a glistening, jewel-like presentation that looks like it came straight from a professional bakery. The cake base itself is engineered to be incredibly moist, utilizing sour cream and a blend of cinnamon and nutmeg to complement the tartness of the apples. It is sturdy enough to hold the heavy fruit topping but tender enough to melt in your mouth.
Whether you are hosting a Thanksgiving dinner, looking for a cozy Sunday afternoon baking project, or simply craving the nostalgic taste of homemade apple treats, this recipe delivers on all fronts. It fills your home with an intoxicating aroma that candles simply cannot replicate. Best of all, it pairs perfectly with a scoop of vanilla bean ice cream or a dollop of freshly whipped cream, creating a contrast of hot and cold that is pure bliss. Get ready to bookmark this recipe, because once you taste the caramelized edges and the soft, spiced crumb, it will become your go-to apple dessert for years to come.
History & Origins
The concept of the upside-down cake is deeply rooted in the history of skillet cooking, dating back centuries before modern ovens were a household staple. Early American settlers and European cooks often utilized cast-iron skillets to bake cakes over open fires. They would line the bottom of the pan with fruit and sugar, pour a simple batter over the top, and cook it until set. This method allowed the fruit to caramelize in its own juices while protecting the delicate cake batter from the direct heat of the fire.
However, the most famous ancestor of the modern upside-down cake is the French ‘Tarte Tatin.’ Legend has it that in the 1880s, the Tatin sisters, who ran a hotel in the Loire Valley, accidentally created the dish. One sister, distracted in the kitchen, left apples cooking in butter and sugar for too long. Trying to rescue the dish, she threw a pastry crust on top and baked it, then flipped it over to serve. The result was a sensation.
In the United States, the upside-down cake gained massive popularity in the 1920s, though initially with pineapples, driven by a contest sponsored by the Hawaiian Pineapple Company (now Dole). As canned fruit became a convenience staple, housewives embraced the recipe for its visual appeal and simplicity. Over time, as the trend evolved, bakers returned to seasonal, fresh fruits. The Apple Upside Down Cake became a beloved variation, particularly in apple-growing regions like New England and the Pacific Northwest. It marries the Old World technique of the Tarte Tatin with the comforting, fluffy texture of American butter cakes, resulting in a timeless dessert that celebrates the harvest.
Why This Recipe Works
This recipe succeeds where others fail because it meticulously balances moisture content and structural integrity. Many fruit-based cakes suffer from being either too dry or delightfully soggy. Here, we solve that by pre-cooking the caramel topping slightly in the pan (or using melted butter) before adding the apples. This ensures the fruit begins to caramelize immediately upon entering the oven, rather than just steaming. We use firm, tart apples like Granny Smith or Honeycrisp because they hold their shape under heat; softer apples would turn into applesauce, ruining the beautiful geometric pattern on top.
Furthermore, the cake batter is specifically formulated to support the heavy, wet topping. We rely on a combination of butter and oil—butter for flavor, and oil to keep the crumb soft even when refrigerated. The addition of sour cream is the secret weapon; the acidity tenderizes the gluten strands in the flour, resulting in a plush, velvety crumb, while the extra fat ensures the cake remains moist for days. The spices are added to the dry ingredients to ensure even distribution, enveloping every bite in warmth. Finally, the ratio of brown sugar to butter in the topping creates a sauce that is thick enough to glaze the apples but fluid enough to soak slightly into the top layer of the sponge, creating a sticky, toffee-like interface that is arguably the best part of the cake.
Why You’ll Love This Recipe
- ✓Stunning Presentation: The caramelized apple pattern creates a beautiful, bakery-worthy look instantly.
- ✓Moist Texture: Sour cream and brown sugar ensure the cake stays soft and tender for days.
- ✓Seasonal Flavors: Packed with cinnamon, nutmeg, and fresh apples for the ultimate fall taste.
- ✓No Frosting Needed: The gooey caramel topping acts as a built-in glaze.
- ✓One-Pan Wonder: The topping and cake bake together, minimizing cleanup and fuss.
Equipment You’ll Need
- ✓9-inch round cake pan or cast-iron skillet
- ✓Electric hand mixer or stand mixer
- ✓Large mixing bowls
- ✓Apple peeler and corer
- ✓Measuring cups and spoons
- ✓Wire cooling rack
- ✓Spatula
Ingredients
- ✓TOPPING: 1/4 cup unsalted butter, melted
- ✓TOPPING: 1/2 cup packed light brown sugar
- ✓TOPPING: 1/2 tsp ground cinnamon
- ✓TOPPING: 2 large apples (Granny Smith or Honeycrisp), peeled, cored, and sliced 1/4 inch thick
- ✓CAKE: 1 1/2 cups all-purpose flour
- ✓CAKE: 1 1/2 tsp baking powder
- ✓CAKE: 1/4 tsp salt
- ✓CAKE: 1 tsp ground cinnamon
- ✓CAKE: 1/4 tsp ground nutmeg
- ✓CAKE: 1/2 cup unsalted butter, softened to room temperature
- ✓CAKE: 2/3 cup granulated sugar
- ✓CAKE: 2 large eggs, room temperature
- ✓CAKE: 1 tsp pure vanilla extract
- ✓CAKE: 1/2 cup full-fat sour cream or Greek yogurt
Instructions
- Preheat your oven to 350°F (175°C). Grease the sides of a 9-inch round cake pan with butter or non-stick spray.
- Prepare the topping: Pour the 1/4 cup of melted butter into the bottom of the cake pan, tilting to coat the bottom evenly.
- In a small bowl, mix the 1/2 cup brown sugar with 1/2 tsp cinnamon. Sprinkle this mixture evenly over the melted butter in the pan.
- Arrange the apple slices in a decorative pattern (concentric circles or a fan shape) on top of the sugar mixture. Pack them tightly as they will shrink slightly during baking.
- Prepare the cake batter: In a medium bowl, whisk together the flour, baking powder, salt, 1 tsp cinnamon, and nutmeg. Set aside.
- In a large bowl or stand mixer, cream the softened butter and granulated sugar together on medium-high speed until light and fluffy (about 3 minutes).
- Add the eggs one at a time, beating well after each addition. Scrape down the sides of the bowl. Mix in the vanilla extract.
- Reduce the mixer speed to low. Add half of the flour mixture, mixing just until combined.
- Add the sour cream (or yogurt) and mix until incorporated. Then, add the remaining flour mixture, mixing only until no dry streaks remain. Do not overmix.
- Gently spoon the thick batter over the arranged apples in the pan. Use an offset spatula to carefully spread the batter to the edges without disturbing the apple pattern underneath.
- Bake for 40-50 minutes, or until a toothpick inserted into the center of the cake comes out clean or with just a few moist crumbs.
- Remove from the oven and place on a wire rack. Let the cake cool in the pan for exactly 10-15 minutes.
- Place a serving platter upside down over the cake pan. Using oven mitts, firmly hold the platter and pan together and flip them over quickly. Lift the pan off to reveal the caramelized apples.
- Let the cake cool slightly before slicing. Serve warm.
Expert Cooking Tips
- ✓Room Temperature Ingredients: Ensure your butter, eggs, and sour cream are at room temperature. This creates a smoother emulsion and a fluffier cake.
- ✓Don’t Slice Apples Too Thin: If the slices are paper-thin, they might dissolve into the caramel. 1/4 inch is the sweet spot for texture.
- ✓The Flip Timing: Timing is critical. If you flip too soon, the cake might break. If you wait too long, the caramel will harden and stick to the pan. 10-15 minutes is perfect.
- ✓Spoon, Don’t Dump: When adding the batter, spoon dollops over the apples rather than pouring it all in the center. This prevents the apples from shifting out of their pattern.
- ✓Check for Doneness: Apple cakes can be deceptive. Make sure the toothpick test is done in the center of the cake, not hitting an apple slice.
Substitutions and Variations
This recipe is quite versatile if you need to make swaps based on dietary needs or pantry availability. For the fruit, pears are an excellent alternative to apples and offer a similar texture; peaches or plums work well in the summer. If you don’t have sour cream, you can substitute it with an equal amount of plain full-fat Greek yogurt or buttermilk (though buttermilk will make the batter slightly thinner). For a gluten-free version, use a high-quality 1:1 gluten-free baking flour blend that contains xanthan gum; the texture will remain surprisingly similar. If you want to reduce refined sugar, you can use coconut sugar instead of brown sugar for the topping, which adds a lovely deep caramel flavor. Dairy-free bakers can use plant-based butter sticks and a dairy-free yogurt alternative, though the caramelization might look slightly different.
Common Mistakes to Avoid
The most common mistake with upside-down cakes is letting the cake cool completely in the pan. As the sugar cools, it turns back into a hard candy-like consistency, gluing the fruit to the pan. If this happens, warm the bottom of the pan on a low burner for a minute to loosen the caramel before flipping. Another error is using ‘eating apples’ like Red Delicious or Gala; these tend to get mealy and mushy when baked. Always stick to baking apples like Granny Smith, Braeburn, or Honeycrisp. Lastly, overmixing the batter after adding the flour will lead to a tough, rubbery cake rather than a tender crumb. Stop mixing as soon as the flour disappears.
Serving Suggestions
This cake is best served warm, ideally within an hour or two of baking. It is spectacular on its own, but a scoop of high-quality vanilla bean ice cream melting into the warm caramel takes it to the next level. For a lighter option, a dollop of unsweetened whipped cream or crème fraîche cuts through the sweetness beautifully. A dusting of powdered sugar isn’t necessary due to the caramel top, but a sprinkle of toasted pecans or walnuts adds a nice crunch if you want extra texture. Pair it with a hot cup of coffee or a spiced chai latte for the ultimate afternoon treat.
Storage and Reheating Tips
Because this cake contains fresh fruit and a moist crumb, it is best stored in the refrigerator if you plan to keep it for more than 24 hours. For the first day, it can stay at room temperature covered loosely with foil or a cake dome. After that, transfer it to an airtight container in the fridge for up to 4 days. To reheat, microwave individual slices for 15-20 seconds to revive the soft texture and melt the caramel slightly. You can also freeze slices wrapped tightly in plastic wrap and foil for up to 2 months; thaw overnight in the fridge before reheating.
Nutrition Facts (Estimated)
| Serving Size | 1 slice |
| Calories | 380 |
| Fat | 16g |
| Saturated Fat | 9g |
| Unsaturated Fat | 6g |
| Trans Fat | 0g |
| Cholesterol | 65mg |
| Sodium | 180mg |
| Carbohydrates | 54g |
| Fiber | 2g |
| Sugar | 28g |
| Protein | 4g |
Frequently Asked Questions
Can I use a springform pan for this recipe?
It is risky to use a standard springform pan because the hot caramel and butter can leak out of the bottom seam, causing a mess in your oven. If you must use one, wrap the bottom tightly in heavy-duty foil and place it on a baking sheet.
Why did my apples stick to the pan?
This usually happens if the cake cooled for too long before flipping. The caramel hardens as it cools. If stuck, place the pan on a warm stovetop burner for 30-60 seconds to melt the sugar layer again, then try flipping.
Can I make this cake ahead of time?
Yes, but it is best served warm. You can bake it a day ahead, store it in the fridge, and then reheat slices or warm the whole cake in the oven at 300°F for 10-15 minutes before serving.
What are the best apples for baking?
Granny Smith are the gold standard for their tartness and firmness. Honeycrisp, Jonagold, and Braeburn are also excellent choices that hold their shape well.
Can I add nuts to the topping?
Absolutely! Pecans or walnuts make a delicious addition. Sprinkle about 1/2 cup of chopped nuts over the brown sugar and butter mixture before arranging the apples.
Why is my cake soggy in the middle?
The fruit releases juice as it cooks. If the cake is underbaked, that juice will make the batter soggy. Ensure you bake until a toothpick comes out clean, and don’t slice the apples too thick.
Can I use oil instead of butter in the cake?
You can substitute the butter in the cake batter with a neutral oil (like vegetable or canola) for an even moister crumb, but you will lose the rich buttery flavor. Do not substitute the butter in the topping.
How do I prevent the cake from doming too much?
Baking at a moderate temperature (350°F) helps. Also, using a baking strip around the pan can ensure even baking. However, for an upside-down cake, a slight dome is fine as it becomes the bottom!
Conclusion
This Moist Apple Upside Down Cake is more than just a recipe; it is a celebration of the season’s bounty. It brings together the nostalgic comfort of warm spices, the rustic charm of caramelized fruit, and the joy of sharing a homemade dessert with loved ones. Whether you are an experienced baker or a novice in the kitchen, this cake is forgiving, rewarding, and guaranteed to impress. The moment you flip that pan and reveal the glistening, golden mosaic of apples, you’ll understand why this classic dessert has stood the test of time. So, grab your apples, preheat that oven, and get ready to fill your home with the most incredible aroma imaginable. Happy baking!