Moist Chocolate Birthday Cake With Salted Caramel Frosting Recipe
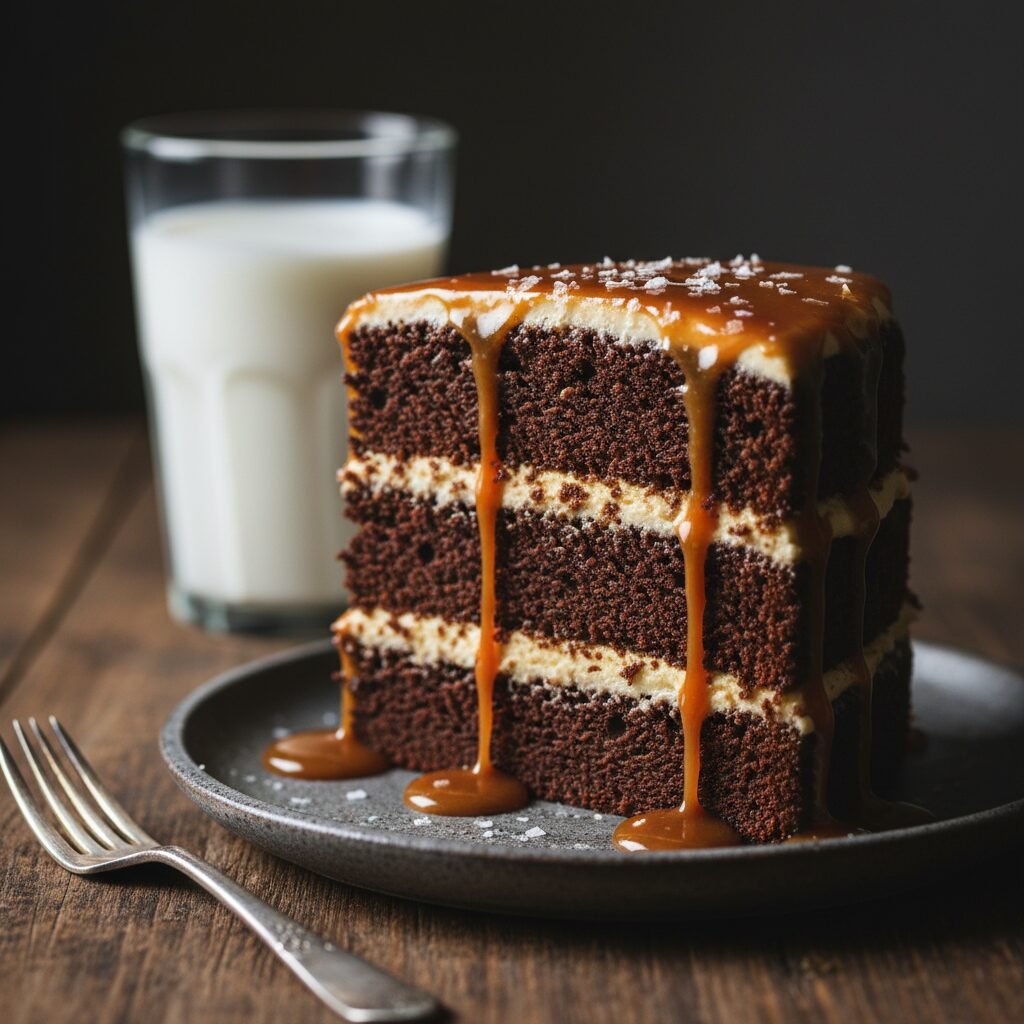
This is the gold standard for celebration desserts: a towering, three-layer masterpiece featuring an intensely dark, ultra-moist chocolate sponge paired with a luxurious, homemade salted caramel buttercream. It offers the perfect balance of deep cocoa richness and savory-sweet indulgence that stays moist for days.
45 minutes
35 minutes
1 hour 30 minutes
12-16 servings
Dessert
Baking
American
Vegetarian
There are few things in the culinary world as evocative and nostalgic as a classic chocolate birthday cake. It is the centerpiece of childhood memories and the guilty pleasure of adulthood. However, the search for the ‘perfect’ chocolate cake is often fraught with disappointment—dry crumbs, lackluster flavor, or frosting that is cloyingly sweet. This recipe puts an end to that search. We are talking about a cake so moist that it practically melts on your tongue, with a crumb structure that is sturdy enough to stack but tender enough to require a fork.
The secret lies in the specific chemistry of the batter, which utilizes oil instead of butter for superior moisture retention and hot coffee to bloom the cocoa powder, unlocking a depth of flavor that milk alone simply cannot achieve. But the cake is only half the story. The crowning glory is the Salted Caramel Frosting. We aren’t just adding caramel flavor; we are making a scratch caramel sauce—golden, buttery, and laced with sea salt—and whipping it into a fluffy buttercream. The result is a sophisticated twist on the classic birthday cake. The slight bitterness of the dark chocolate cuts through the sweetness of the caramel, while the salt highlights the nuances of both. Whether you are baking for a milestone birthday or simply craving a slice of decadence, this cake promises to be the showstopper your table deserves.
History & Origins
The history of the chocolate cake is a fascinating journey through culinary innovation. While chocolate has been consumed as a beverage for millennia, starting with the Mesoamericans, ‘chocolate cake’ as we know it is a relatively modern invention. Until the mid-19th century, chocolate was primarily a drink. It wasn’t until 1828, when Coenraad van Houten of the Netherlands developed a mechanical extraction method to separate cocoa butter from cacao liquor (the ‘Dutch Process’), that cocoa powder became accessible and affordable. This innovation paved the way for chocolate to be used as a baking ingredient.
The first recipes for chocolate cake appeared in American cookbooks in the late 1800s. Specifically, the ‘Devil’s Food Cake’ emerged around 1900, distinguishing itself from standard chocolate cakes by using more baking soda, which reacted with the cocoa to create a reddish hue and a lighter, airier texture.
The pairing with salted caramel is a much more recent phenomenon. Salted butter caramel (‘caramel au beurre salé’) was popularized in Brittany, France, by chocolatier Henri Le Roux in the late 1970s. However, the flavor profile didn’t explode globally until the late 2000s, when it became a staple in American haute cuisine and eventually trickled down to home baking. The combination of American Devil’s Food-style sponge with French-inspired salted caramel represents the beautiful globalization of dessert culture, merging old-world techniques with new-world tastes.
Why This Recipe Works
This recipe succeeds where others fail due to three critical chemical interactions. First, the use of vegetable oil rather than butter in the sponge. While butter provides flavor, it contains water (about 15-20%) which evaporates during baking, and milk solids which can dry out the crumb. Oil is 100% fat and remains liquid at room temperature, coating the flour proteins (gluten) more effectively and ensuring the cake stays moist for days, not just hours.
Second, the inclusion of boiling hot coffee is non-negotiable. Pouring hot liquid over cocoa powder is a technique called ‘blooming.’ This dissolves the cocoa butter and releases flavor compounds that are otherwise trapped, resulting in a chocolate taste that is profound rather than muted. Don’t worry—the cake does not taste like coffee; the java simply amplifies the cocoa.
Third, the salted caramel frosting relies on a ‘wet caramel’ method for the base. By cooking sugar and water before adding cream and butter, we create a complex, slightly bitter caramel backbone that prevents the buttercream from becoming one-dimensional sugary fluff. The addition of sea salt is the final key; it suppresses bitterness and enhances sweetness, making the flavors ‘pop’ on the palate.
Why You’ll Love This Recipe
- ✓Stays incredibly moist for up to 4 days thanks to the oil-based batter.
- ✓Intense chocolate flavor achieved by blooming cocoa with hot coffee.
- ✓The frosting is made with real homemade caramel sauce, not flavoring.
- ✓Perfect balance of sweet and salty prevents flavor fatigue.
- ✓Sturdy enough for tiered stacking but tender to eat.
- ✓Ideal for celebrations, creating a dramatic 3-layer presentation.
Equipment You’ll Need
- ✓Three 8-inch round cake pans
- ✓Stand mixer with paddle attachment
- ✓Large mixing bowls
- ✓Wire cooling rack
- ✓Heavy-bottomed saucepan (for caramel)
- ✓Candy thermometer (optional but recommended)
- ✓Offset spatula
- ✓Parchment paper
- ✓Whisk
Ingredients
- ✓3 cups (375g) all-purpose flour
- ✓3 cups (600g) granulated sugar
- ✓1 1/2 cups (130g) unsweetened cocoa powder (Dutch-processed preferred)
- ✓1 tablespoon baking soda
- ✓1 1/2 teaspoons baking powder
- ✓1 1/2 teaspoons fine sea salt
- ✓4 large eggs, room temperature
- ✓1 1/2 cups (360ml) buttermilk, room temperature
- ✓1 1/2 cups (360ml) warm water mixed with 2 tsp espresso powder (or strong hot coffee)
- ✓1/2 cup (120ml) vegetable oil or canola oil
- ✓2 teaspoons pure vanilla extract
- ✓FOR THE SALTED CARAMEL:
- ✓1 cup (200g) granulated sugar
- ✓6 tablespoons (85g) salted butter, cubed, room temperature
- ✓1/2 cup (120ml) heavy cream, room temperature
- ✓1 teaspoon sea salt flakes
- ✓FOR THE FROSTING:
- ✓1 1/2 cups (340g) unsalted butter, softened
- ✓4-5 cups (480g-600g) powdered sugar, sifted
- ✓1/3 cup homemade salted caramel (from above)
- ✓1-2 tablespoons heavy cream (if needed)
Instructions
- 1. PREHEAT & PREP: Preheat oven to 350°F (175°C). Grease three 8-inch round cake pans, line the bottoms with parchment paper, and grease the paper. Dust with cocoa powder and tap out excess.
- 2. WHISK DRY INGREDIENTS: In the bowl of a stand mixer or a large bowl, whisk together flour, 3 cups sugar, cocoa powder, baking soda, baking powder, and salt until fully combined and no lumps remain.
- 3. MIX WET INGREDIENTS: Add the eggs, buttermilk, warm water/coffee mixture, oil, and vanilla to the dry ingredients.
- 4. BEAT BATTER: Beat on medium speed for about 2 minutes. The batter will be very thin and liquidy—this is normal. Do not overmix, but ensure the bottom of the bowl is scraped.
- 5. BAKE: Divide batter evenly among the three prepared pans (use a kitchen scale for accuracy). Bake for 30-35 minutes, or until a wooden toothpick inserted into the center comes out clean or with just a few moist crumbs.
- 6. COOL: Cool in pans for 15 minutes, then run a knife around the edge and invert onto wire racks to cool completely before frosting.
- 7. MAKE CARAMEL: While cakes cool, place 1 cup sugar in a heavy saucepan over medium heat. Stir constantly until sugar melts and turns an amber liquid. Add the 6 tbsp butter (careful, it will bubble violently). Stir until melted (2 mins). Slowly pour in heavy cream while stirring. Boil for 1 minute. Remove from heat, stir in salt, and let cool completely.
- 8. MAKE FROSTING: Beat the 1.5 cups unsalted butter on medium-high speed until creamy (3 mins). Reduce speed to low and gradually add powdered sugar. Once incorporated, increase speed to high and beat for 3 minutes until fluffy.
- 9. COMBINE: Add 1/3 cup of the cooled salted caramel sauce to the frosting and beat until combined. Add a pinch more salt if desired. If too soft, add more sugar; if too stiff, add a splash of cream.
- 10. ASSEMBLE: Place one cake layer on a stand. Top with frosting. Drizzle a little extra caramel sauce in the center if desired. Repeat with remaining layers. Frost the outside with remaining buttercream and drizzle with leftover caramel.
Expert Cooking Tips
- ✓Use room temperature ingredients (eggs, buttermilk) to ensure the batter emulsifies properly.
- ✓Don’t skip the parchment paper; these cakes are very moist and can stick to the bottom of pans easily.
- ✓If you don’t have buttermilk, make a substitute by adding 1 tablespoon of vinegar or lemon juice to a measuring cup and filling to the 1.5 cup line with milk. Let sit for 5 minutes.
- ✓Cool the caramel sauce completely before adding it to the buttercream, or it will melt the butter and ruin the texture.
- ✓Weigh your flour if possible (125g per cup) to avoid a dense cake caused by packing too much flour into the cup.
- ✓Tap the pans on the counter before baking to release large air bubbles.
- ✓For clean slices, dip your knife in hot water and wipe it dry between each cut.
Substitutions and Variations
This recipe is quite versatile if you need to make swaps. For the flour, you can use a high-quality 1:1 Gluten-Free All-Purpose Baking Flour blend; look for one that contains xanthan gum. If you are avoiding caffeine, decaf coffee works perfectly, or you can substitute the coffee with hot water or hot milk, though the chocolate flavor will be slightly less intense. For the buttermilk, a mixture of sour cream and milk (50/50 ratio) is an excellent substitute, or use the vinegar/milk hack mentioned in the tips. For a dairy-free version, use a plant-based milk mixed with vinegar for the buttermilk, and swap the butter in the frosting for high-quality vegan butter sticks. Note that making dairy-free caramel is tricky; coconut cream can be used in place of heavy cream, but the flavor profile will shift to coconut-caramel.
Common Mistakes to Avoid
The most common mistake with this cake is over-baking. Because the batter is dark, it is hard to see visually when it is done. Rely on the toothpick test; if it comes out bone dry, you have likely gone too far. It should have a few moist crumbs attached. Another error is adding the coffee when it isn’t hot enough; the heat is required to bloom the cocoa. Conversely, when making the frosting, adding caramel that is still warm is a disaster—it will turn your buttercream into a soup. Ensure the caramel is room temperature or slightly chilled. Finally, do not rush the cooling process of the cakes. If you try to frost a warm cake, the layers will slide off and the frosting will melt.
Serving Suggestions
This cake is rich, so thin slices are often sufficient. Serve it at room temperature; if the cake has been refrigerated, let it sit out for 30-60 minutes before serving to allow the buttercream to soften and the truffle-like texture of the crumb to return. A scoop of high-quality vanilla bean ice cream is the classic accompaniment, as the cold creaminess cuts through the rich chocolate. For a sophisticated touch, serve with a glass of cold milk or a shot of espresso. You can garnish the top with store-bought caramel popcorn, shards of dark chocolate, or a generous sprinkling of Maldon sea salt flakes for crunch.
Storage and Reheating Tips
Due to the dairy in the buttercream and the moist nature of the cake, it is best stored in an airtight container. It can stay at cool room temperature for up to 2 days, but for longer storage (up to 5 days), keep it in the refrigerator. The cake is actually easier to slice when cold. If you want to freeze it, you can freeze the unfrosted layers wrapped tightly in plastic wrap for up to 3 months. You can also freeze individual slices of the finished cake; place them on a baking sheet to freeze the frosting solid, then wrap tightly in plastic wrap and foil. Thaw in the fridge overnight before eating.
Nutrition Facts (Estimated)
| Serving Size | 1 slice |
| Calories | 680 |
| Fat | 38g |
| Saturated Fat | 18g |
| Unsaturated Fat | 18g |
| Trans Fat | 0g |
| Cholesterol | 85mg |
| Sodium | 340mg |
| Carbohydrates | 82g |
| Fiber | 4g |
| Sugar | 55g |
| Protein | 6g |
Frequently Asked Questions
Can I make this cake ahead of time?
Yes! The cake layers actually taste better the next day as the flavors meld. You can bake the layers, wrap them in plastic, and store them at room temperature overnight or freeze them for up to a month before assembling.
Why is the batter so runny?
This is a high-liquid batter due to the milk, oil, and coffee. This is intentional and ensures the final cake is extremely moist. Do not add more flour to thicken it.
Can I use baking powder instead of baking soda?
No. This recipe relies on the acidity of the buttermilk and brown sugar/cocoa to react with the baking soda for the rise. Baking powder alone won’t provide the same lift or texture.
My caramel crystallized, what happened?
Crystallization happens if undissolved sugar crystals get into the syrup. Avoid stirring once the sugar starts boiling, and use a wet pastry brush to wipe down the sides of the pot while cooking.
Can I make this as cupcakes?
Absolutely. This recipe yields about 24-30 standard cupcakes. Bake them at 350°F for 18-22 minutes.
Do I have to use Dutch-processed cocoa?
Dutch-processed cocoa is less acidic and darker, providing a fudgier texture. You can use natural cocoa, but the cake will be lighter in color and slightly tangier.
The frosting is too sweet, how can I fix it?
Add a pinch more salt or a teaspoon of lemon juice to cut the sweetness. Ensure you are using unsalted butter as the base so you can control the salt level.
Can I use instant coffee?
Yes, dissolve 2 teaspoons of instant coffee or espresso powder into 1.5 cups of boiling water.
Conclusion
There is something truly magical about placing a homemade, triple-layer chocolate cake on the table. It signals that the occasion is special, that time and love were poured into the process. This Moist Chocolate Birthday Cake with Salted Caramel Frosting is more than just a recipe; it’s a reliable companion for your most cherished celebrations. The deep, dark chocolate crumb combined with the buttery, salty-sweet caramel creates a flavor memory that guests won’t soon forget. So preheat that oven, brew some strong coffee, and get ready to bake the best birthday cake of your life. Happy baking!

