Moist Chocolate Fudge Cake With Chocolate Chips Recipe
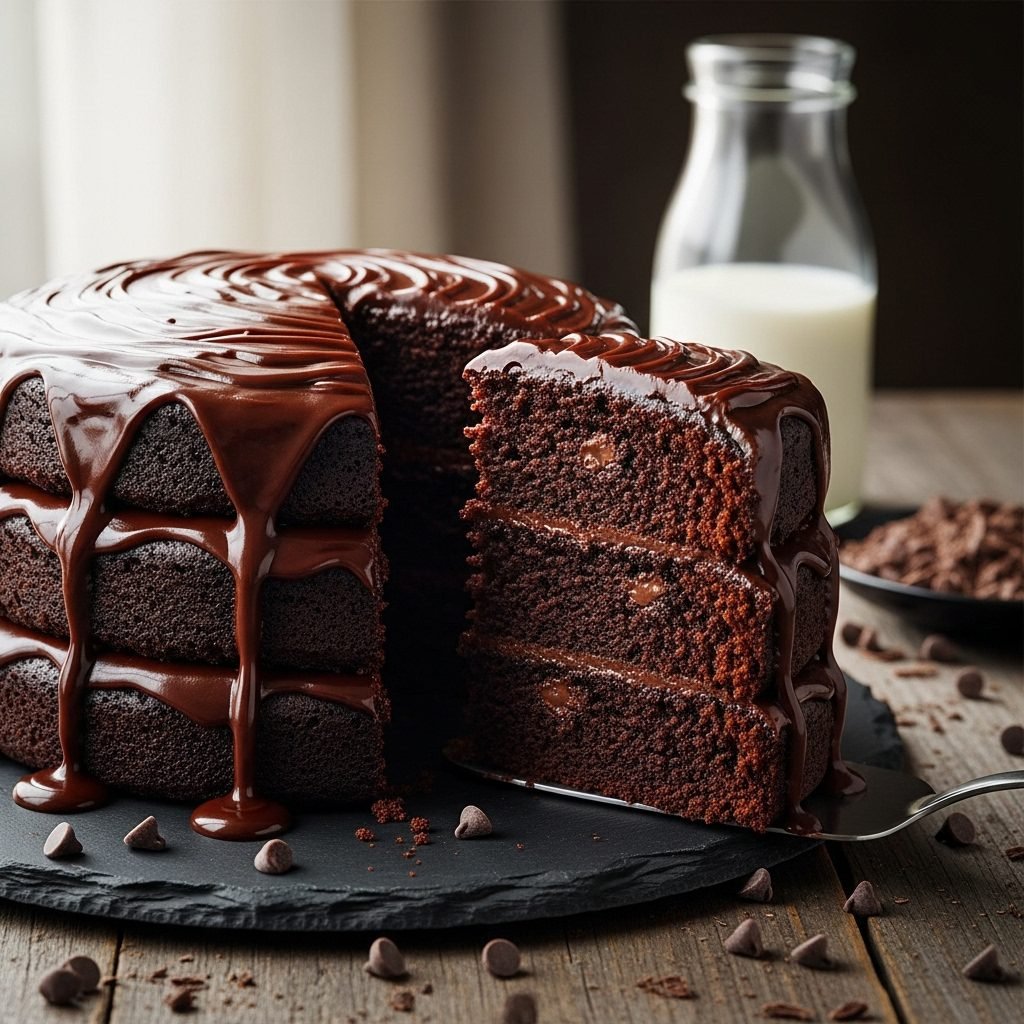
Prepare yourself for the most decadent dessert experience of your life. This Moist Chocolate Fudge Cake is incredibly rich, studded with melting chocolate chips, and boasts a tender crumb that stays soft for days. It is the perfect centerpiece for birthdays or simply satisfying a serious chocolate craving.
20 minutes
35 minutes
55 minutes
12-15 servings
Dessert
Baking
American
Vegetarian
There is something undeniably therapeutic about baking a chocolate cake from scratch, but not just any cake—we are talking about the kind of cake that halts conversation and elicits groans of pure delight. This Moist Chocolate Fudge Cake with Chocolate Chips is the culmination of years of testing to find the perfect balance between a light, airy crumb and the dense, fudgy texture of a brownie. Unlike dry, lackluster sponges that rely heavily on frosting for moisture, this cake stands proudly on its own, though a layer of silk chocolate ganache certainly doesn’t hurt.
What sets this recipe apart is the depth of flavor. We aren’t just using cocoa powder; we are blooming it in hot coffee to awaken the complex notes of the chocolate bean, ensuring every bite is intensely chocolatey without being overly bitter. The addition of semi-sweet chocolate chips folded into the batter creates pockets of molten goodness that offer a delightful textural contrast to the soft sponge. Whether you are a novice baker or a seasoned pro, this recipe is designed to be foolproof, requiring just a few bowls and standard pantry staples. It is the kind of dessert that memories are made of—perfect for Sunday family dinners, holiday celebrations, or those late-night moments when only chocolate will do. Get your milk ready, because this is one rich slice of heaven.
History & Origins
The history of chocolate cake is a fascinating journey that mirrors the evolution of baking technology and ingredient availability. Before the mid-19th century, chocolate was primarily consumed as a beverage. It wasn’t until 1828, when Coenraad van Houten discovered a way to mechanically extract fat from cacao liquor to produce cocoa powder, that baking with chocolate became feasible. However, the earliest ‘chocolate cakes’ were actually yellow cakes with chocolate frosting. It wasn’t until 1886 that cooks began adding chocolate directly into the batter, giving rise to what we now know as Devil’s Food Cake.
The term ‘Devil’s Food’ emerged in the early 20th century, likely as a playful contrast to the light and airy Angel Food Cake. The reaction between baking soda and natural cocoa powder gave the cake a reddish hue and a distinctively light texture. As baking science progressed through the 1900s, recipes evolved to include ingredients like buttermilk and oil to enhance moisture retention. The addition of chocolate chips is a more modern American innovation, popularized after Ruth Wakefield’s invention of the chocolate chip cookie in the 1930s. Bakers eventually realized that suspending these morsels in cake batter provided a luxurious, melting texture that cocoa powder alone could not achieve. Today, the chocolate fudge cake represents the pinnacle of American comfort desserts, a symbol of celebration and indulgence deeply rooted in our culinary culture.
Why This Recipe Works
This recipe succeeds where many others fail due to three critical scientific principles: fat selection, acidity, and the ‘blooming’ technique. First, we use vegetable oil instead of butter as the primary fat. While butter offers flavor, it is solid at room temperature, which can lead to a drier cake once cooled. Oil remains liquid, coating the flour proteins and ensuring the cake stays incredibly moist and tender for days. Second, the inclusion of buttermilk provides necessary acidity. This acid reacts vigorously with the baking soda, creating carbon dioxide bubbles that lift the heavy batter, resulting in a soft, springy crumb rather than a dense brick. It also tenderizes the gluten strands, preventing toughness.
Finally, and perhaps most importantly, is the step of mixing boiling hot coffee with the cocoa powder. This process, known as ‘blooming,’ dissolves the cocoa butter and releases flavor compounds that are otherwise trapped. The heat creates a more intense, robust chocolate flavor that cold mixing simply cannot replicate. The coffee itself does not impart a mocha flavor; rather, it acts as a flavor enhancer, deepening the chocolate notes. The chocolate chips are tossed in a small amount of flour before being added; this friction prevents them from sinking to the bottom, ensuring every bite has that perfect mix of cake and molten chocolate.
Why You’ll Love This Recipe
- ✓Incredibly moist texture that lasts for days
- ✓Deep, intense chocolate flavor enhanced by hot coffee
- ✓Melting chocolate chips in every bite
- ✓Simple, no-mixer-required preparation
- ✓Perfect for layer cakes or a simple sheet cake
- ✓Crowd-pleasing recipe suitable for beginners
Equipment You’ll Need
- ✓Two 9-inch round cake pans or one 9×13 inch pan
- ✓Large mixing bowl
- ✓Medium mixing bowl
- ✓Whisk
- ✓Rubber spatula
- ✓Measuring cups and spoons
- ✓Wire cooling rack
- ✓Parchment paper
Ingredients
- ✓2 cups all-purpose flour
- ✓2 cups granulated sugar
- ✓3/4 cup unsweetened cocoa powder (high quality)
- ✓2 teaspoons baking powder
- ✓1 1/2 teaspoons baking soda
- ✓1 teaspoon salt
- ✓1 cup buttermilk, room temperature
- ✓1/2 cup vegetable oil (or canola oil)
- ✓2 large eggs, room temperature
- ✓2 teaspoons pure vanilla extract
- ✓1 cup boiling hot coffee (strong brewed)
- ✓1 1/2 cups semi-sweet chocolate chips
- ✓1 tablespoon flour (for coating chips)
Instructions
- Preheat your oven to 350°F (175°C). Grease two 9-inch round cake pans and line the bottoms with parchment paper for easy removal. Dust the sides with cocoa powder.
- In a large mixing bowl, sift together the 2 cups of flour, sugar, cocoa powder, baking powder, baking soda, and salt. Whisk thoroughly to ensure all dry ingredients are evenly distributed.
- In a separate medium bowl, whisk together the buttermilk, vegetable oil, eggs, and vanilla extract until the mixture is smooth and fully combined.
- Pour the wet ingredients into the dry ingredients. Use a whisk or electric mixer on low speed to mix until just combined. Do not overmix at this stage.
- Carefully pour the boiling hot coffee into the batter. Whisk gently until the batter is smooth. Note: The batter will be very thin and liquidy; this is completely normal and essential for a moist cake.
- In a small bowl, toss the chocolate chips with 1 tablespoon of flour. This helps suspend them in the batter so they don’t sink to the bottom.
- Gently fold the flour-coated chocolate chips into the thin batter using a rubber spatula.
- Divide the batter evenly between the prepared cake pans.
- Bake for 30-35 minutes, or until a wooden toothpick inserted into the center comes out clean or with just a few moist crumbs attached. Be careful not to hit a melted chocolate chip when testing.
- Remove the cakes from the oven and let them cool in the pans for about 10-15 minutes. This allows the structure to set.
- Invert the cakes onto a wire rack to cool completely before frosting. Do not attempt to frost while warm, or the frosting will melt.
Expert Cooking Tips
- ✓Room Temperature Ingredients: Ensure your eggs and buttermilk are at room temperature to create a better emulsion and a more uniform rise.
- ✓Quality Cocoa: Use a high-quality Dutch-processed cocoa powder for a darker color and smoother, less acidic flavor.
- ✓Don’t Overbake: Start checking the cake at the 30-minute mark. Overbaking is the number one cause of dry cake.
- ✓Flour the Chips: Never skip coating the chocolate chips in flour; otherwise, you will end up with a layer of chocolate at the bottom of the pan.
- ✓Cooling is Key: Let the cake cool in the pan for at least 10 minutes. If you try to flip it too soon, the tender crumb might cause it to break apart.
- ✓Coffee Substitute: If you can’t use coffee, boiling water works, but coffee enhances the chocolate flavor significantly without adding coffee taste.
- ✓Weigh Ingredients: For the most consistent results, use a kitchen scale to weigh your flour and sugar.
Substitutions and Variations
Baking is a science, but there is room for flexibility with the right knowledge. If you do not have buttermilk, you can make a homemade sour milk substitute by adding one tablespoon of white vinegar or lemon juice to a cup of regular milk and letting it sit for 5 minutes. For a gluten-free version, swap the all-purpose flour for a high-quality 1:1 gluten-free baking flour blend that includes xanthan gum. If you are out of vegetable oil, melted coconut oil or melted butter can be used, though butter will result in a slightly denser texture. For the eggs, applesauce (1/4 cup per egg) or a flax egg (1 tbsp ground flaxseed mixed with 3 tbsp water) can work, although the cake may not rise quite as high. Finally, regarding the coffee: if you are sensitive to caffeine, decaf coffee works perfectly, or simply use boiling water, though the chocolate flavor will be slightly less robust.
Common Mistakes to Avoid
The most common mistake when making this cake is over-measuring the flour. If you scoop the flour directly with the measuring cup, you pack it down and can end up with 20% more flour than the recipe calls for, resulting in a dry cake. Always use the ‘spoon and level’ method or a kitchen scale. Another frequent error is overmixing the batter after adding the flour. Once the wet and dry ingredients meet, gluten begins to form. Overmixing creates a tough, rubbery cake instead of a tender one. Lastly, do not open the oven door repeatedly during baking. This releases heat and can cause the cake to collapse in the center. Trust your timer and the oven window.
Serving Suggestions
This cake is incredibly versatile in how it can be served. For a classic birthday approach, frost it with a rich chocolate buttercream or a silky ganache. If you prefer something lighter to cut through the richness, a stabilizing whipped cream with fresh raspberries or strawberries is an elegant choice. For a warm dessert experience, serve a slice slightly warmed in the microwave for 15 seconds with a scoop of vanilla bean ice cream and a drizzle of salted caramel sauce. It also pairs beautifully with a tall glass of cold milk or a hot espresso.
Storage and Reheating Tips
Because this cake is oil-based, it stays moist longer than butter-based cakes. It can be stored at room temperature in an airtight container or cake dome for up to 3 days. If you have frosted it with a perishable frosting (like cream cheese or whipped cream), it must be refrigerated. To freeze, wrap individual unfrosted layers tightly in plastic wrap, followed by a layer of aluminum foil. They can be frozen for up to 3 months. Thaw overnight in the refrigerator or on the counter for a few hours before frosting and serving.
Nutrition Facts (Estimated)
| Serving Size | 1 slice |
| Calories | 450 |
| Fat | 22g |
| Saturated Fat | 6g |
| Unsaturated Fat | 14g |
| Trans Fat | 0g |
| Cholesterol | 45mg |
| Sodium | 320mg |
| Carbohydrates | 60g |
| Fiber | 4g |
| Sugar | 35g |
| Protein | 6g |
Frequently Asked Questions
Can I make this cake ahead of time?
Absolutely. In fact, the flavor and texture often improve the next day as the moisture redistributes. You can bake the layers one day in advance, wrap them tightly in plastic wrap once cool, and frost them the next day.
Why is the batter so runny?
The batter is intentionally thin because of the high liquid content (buttermilk, oil, coffee). This hydration is necessary for the cocoa powder to bloom and for the cake to remain moist after baking. Do not add extra flour to thicken it.
Can I use milk chocolate chips instead of semi-sweet?
Yes, you can, but be aware that the cake is already quite sweet. Semi-sweet or dark chocolate chips provide a nice balance to the sugar in the batter. Milk chocolate chips might make the final product overly sweet for some palates.
My chocolate chips sank to the bottom. What happened?
This usually happens if the batter is too thin or the chips weren’t coated in flour. Ensure you toss the chips in 1 tablespoon of flour before folding them in, and try not to overmix the batter which can reduce its suspension ability.
Can I bake this as cupcakes?
Yes! This recipe makes excellent cupcakes. Line a muffin tin with liners and fill them 2/3 full. Bake at 350°F for 18-22 minutes. It should yield approximately 24-30 cupcakes.
Do I have to use coffee?
No, coffee is not mandatory, but it is highly recommended for depth of flavor. If you dislike coffee or are baking for children who are sensitive to caffeine, you can use boiling water or even hot milk as a substitute.
Why did my cake sink in the middle?
Sinking usually happens if the oven door was opened too early, the cake was underbaked, or there was too much leavening agent (baking soda/powder). Ensure your oven temperature is accurate using an oven thermometer.
Is Dutch-process or natural cocoa powder better?
This recipe uses both baking soda and baking powder, so it is quite forgiving. However, natural cocoa powder tends to react better with the baking soda to provide lift. If using Dutch-process, the cake will be darker and fudgier but might rise slightly less.
Conclusion
There are thousands of chocolate cake recipes on the internet, but few deliver the perfect trifecta of ease, flavor, and texture like this Moist Chocolate Fudge Cake with Chocolate Chips. It is a testament to how simple ingredients, when treated with the right techniques like blooming cocoa and balancing fats, can transform into a bakery-quality masterpiece. Whether you are celebrating a milestone or just surviving a Tuesday, this cake is a reliable friend that promises comfort in every crumb. We hope this becomes your new go-to standard for all things chocolate. Happy baking!

