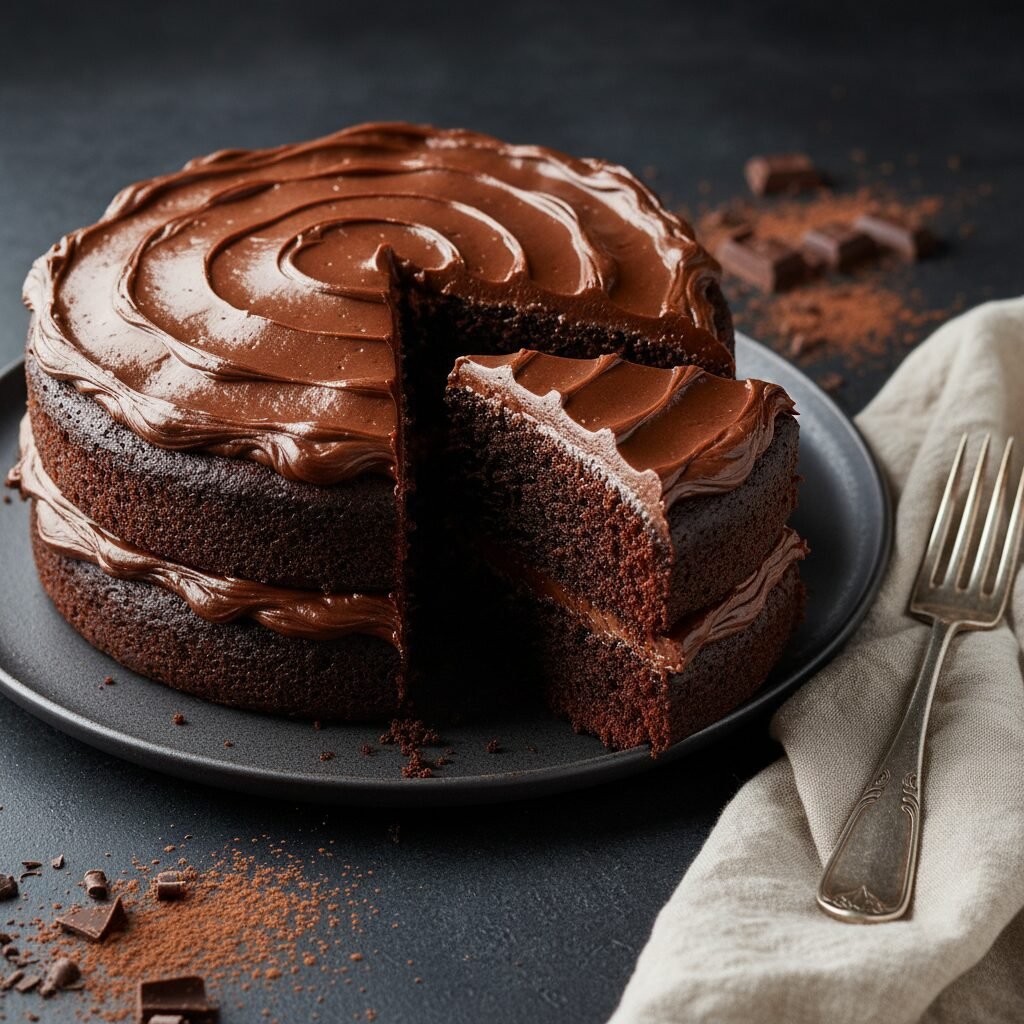
Moist Chocolate Layer Cake For Two Layers Recipe
Discover the secret to the most decadent, melt-in-your-mouth chocolate cake you’ve ever tasted. This foolproof recipe yields two perfectly risen, deeply chocolatey layers that stay moist for days, making it the ultimate centerpiece for birthdays, anniversaries, or any chocolate lover’s craving.
25 minutes
35 minutes
1 hour 10 minutes
12-14 servings
Dessert
Baking
American
Vegetarian
If you have been endlessly searching for the holy grail of chocolate cakes—the one that promises a tender crumb, profound cocoa flavor, and moisture that lasts for days—your search officially ends here. This Moist Chocolate Layer Cake for two layers is not just another recipe; it is a culinary revelation that balances the richness of premium cocoa with the scientific precision of baking chemistry. Picture this: a fork gliding effortlessly through a dark, velvety sponge that is neither too dense nor too airy, but possesses that perfect, fudgy resistance that defines a true bakery-style masterpiece.
Many home bakers struggle with chocolate cakes that turn out dry or crumbly, often due to the over-reliance on butter or the lack of proper acidity. This recipe changes the narrative by utilizing a specific blend of oil and buttermilk, ensuring that the fats remain liquid at room temperature, which translates directly to a sensation of moistness on the palate. Furthermore, the inclusion of hot coffee is the secret weapon here; it doesn’t make the cake taste like espresso, but rather blooms the cocoa powder, unlocking complex flavor notes that cold liquids simply cannot release.
Whether you are a novice baker looking to impress your family or a seasoned pro wanting to update your repertoire, this cake is designed to be forgiving yet spectacular. We are talking about a dessert that demands a tall glass of cold milk and a moment of silence to appreciate. It serves as the perfect canvas for a classic chocolate buttercream, a silky ganache, or even a simple dusting of powdered sugar. Get ready to fill your kitchen with the intoxicating aroma of baking chocolate and create a memory that will linger on your taste buds long after the last crumb is gone.
History & Origins
The history of the chocolate cake is a fascinating journey through culinary evolution, mirroring the industrial advancements in chocolate production itself. Before the mid-19th century, chocolate was primarily consumed as a beverage. It wasn’t until 1828, when Conrad Van Houten of the Netherlands discovered a way to mechanically press the fat from cacao liquor to produce cocoa powder, that the possibility of a chocolate cake as we know it began to take shape. This process, known as ‘Dutching,’ made chocolate more affordable and easier to bake with.
However, early ‘chocolate cakes’ were actually yellow cakes served with chocolate frosting. It wasn’t until the late 1800s and early 1900s that cooks began incorporating chocolate directly into the batter. The first recipes were often termed ‘Devil’s Food Cake,’ a name that appeared in print around 1902. The ‘Devil’s’ moniker was likely a playful contrast to the stark white ‘Angel Food Cake,’ referencing the cake’s dark, rich color and sinfully dense texture.
During the Great Depression, baking evolved out of necessity. Ingredients like milk and butter were scarce and expensive, leading to the innovation of recipes using oil and vinegar or coffee to enhance flavor and texture without breaking the bank. This era solidified the technique of using oil for moisture, a method that remains superior for certain types of cakes today. Over the decades, the American chocolate layer cake became a staple of birthday parties and diners, symbolizing celebration and comfort. Today, this two-layer recipe pays homage to that rich lineage, combining the traditional Devil’s Food tenderness with modern techniques to ensure a fail-proof rise and an intensely deep flavor profile that honors its historical roots.
Why This Recipe Works
This recipe succeeds where others fail because it is built on a solid foundation of food chemistry designed specifically for moisture retention and flavor amplification. First and foremost, the use of vegetable oil instead of butter is critical. While butter adds flavor, it is about 80% fat and 20% water, and it solidifies at room temperature. Oil is 100% fat and remains liquid at room temperature. This means that when the cake cools, it stays incredibly soft and moist rather than firming up, giving you that melt-in-your-mouth texture.
Secondly, the inclusion of buttermilk provides necessary acidity. This acid reacts vigorously with the baking soda (a base), creating carbon dioxide bubbles that lift the heavy batter, resulting in a tender, airy crumb that supports the cake’s structure without becoming dense. The acidity also works to tenderize the gluten strands in the flour, preventing the cake from becoming tough or chewy.
Finally, the ‘blooming’ technique used here—mixing boiling hot coffee with the cocoa powder—is a game-changer. Cocoa powder is essentially dried solids; adding hot liquid dissolves the cocoa butter and hydrates the starch particles immediately, intensifying the chocolate flavor and ensuring a smooth, lump-free batter. The coffee underscores the chocolate notes, making them taste more ‘chocolatey’ without imparting a distinct coffee flavor. Combined with a mix of white and brown sugars—where brown sugar adds hygroscopic properties to draw in moisture—this recipe creates a synergy of ingredients that guarantees a perfect bake every single time.
Why You’ll Love This Recipe
- ✓Stays moist for up to 5 days due to oil-based batter.
- ✓Deep, intense chocolate flavor enhanced by hot coffee.
- ✓Yields two tall, sturdy layers perfect for frosting.
- ✓No mixer required; can be made with two bowls and a whisk.
- ✓Versatile base that pairs with any frosting or filling.
- ✓Foolproof chemistry using buttermilk for a tender crumb.
Equipment You’ll Need
- ✓Two 9-inch round cake pans
- ✓Parchment paper
- ✓Large mixing bowl
- ✓Medium mixing bowl
- ✓Whisk
- ✓Rubber spatula
- ✓Wire cooling rack
- ✓Measuring cups and spoons
Ingredients
- ✓2 cups all-purpose flour
- ✓2 cups granulated sugar
- ✓3/4 cup unsweetened cocoa powder (preferably Dutch-processed)
- ✓2 teaspoons baking soda
- ✓1 teaspoon baking powder
- ✓1 teaspoon sea salt
- ✓1 cup buttermilk, room temperature
- ✓1/2 cup vegetable oil (or canola oil)
- ✓2 large eggs, room temperature
- ✓2 teaspoons pure vanilla extract
- ✓1 cup freshly brewed hot coffee (or hot water)
Instructions
- Preheat your oven to 350°F (175°C). Prepare two 9-inch round cake pans by greasing them lightly with butter or cooking spray and lining the bottoms with parchment paper. Dust the sides with a little flour or cocoa powder and tap out the excess.
- In a large mixing bowl, sift together the all-purpose flour, granulated sugar, cocoa powder, baking soda, baking powder, and sea salt. Whisk the dry ingredients thoroughly to ensure everything is evenly distributed.
- In a separate medium bowl, whisk together the buttermilk, vegetable oil, eggs, and vanilla extract until the mixture is fully combined and the eggs are broken up.
- Pour the wet ingredient mixture into the bowl with the dry ingredients. Use a mixer on low speed or a hand whisk to mix until just combined. Do not overmix at this stage.
- Slowly pour the hot coffee into the batter while whisking gently. The batter will become very thin and liquidy; this is completely normal and essential for the moisture of the cake.
- Divide the batter evenly between the two prepared cake pans. You can use a kitchen scale to ensure the layers are exactly the same size.
- Bake in the center rack of the oven for 30 to 35 minutes. Test for doneness by inserting a wooden toothpick into the center of the cake; it should come out clean or with just a few moist crumbs attached.
- Remove the cakes from the oven and let them cool in the pans for about 10 to 15 minutes. This helps them set and makes them easier to remove.
- Run a knife gently around the edges to loosen the cakes, then invert them onto a wire cooling rack. Remove the parchment paper carefully and allow the cakes to cool completely to room temperature before frosting.
Expert Cooking Tips
- ✓Ensure all cold ingredients (eggs, buttermilk) are at room temperature to prevent the batter from seizing.
- ✓Do not skip the parchment paper; it guarantees your cake layers won’t stick to the bottom.
- ✓Use high-quality cocoa powder for the best flavor depth.
- ✓Don’t be alarmed by the thin batter; the chemical reaction in the oven will firm it up perfectly.
- ✓If you don’t drink coffee, hot water works, but coffee enhances the chocolate flavor significantly.
- ✓Weigh your flour if possible (approx. 120g per cup) to avoid a dense cake.
- ✓Let the cakes cool completely before frosting, or the frosting will melt and slide off.
Substitutions and Variations
Baking is a science, but there is some room for flexibility if you find yourself missing an ingredient. If you do not have buttermilk, you can make a quick DIY version by adding one tablespoon of white vinegar or lemon juice to a cup of whole milk and letting it sit for 5 minutes until it curdles. For the vegetable oil, melted coconut oil or canola oil are excellent 1:1 replacements; avoid using olive oil as its flavor is too strong. To make this cake gluten-free, swap the all-purpose flour for a high-quality 1:1 gluten-free baking flour blend that includes xanthan gum. If you need an egg-free version, commercial egg replacers or a ‘flax egg’ (1 tbsp ground flaxseed meal + 3 tbsp water per egg) work reasonably well, though the cake may be slightly denser. Finally, if you want to avoid caffeine, decaf coffee works perfectly, or simply use boiling water.
Common Mistakes to Avoid
The most common mistake home bakers make is over-measuring the flour. Scooping flour directly from the bag packs it down, leading to a dry, dense cake. Always fluff the flour, spoon it into the cup, and level it off with a knife. Another pitfall is opening the oven door too early. Checking the cake before the structure has set can cause the center to collapse due to the sudden drop in temperature. Overmixing the batter once the flour is added is another error; this develops gluten and results in a tough, chewy texture rather than a tender crumb. Lastly, frosting the cake while it is still warm is a disaster waiting to happen—patience is key. Ensure the layers are cool to the touch before assembly.
Serving Suggestions
This rich chocolate cake is a versatile canvas for various toppings. For a classic approach, frost it with a dark chocolate buttercream or a Swiss meringue buttercream. If you prefer something lighter, a simple whipped cream frosting with fresh berries (raspberries or strawberries cut through the richness beautifully) is an elegant choice. For a truly decadent dessert, serve a slice slightly warmed with a scoop of vanilla bean ice cream and a drizzle of salted caramel sauce. A dusting of powdered sugar and some edible flowers can also turn this rustic cake into a stunning centerpiece for a tea party or brunch.
Storage and Reheating Tips
Because this cake is oil-based, it stays moist longer than butter-based cakes. An unfrosted cake can be wrapped tightly in plastic wrap and stored at room temperature for up to 2 days. Once frosted, it is best stored in an airtight cake carrier at room temperature for 3-4 days, unless the frosting contains perishable ingredients like cream cheese or whipped cream, in which case it must be refrigerated. If refrigerating, bring the cake to room temperature before serving for the best texture. For long-term storage, wrap the individual cooled cake layers in plastic wrap and then aluminum foil, and freeze for up to 3 months. Thaw in the refrigerator overnight before frosting.
Nutrition Facts (Estimated)
| Serving Size | 1 slice (1/12 of cake) |
| Calories | 580 |
| Fat | 32g |
| Saturated Fat | 10g |
| Unsaturated Fat | 20g |
| Trans Fat | 0g |
| Cholesterol | 65mg |
| Sodium | 320mg |
| Carbohydrates | 72g |
| Fiber | 4g |
| Sugar | 45g |
| Protein | 6g |
Frequently Asked Questions
Can I bake this in a 9×13 inch pan instead of rounds?
Yes, absolutely. Pour the batter into a greased 9×13 inch pan and increase the baking time slightly to about 35-45 minutes. Always check with a toothpick.
Why does my cake have a dome on top?
Doming happens when the edges set faster than the center. You can use ‘cake strips’ wrapped around the pan to insulate the edges for a flatter bake, or simply trim the dome off with a serrated knife before frosting.
Can I use Dutch-processed cocoa powder?
Yes, and it is often recommended for a darker color and smoother flavor. However, because this recipe uses baking soda, natural cocoa powder also works well. Dutch-processed will give a fudgier result.
My batter is extremely runny, did I do something wrong?
Not at all! This recipe produces a very thin, liquid batter. This is necessary for the hydration of the cocoa and the moisture of the final crumb. Trust the process.
Can I make cupcakes with this recipe?
Yes, this batter makes excellent cupcakes. Fill liners about 2/3 full and bake for 18-22 minutes at 350°F.
How do I prevent the cake from sticking to the pan?
Parchment paper is the best insurance. Grease the pan, place a parchment circle in the bottom, and grease the parchment. Dusting with cocoa powder instead of flour prevents white streaks.
Can I reduce the sugar in this recipe?
Sugar provides moisture and structure, not just sweetness. Reducing it significantly will alter the texture, making the cake rubbery or dry. It is best to stick to the recipe for the sponge and use a less sweet frosting if desired.
What kind of coffee should I use?
Any strong brewed coffee works fine. Instant coffee dissolved in boiling water is also a great, convenient option. The stronger the coffee, the deeper the chocolate flavor.
Why did my cake sink in the middle?
This usually happens if the cake was underbaked or the oven door was opened too early. It can also be caused by too much leavening (baking soda/powder) or expired leavening agents.
Conclusion
Mastering the perfect chocolate layer cake is a milestone for any home baker, and with this recipe, you have a foolproof method to achieve bakery-quality results in your own kitchen. The combination of simple ingredients and smart chemistry results in a dessert that is undeniably superior in texture and taste. Whether you are celebrating a special occasion or simply treating yourself after a long week, this Moist Chocolate Layer Cake offers comfort and indulgence in every bite. We hope this becomes your go-to recipe for years to come. Happy baking, and don’t forget to share a slice with someone you love!

