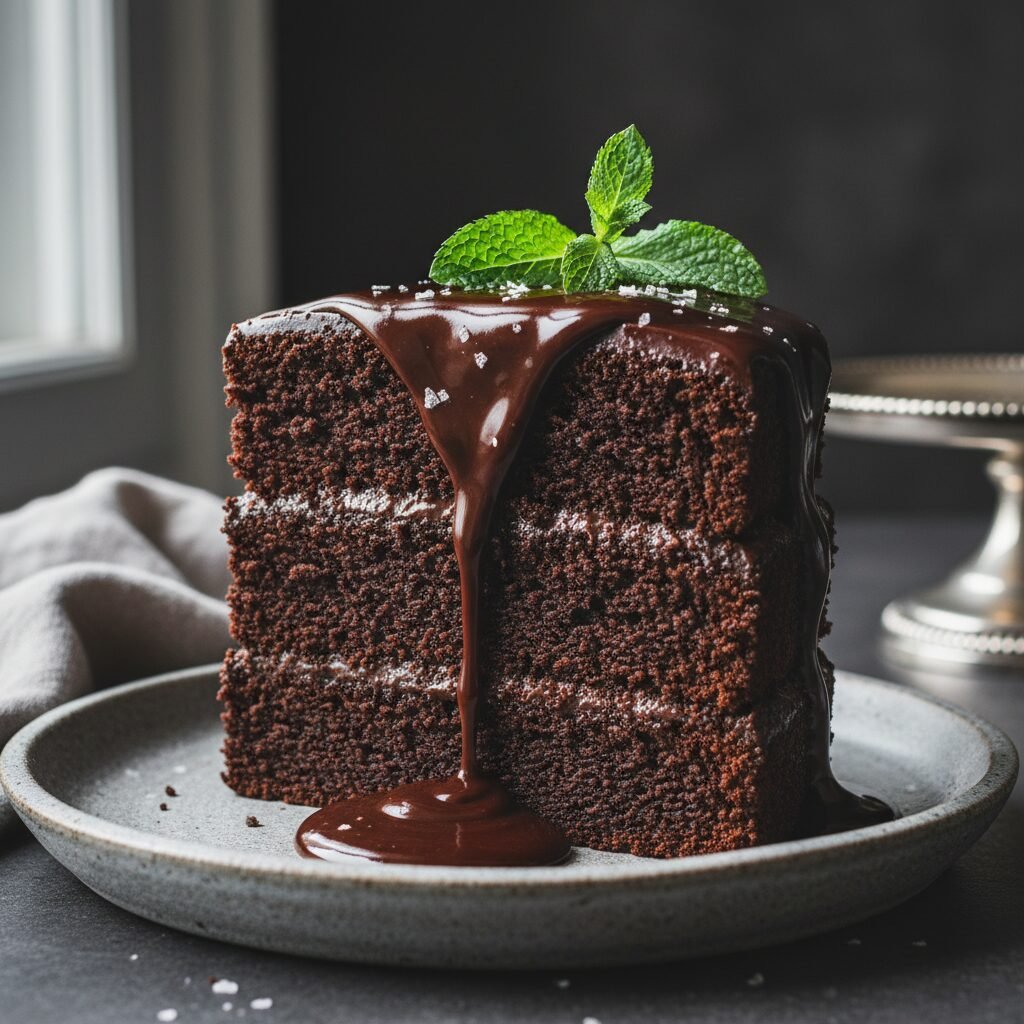
Moist Chocolate Layer Cake With Chocolate Ganache Recipe
This is the only chocolate cake recipe you will ever need. It features incredibly moist, tender layers of deep chocolate sponge cake, enveloped in a rich, glossy two-ingredient chocolate ganache. It is a show-stopping dessert that is surprisingly easy to make.
45 minutes
35 minutes
2 hours 30 minutes
12-16 servings
Dessert
Baking
American / French
Vegetarian
Welcome to what I confidently call the Holy Grail of chocolate cakes. If you have been on a lifelong quest for a chocolate cake that is legitimately moist—not just ‘moist for a day’ but stay-fresh-for-days moist—your search officially ends here. We have all suffered through dry, crumbly chocolate cakes that require a gallon of milk to wash down. This is not that cake. This recipe relies on a specific scientific balance of ingredients to ensure a texture that is velvety, tender, and deeply flavorful. The secret lies in the combination of buttermilk, oil (instead of butter), and boiling hot coffee. While butter provides flavor, oil is superior for texture in chocolate cakes because it remains liquid at room temperature, coating the flour proteins and preventing tough gluten formation. The hot coffee does double duty: it blooms the cocoa powder to release its full flavor potential and ensures the batter is warm and fluid, leading to an even rise. But let’s talk about the frosting. We are skipping the sugary, gritty American buttercream for a sophisticated, glossy Chocolate Ganache. It is just two ingredients—chocolate and cream—but it transforms this cake into a bakery-quality masterpiece. The bitterness of the dark chocolate ganache perfectly offsets the sweetness of the sponge. Whether you are celebrating a birthday, an anniversary, or just a Tuesday night craving, this Moist Chocolate Layer Cake with Chocolate Ganache is guaranteed to impress. It is dark, decadent, and unapologetically rich.
History & Origins
The history of chocolate cake is a journey from a beverage to a solid confection. For centuries, chocolate was consumed strictly as a drink by the Maya and Aztecs, and later by wealthy Europeans. It wasn’t until 1828, when Coenraad van Houten learned how to mechanically extract fat from cacao liquor to produce cocoa butter and cocoa powder, that modern chocolate baking became possible. The first ‘chocolate cakes’ in the mid-19th century were actually yellow cakes served with chocolate frosting or consumed with a cup of hot chocolate. It wasn’t until 1886 that American cooks began adding chocolate directly into the cake batter. This recipe is a direct descendant of the famous ‘Devil’s Food Cake’ that emerged in the early 20th century. The name was likely a playful contrast to the light and airy ‘Angel Food Cake,’ referencing the dark, dense, and rich nature of the chocolate sponge. The addition of ganache, however, takes us to Paris. Ganache was reportedly invented around 1850 at the Pâtisserie Siraudin. Legend has it that a young apprentice accidentally poured hot cream over chocolate and was called a ‘ganache’ (a fool) by his master. When they stirred the mixture, however, they discovered a smooth, emulsified cream that became a staple of French pastry. This recipe marries the American tradition of moist, oil-based high-ratio cakes with the French elegance of a simple ganache, creating a transatlantic masterpiece.
Why This Recipe Works
This recipe succeeds where others fail due to the precise chemistry of the batter. First, we use oil instead of butter. While butter contains 15-20% water, oil is 100% fat. This means the cake retains moisture significantly better and stays tender for days. Second, we use both baking powder and baking soda. The baking soda reacts with the acidity of the buttermilk and the natural acidity in the cocoa powder (if not heavily alkalized) to create carbon dioxide bubbles, giving the cake a lofty rise despite its heavy moisture content. Third, the addition of boiling hot liquid is non-negotiable. When you pour hot coffee over cocoa powder, you ‘bloom’ it. This dissolves the cocoa butter and releases flavor compounds that are otherwise locked away, resulting in a more intense chocolate taste. The hot liquid also begins to gelatinize the starches in the flour immediately, which helps set the structure of the cake so it doesn’t collapse. Finally, the ganache works because it is a stable emulsion of fat and water. By pouring hot cream over chocolate, we melt the cocoa butter and suspend it within the liquid phase of the cream, creating a frosting that is silky, shiny, and sets with a fudge-like consistency that seals moisture inside the cake.
Why You’ll Love This Recipe
- ✓Incredibly moist texture that lasts for days
- ✓Deep, intense chocolate flavor enhanced by coffee
- ✓Simple 2-ingredient ganache frosting
- ✓No stand mixer required for the batter
- ✓Perfect balance of sweet sponge and semi-sweet coating
- ✓freezes beautifully for make-ahead prep
Equipment You’ll Need
- ✓Two 8-inch round cake pans
- ✓Large mixing bowl
- ✓Whisk
- ✓Sifter or fine-mesh sieve
- ✓Measuring cups and spoons
- ✓Parchment paper
- ✓Wire cooling rack
- ✓Offset spatula
- ✓Small saucepan (for ganache)
Ingredients
- ✓2 cups granulated sugar
- ✓1 3/4 cups all-purpose flour
- ✓3/4 cup unsweetened cocoa powder (Dutch-processed preferred)
- ✓1 1/2 teaspoons baking powder
- ✓1 1/2 teaspoons baking soda
- ✓1 teaspoon salt
- ✓2 large eggs, room temperature
- ✓1 cup whole milk
- ✓1/2 cup vegetable oil or canola oil
- ✓2 teaspoons vanilla extract
- ✓1 cup boiling water or boiling hot coffee
- ✓12 oz semi-sweet chocolate chips or chopped chocolate (for ganache)
- ✓1 cup heavy whipping cream (for ganache)
Instructions
- Preheat oven to 350°F (175°C). Grease two 8-inch round cake pans with butter or cooking spray and line the bottoms with parchment paper. Dust with a little cocoa powder to prevent sticking.
- In a large bowl, sift together the sugar, flour, cocoa, baking powder, baking soda, and salt to remove any lumps.
- Add the eggs, milk, oil, and vanilla extract to the dry ingredients. Whisk by hand or beat on medium speed with a mixer for about 2 minutes until well combined.
- Carefully stir in the boiling water (or coffee). The batter will be very thin and watery; this is normal and essential for the moist texture.
- Pour the batter evenly into the prepared pans.
- Bake for 30 to 35 minutes. Test for doneness by inserting a wooden toothpick into the center; it should come out clean or with just a few moist crumbs.
- Cool the cakes in the pans for 10 minutes, then remove from pans to wire racks to cool completely.
- While the cakes cool, make the ganache. Place the chocolate chips in a heat-proof glass bowl.
- Heat the heavy cream in a small saucepan over medium heat until it begins to gently simmer (do not let it come to a rolling boil).
- Pour the hot cream over the chocolate chips. Let it sit for 5 minutes without touching it.
- Gently whisk the chocolate and cream starting from the center and moving outward until the mixture is smooth, glossy, and fully emulsified.
- Let the ganache sit at room temperature for 15-20 minutes to thicken to a spreadable consistency. If you want a drip effect, use it sooner; for frosting, wait longer.
- To assemble, place one cake layer on your serving plate. Spread a thick layer of ganache over the top. Place the second cake layer on top.
- Pour the remaining ganache over the top of the cake, using an offset spatula to spread it over the sides for a full coat, or let it drip down the sides for a rustic look.
Expert Cooking Tips
- ✓Do not overbake. Check the cake at the 30-minute mark. Overbaking is the number one cause of dry cake.
- ✓Use room temperature eggs and milk to ensure the batter emulsifies properly.
- ✓Don’t skip the parchment paper. It guarantees your cakes will release perfectly from the pans.
- ✓Use high-quality cocoa powder. Since chocolate is the main flavor, a premium Dutch-processed cocoa makes a huge difference.
- ✓If the ganache breaks (looks oily), add a teaspoon of hot water and whisk vigorously to bring it back together.
- ✓Let the cakes cool completely before frosting, otherwise, the ganache will melt and slide off.
Substitutions and Variations
This recipe is quite forgiving with substitutions, though the texture may vary slightly. If you do not have buttermilk (or the milk/vinegar sub), you can use a mix of 50% plain yogurt and 50% milk. For the oil, melted coconut oil works well, though it will impart a slight coconut flavor; grapeseed oil is a great neutral alternative. You can substitute the all-purpose flour with a 1:1 Gluten-Free baking flour blend (one that contains xanthan gum) to make this gluten-free. For the eggs, flax eggs (1 tbsp flaxseed meal + 3 tbsp water per egg) work surprisingly well in this recipe because the structure is supported by the cocoa starch and leaveners. If you want to avoid caffeine, use boiling water or decaf coffee instead of regular coffee. For the ganache, you can use full-fat coconut milk instead of heavy cream for a dairy-free version, paired with dairy-free chocolate chips.
Common Mistakes to Avoid
The most common mistake is over-measuring the flour. If you scoop the flour directly with the measuring cup, you pack it down and can end up with 20-30% more flour than intended, leading to a dry cake. Always use the ‘spoon and level’ method or a kitchen scale. Another mistake is using cold ingredients; cold eggs hitting the oil can cause the batter to curdle slightly, affecting the rise. Do not open the oven door frequently during baking, as the fluctuation in temperature can cause the cake to sink in the middle. With the ganache, rushing the process is a killer. If you whisk the cream and chocolate immediately without letting it sit, the chocolate won’t melt evenly, and you’ll have lumps. Finally, do not try to frost a warm cake. The heat will melt the fat in the ganache, causing it to slide right off the sides.
Serving Suggestions
This cake is rich, so it pairs best with something to cut through the intensity. A dollop of unsweetened whipped cream or a scoop of high-quality vanilla bean ice cream is classic. Fresh berries, particularly raspberries or strawberries, add a tart brightness that complements the dark chocolate beautifully. For a cozy winter vibe, serve with a hot espresso or a glass of red wine, such as a Cabernet Sauvignon or Merlot. If you are feeling fancy, garnish the top with edible gold leaf or candied orange peels.
Storage and Reheating Tips
Because of the dairy in the ganache, this cake is best stored in a cool place or the refrigerator, especially in warm weather. It can stay at cool room temperature for up to 2 days if covered with a cake dome. In the fridge, it will last for 5-7 days. However, the cold will firm up the ganache and the cake crumb. For the best eating experience, bring the slice to room temperature before serving (about 30 minutes on the counter). To freeze, wrap individual slices tightly in plastic wrap and then foil; they will keep for up to 3 months. Thaw in the fridge overnight.
Nutrition Facts (Estimated)
| Serving Size | 1 slice |
| Calories | 580 |
| Fat | 34g |
| Saturated Fat | 12g |
| Unsaturated Fat | 20g |
| Trans Fat | 0g |
| Cholesterol | 65mg |
| Sodium | 320mg |
| Carbohydrates | 68g |
| Fiber | 4g |
| Sugar | 45g |
| Protein | 7g |
Frequently Asked Questions
Can I use butter instead of oil?
You can, but I don’t recommend it for this specific recipe. Oil coats the flour proteins better than butter, inhibiting gluten formation and resulting in a much more tender and moist crumb. Butter-based chocolate cakes tend to dry out faster.
Will the cake taste like coffee?
No. The coffee enhances the chocolate flavor, making it taste ‘more chocolatey,’ but the distinct flavor of coffee disappears during baking. If you dislike coffee entirely, you can use hot water.
Why is my batter so runny?
This is intentional! The high liquid content is what ensures the cake stays moist after baking. Do not add more flour to thicken it, or your cake will be tough.
Can I make this into cupcakes?
Yes! This recipe yields about 24-30 cupcakes. Bake them at 350°F for 18-22 minutes.
My cake sank in the middle. Why?
This usually happens if the oven door was opened too early, if the leavening agents (baking soda/powder) were expired, or if the cake was underbaked.
What kind of cocoa powder should I use?
Dutch-processed cocoa powder is best for a darker color and smoother, less acidic flavor. However, regular unsweetened cocoa powder works fine too.
Can I use milk chocolate for the ganache?
Yes, but you will need to reduce the amount of cream. Milk chocolate is softer, so use a 3:1 ratio of chocolate to cream instead of the standard 1:1.
Do I need a mixer?
No, this is a ‘one-bowl’ recipe that can easily be whisked by hand. In fact, hand-whisking prevents over-mixing.
How do I get flat cake layers?
You can use ‘cake strips’ wrapped around the pan to insulate the edges, or simply trim the domed top with a serrated knife before frosting.
Why use both baking soda and baking powder?
Baking soda neutralizes the acid in the buttermilk/cocoa and provides lift, while baking powder provides additional leavening power to support the heavy batter.
Conclusion
There is something truly magical about a homemade chocolate cake. It is the ultimate comfort food, a symbol of celebration, and a labor of love that pays off with every bite. This Moist Chocolate Layer Cake with Chocolate Ganache is more than just a recipe; it is a reliable friend you can turn to whenever you need to impress a crowd or treat yourself. The contrast between the airy, tender sponge and the dense, fudgy ganache is a textural delight that you won’t find in any box mix. I hope this cake becomes a staple in your kitchen just as it has in mine. Happy baking!

