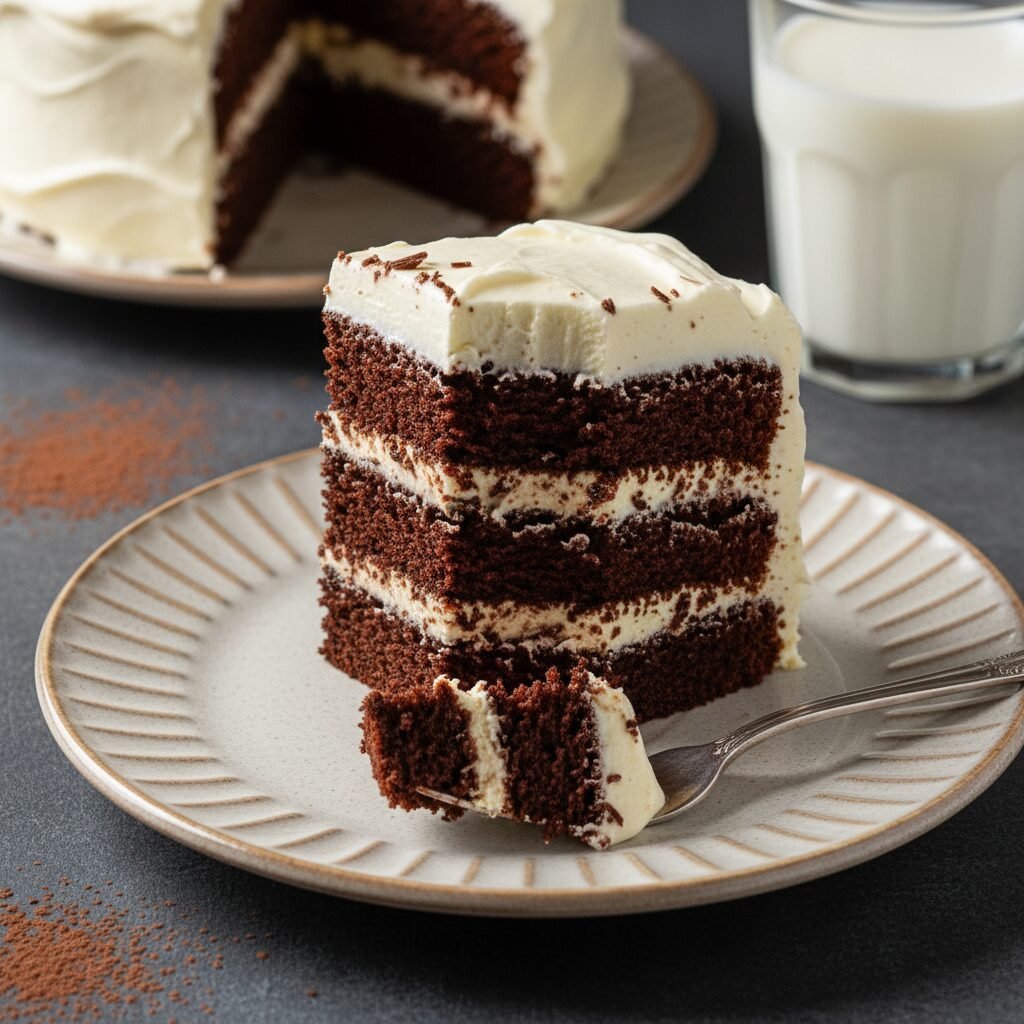
Moist Chocolate Layer Cake With Vanilla Frosting Recipe
Discover the secret to the most decadent, melt-in-your-mouth chocolate cake you’ve ever tasted. Paired with a silky, cloud-like vanilla buttercream, this recipe strikes the perfect balance of rich cocoa depth and sweet, creamy lightness, making it the ultimate centerpiece for any celebration.
30 minutes
35 minutes
1 hour 30 minutes
12-14 servings
Dessert
Baking
American
Vegetarian
There is something profoundly nostalgic and universally comforting about a slice of classic chocolate cake. But not just any chocolate cake—we are talking about the kind that haunts your dreams, the kind that boasts a crumb so tender and moist it practically dissolves on the tongue. This Moist Chocolate Layer Cake with Vanilla Frosting is the culmination of years of testing, tasting, and tweaking to achieve the holy grail of baking: a deep, intense chocolate flavor without the dryness that often plagues homemade sponges.
The magic lies in the contrast. The cake layers are dark, robust, and not overly sweet, utilizing the power of hot coffee to bloom the cocoa powder and awaken its most complex notes. This richness demands a partner that can stand up to it without overwhelming the palate. Enter the vanilla frosting: a whipped, airy masterpiece that offers a stark visual and flavor contrast to the dark chocolate. It is sweet, buttery, and fragrant with pure vanilla bean paste, cutting through the density of the cocoa with effortless grace.
This recipe is designed for the home baker who wants bakery-quality results without the intimidation factor. Whether you are baking for a milestone birthday, a holiday gathering, or simply because it is Tuesday and you deserve a treat, this cake delivers. It is the sort of dessert that creates silence at the dinner table, followed immediately by requests for the recipe. We are moving beyond the box mixes and dry, crumbly disappointments of the past. Prepare your stand mixer and preheat your oven, because you are about to bake the best chocolate cake of your life.
History & Origins
The history of chocolate cake is a fascinating journey that mirrors the evolution of chocolate itself. For centuries, chocolate was consumed primarily as a beverage by the Maya and Aztecs, and later by wealthy Europeans. It wasn’t until the mid-19th century, with the invention of the cocoa press by Casparus van Houten, that separating cocoa butter from roasted cocoa beans became possible, creating an inexpensive cocoa powder that could be easily used in baking.
The earliest ‘chocolate cakes’ were actually yellow or white cakes served with a chocolate drink on the side, or perhaps with a chocolate glaze. The integration of chocolate into the batter itself began to gain popularity in the United States in the late 1800s. A pivotal moment in this history was the emergence of ‘Devil’s Food Cake’ in the early 20th century. The name was allegedly derived from the reddish hue the cake took on due to a chemical reaction between the baking soda and the natural cocoa powder available at the time, which stood in direct contrast to the light and airy ‘Angel Food Cake.’
As the 20th century progressed, the introduction of baking powder and the commercialization of baking chocolate made these cakes more accessible to the average housewife. The 1930s saw the rise of The Duff Company’s molasses-based cake mixes, but the post-war era solidified the chocolate layer cake as an American icon. While boxed mixes dominated the convenience era of the 1950s and 60s, the modern culinary renaissance has seen a strong return to scratch baking. Today, the chocolate layer cake serves as a cultural symbol of celebration, comfort, and indulgence, remaining the most popular cake flavor in the United States.
Why This Recipe Works
This recipe succeeds where others fail due to a precise balance of fat, acidity, and temperature. First and foremost, we use oil instead of butter for the cake batter. While butter provides flavor, it contains water and solidifies at room temperature, which can lead to a drier texture. Oil remains liquid at room temperature, ensuring the cake stays incredibly moist and soft for days. To compensate for the flavor loss of not using butter in the sponge, we rely on the high-quality cocoa and the frosting.
The second secret weapon is buttermilk. The acidity in buttermilk reacts with the baking soda to create carbon dioxide, which gives the cake a magnificent lift and a tender crumb structure. It also helps to break down the long strands of gluten, preventing the cake from becoming tough or chewy.
Finally, the addition of hot coffee is non-negotiable. We add boiling hot coffee at the very end of the mixing process. This technique, known as ‘blooming’ the cocoa, dissolves the cocoa powder more effectively than cold liquid, releasing the essential oils and intensifying the chocolate flavor. Don’t worry—the cake won’t taste like a latte; the coffee simply amplifies the richness of the chocolate. Combined with a classic American buttercream that uses heavy cream for fluffiness, the result is a scientifically perfect balance of texture and taste.
Why You’ll Love This Recipe
- ✓Stays moist for days thanks to the oil-based batter
- ✓Deep, intense chocolate flavor boosted by hot coffee
- ✓Silky, whipped vanilla buttercream provides perfect contrast
- ✓Foolproof ‘one-bowl’ method for the cake batter
- ✓Perfect for birthdays, holidays, and special occasions
- ✓Can be made ahead and freezes beautifully
Equipment You’ll Need
- ✓Two 8-inch or 9-inch round cake pans
- ✓Stand mixer or electric hand mixer
- ✓Large mixing bowl
- ✓Wire cooling rack
- ✓Sifter or fine-mesh sieve
- ✓Offset spatula
- ✓Parchment paper
- ✓Measuring cups and spoons
Ingredients
- ✓2 cups granulated sugar
- ✓1 3/4 cups all-purpose flour
- ✓3/4 cup unsweetened cocoa powder (dark or regular)
- ✓1 1/2 teaspoons baking powder
- ✓1 1/2 teaspoons baking soda
- ✓1 teaspoon salt
- ✓2 large eggs, room temperature
- ✓1 cup whole milk or buttermilk, room temperature
- ✓1/2 cup vegetable oil or canola oil
- ✓2 teaspoons pure vanilla extract
- ✓1 cup boiling hot coffee (or boiling water)
- ✓1 cup unsalted butter, softened (for frosting)
- ✓4-5 cups powdered sugar, sifted (for frosting)
- ✓1/4 cup heavy whipping cream (for frosting)
- ✓2 teaspoons pure vanilla bean paste or extract (for frosting)
- ✓Pinch of salt (for frosting)
Instructions
- Preheat oven to 350°F (175°C). Grease two 9-inch round cake pans with butter or cooking spray and dust with cocoa powder. Line the bottoms with parchment paper for easy removal.
- In the bowl of a stand mixer or a large mixing bowl, sift together the sugar, flour, cocoa, baking powder, baking soda, and salt. Whisk by hand briefly to ensure even distribution.
- Add the eggs, buttermilk, oil, and vanilla extract to the dry ingredients. Beat on medium speed for about 2 minutes. The batter should look smooth and well-combined.
- Reduce the mixer speed to the lowest setting. Carefully pour in the boiling hot coffee. Mix just until combined. The batter will be very thin and liquid; this is normal and expected.
- Pour the batter evenly between the two prepared cake pans. Tap the pans gently on the counter to release any large air bubbles.
- Bake for 30 to 35 minutes. Test for doneness by inserting a wooden toothpick into the center of the cake; it should come out clean or with just a few moist crumbs attached.
- Remove from the oven and let the cakes cool in the pans for 10 minutes. Then, run a knife around the edges and invert them onto a wire rack to cool completely before frosting.
- While the cakes cool, prepare the frosting. In a stand mixer fitted with the paddle attachment, beat the softened butter on medium-high speed for about 5 minutes until it is pale and creamy.
- Gradually add the powdered sugar, one cup at a time, mixing on low speed until incorporated. Scrape down the sides of the bowl as needed.
- Add the vanilla extract, heavy cream, and a pinch of salt. Increase the speed to high and whip for 3-4 minutes until the frosting is light, fluffy, and airy.
- To assemble, place one cake layer on your serving plate. Spread a generous layer of frosting over the top. Place the second cake layer on top. Frost the top and sides of the cake with the remaining buttercream.
- Slice and serve immediately, or store in the refrigerator until ready to eat.
Expert Cooking Tips
- ✓Ensure all refrigerated ingredients (eggs, buttermilk, butter) are at room temperature to prevent curdling.
- ✓Do not overbake; check the cake 5 minutes before the suggested time to ensure it stays moist.
- ✓Use high-quality cocoa powder for the deepest chocolate flavor.
- ✓Weigh your flour using a kitchen scale (approx 120g per cup) to avoid a dense cake.
- ✓Let the boiling water/coffee sit for a few seconds before pouring to avoid cooking the eggs on contact, though the mixer should prevent this.
- ✓Chill the cake layers for 20 minutes before frosting to reduce crumbs getting into the buttercream (crumb coat).
- ✓If the frosting is too soft, refrigerate it for 10 minutes; if too stiff, add a teaspoon more cream.
Substitutions and Variations
Baking is a science, but there is some room for flexibility here. If you don’t have buttermilk, you can make a quick substitute by adding one tablespoon of white vinegar or lemon juice to a cup of whole milk and letting it sit for 5 minutes. For the oil, melted coconut oil or grapeseed oil works perfectly fine, though vegetable oil is the most neutral. If you are avoiding caffeine or just don’t like coffee, you can substitute the hot coffee with boiling water; the chocolate flavor will be slightly less intense but still delicious. For a gluten-free version, swap the all-purpose flour for a high-quality 1:1 gluten-free baking flour blend that includes xanthan gum. In the frosting, you can use milk instead of heavy cream, though the texture will be slightly less rich.
Common Mistakes to Avoid
The most common mistake with this recipe is over-measuring the flour. If you scoop the flour directly with the measuring cup, you pack it down, leading to a dry cake. Always use the ‘spoon and level’ method or a scale. Another error is skipping the parchment paper; this cake is very moist and tender, making it prone to sticking to the pan bottom if not lined. Don’t be alarmed by the thin batter—many bakers panic and add more flour, which ruins the texture. Trust the process. Finally, ensure your butter for the frosting is truly softened but not melted. If it’s too warm, the frosting will be greasy and won’t hold its shape; if it’s too cold, it won’t aerate properly.
Serving Suggestions
This cake is a showstopper on its own, but you can elevate the presentation with a few simple touches. Serve slices with a side of fresh berries—raspberries or strawberries work particularly well as their acidity cuts through the richness. A drizzle of salted caramel sauce or dark chocolate ganache over the slice adds an extra layer of decadence. For a warm contrast, zap a slice in the microwave for 10 seconds and serve it with a scoop of cold vanilla bean ice cream. It pairs beautifully with a tall glass of cold milk or a hot espresso.
Storage and Reheating Tips
Because this cake uses oil, it stays moist at room temperature for longer than butter-based cakes. You can store it in an airtight cake carrier at room temperature for up to 3 days. If you are in a hot or humid climate, it is safer to store it in the refrigerator for up to 5 days; just let it come to room temperature before serving for the best texture. Both the cake layers (unfrosted) and the finished cake freeze exceptionally well. Wrap layers tightly in plastic wrap and then foil for up to 3 months. Thaw in the refrigerator overnight before decorating or serving.
Nutrition Facts (Estimated)
| Serving Size | 1 slice |
| Calories | 680 |
| Fat | 34g |
| Saturated Fat | 12g |
| Unsaturated Fat | 20g |
| Trans Fat | 0g |
| Cholesterol | 85mg |
| Sodium | 320mg |
| Carbohydrates | 88g |
| Fiber | 4g |
| Sugar | 55g |
| Protein | 6g |
Frequently Asked Questions
Can I use Dutch-processed cocoa powder?
Yes, you can, but because Dutch-processed cocoa is neutral (not acidic), the baking soda won’t react as vigorously. Since this recipe uses both baking powder and baking soda, it usually works fine, but natural cocoa powder is generally preferred for the best rise and reaction with the buttermilk.
Why is the batter so runny?
The batter is intentionally thin because of the high liquid content (milk, oil, coffee). This ensures the cake bakes up incredibly moist and light rather than dense and bready. Do not add more flour.
Can I make this into cupcakes?
Absolutely. This batter makes excellent cupcakes. Fill liners about 2/3 full and bake for 18-22 minutes at 350°F. It should yield approximately 24-30 cupcakes.
Do I have to use coffee?
No, you don’t have to, but it is highly recommended. The coffee enhances the chocolate flavor without making the cake taste like coffee. If you prefer, use boiling water instead.
My cake sank in the middle, what happened?
This usually happens if the oven door was opened too early during baking, causing the structure to collapse before it set. It can also happen if the leavening agents (baking soda/powder) are expired or if the batter was over-mixed.
Can I use salted butter for the frosting?
Yes, you can. If you use salted butter, simply omit the pinch of salt listed in the frosting ingredients. The sweet and salty combination is actually quite delicious.
How do I get my frosting so white?
To get very white buttercream, beat the butter for a long time (5+ minutes) before adding sugar. This aerates it and lightens the yellow color. You can also add a tiny drop of purple food coloring to counteract the yellow tone.
Can I bake this in a 9×13 pan?
Yes, this recipe fits perfectly in a 9×13 inch rectangular pan. You will likely need to increase the baking time to 35-45 minutes. Keep an eye on it and use the toothpick test.
Can I reduce the sugar?
Baking requires precise ratios for structure and moisture. Reducing sugar can affect the texture, making the cake tougher and drier. We recommend sticking to the recipe for the sponge, but you can use less sugar in the frosting to taste.
Conclusion
There are few things in life as satisfying as mastering a classic chocolate cake. This Moist Chocolate Layer Cake with Vanilla Frosting is more than just a recipe; it is a reliable companion for your happiest moments. From the deep, dark crumb to the sweeping swirls of creamy vanilla frosting, every bite is a testament to the joy of home baking. We hope this cake becomes a staple in your kitchen, bringing smiles to friends and family for years to come. Don’t forget to snap a picture of your masterpiece before it disappears—because trust us, it will disappear fast!

