Moist Coffee Cake With Crumb Topping For Brunch Recipe
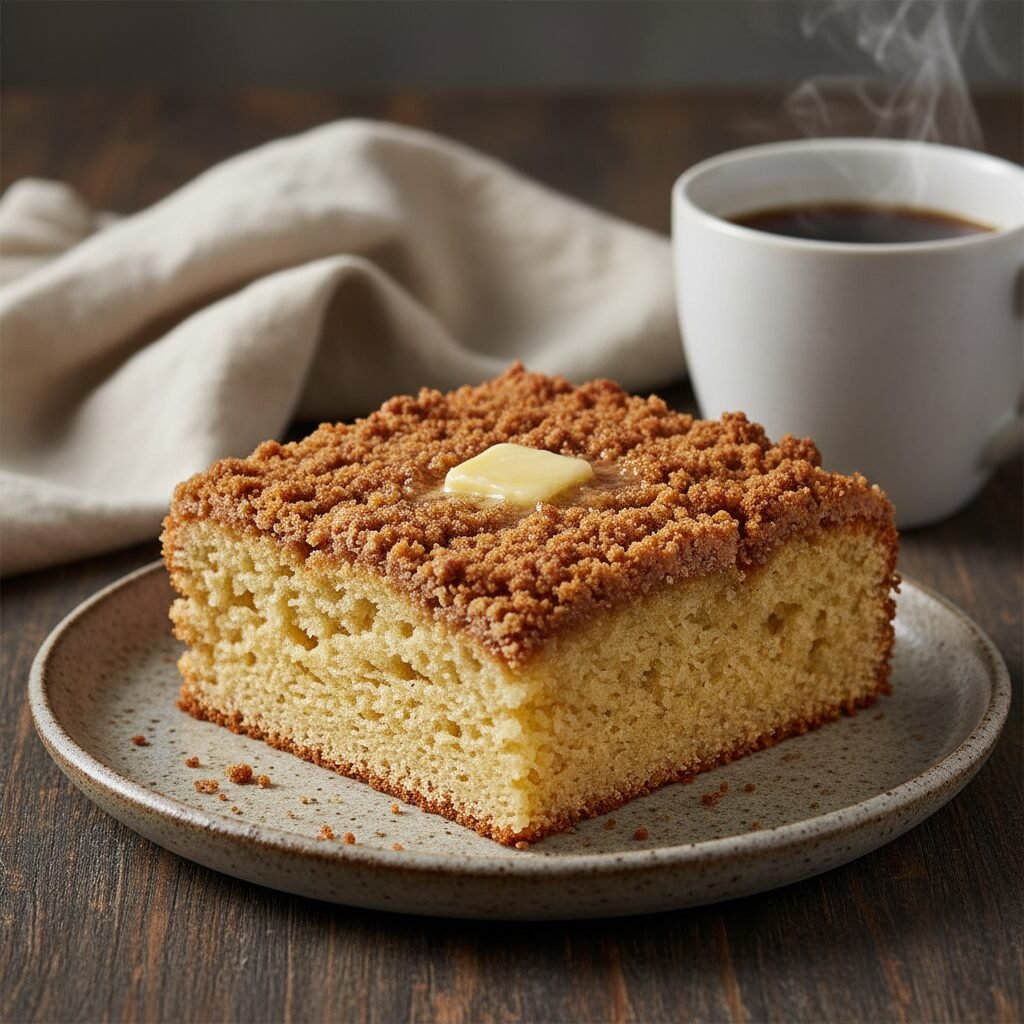
This is the definitive recipe for a buttery, moist coffee cake featuring a ribbon of cinnamon filling and an incredibly generous layer of golden crumb topping. Perfect for Sunday brunch or a cozy afternoon treat, it pairs flawlessly with your favorite brew.
20 minutes
45 minutes
1 hour 5 minutes
12 servings
Breakfast
Baking
American
Vegetarian
There is something undeniably magnetic about the aroma of cinnamon and brown sugar baking in the oven. It wakes up the house better than any alarm clock and promises a morning of comfort and indulgence. This Moist Coffee Cake with Crumb Topping is not just a breakfast pastry; it is a centerpiece for connection, designed to be sliced thick and shared over steaming mugs of coffee or tea. Unlike many dry, lackluster versions you might find at a commercial coffee shop, this homemade recipe relies on the magic of sour cream and high-quality butter to create a tender, dense, and velvety crumb that melts in your mouth.
The true star of this show, however, is the topping. We believe that a coffee cake is only as good as its streusel, and this recipe does not hold back. We are talking about a thick, buttery, sandy layer of spiced perfection that stays crunchy even days later. The contrast between the soft, vanilla-infused cake base, the hidden ribbon of cinnamon sugar running through the center, and that mountain of crisp topping is a textural masterpiece. Whether you are hosting a holiday brunch, preparing a treat for a new neighbor, or simply craving a slice of nostalgia on a rainy Saturday, this coffee cake delivers on every front. It is robust enough to dip into coffee without falling apart, yet delicate enough to eat with a fork. Get ready to elevate your brunch game with a classic that never goes out of style.
History & Origins
The concept of ‘coffee cake’ has a rich and layered history that traces its roots back to Northern and Central Europe, particularly Germany, Austria, and Scandinavia. Originally known as ‘Kaffekuchen’ in Germany, these early iterations were quite different from the chemically leavened quick breads we know in America today. They were typically sweet yeast breads, often enriched with dried fruits, nuts, and spices, designed specifically to complement the bitter, robust flavor of coffee, which was becoming a popular beverage in Europe during the 17th century. It was a social ritual; ‘Kaffeklatsch’ was the tradition of gathering to chat over coffee and cake.
As European immigrants made their way to America, they brought their baking traditions with them. However, the evolution of the coffee cake in the United States took a sharp turn with the invention of baking powder and baking soda in the mid-19th century. This innovation allowed home bakers to produce cakes much faster, without the long rising times required for yeast doughs. The American coffee cake transformed into a chemically leavened ‘quick bread’ style cake, often baked in tube pans or square pans. By the mid-20th century, with the rise of modern conveniences and supermarkets, the ‘crumb cake’ variation became iconic, particularly in the New York and New Jersey areas. These versions emphasized a high ratio of streusel topping to cake, a feature that has become the hallmark of a truly great American coffee cake. Today, it stands as a testament to the blending of Old World tradition with New World innovation.
Why This Recipe Works
The success of this recipe lies in the careful balance of moisture-retaining ingredients and the structural integrity of the crumb topping. Many coffee cakes suffer from dryness, usually due to a lack of fat or over-baking. To combat this, we utilize full-fat sour cream as a primary moisturizer. The acidity in the sour cream not only tenderizes the gluten strands in the flour, resulting in a softer crumb, but it also activates the baking soda for a better rise. This creates a dense yet plush texture that is characteristic of the best bakery-style cakes.
Furthermore, the ‘reverse creaming’ method or simply ensuring ingredients are at the correct temperature plays a vital role. We insist on room temperature butter and eggs for the batter to ensure a stable emulsion that traps air effectively. Conversely, for the crumb topping, using melted butter that is then cooled slightly allows the flour and sugars to clump together into those desirable, large nuggets rather than a fine dust. The inclusion of a cinnamon swirl in the middle adds a secondary layer of flavor and moisture, preventing the ‘dry middle’ syndrome. By baking at a moderate temperature of 350°F, we ensure the heavy topping doesn’t burn before the center of the cake is fully set.
Why You’ll Love This Recipe
- ✓Features an extra-thick layer of buttery cinnamon streusel topping.
- ✓Uses sour cream to guarantee a moist, tender crumb that stays fresh for days.
- ✓Includes a hidden ribbon of cinnamon sugar filling for double the flavor.
- ✓Simple pantry ingredients with no fancy equipment required.
- ✓Freezes beautifully, making it perfect for make-ahead meal prep.
Equipment You’ll Need
- ✓9×9 inch square baking pan or 9-inch springform pan
- ✓Stand mixer or electric hand mixer
- ✓Large mixing bowls
- ✓Rubber spatula
- ✓Whisk
- ✓Measuring cups and spoons
- ✓Parchment paper
Ingredients
- ✓2 cups All-Purpose Flour (for the cake)
- ✓1 tsp Baking Powder
- ✓1/2 tsp Baking Soda
- ✓1/2 tsp Salt
- ✓1/2 cup Unsalted Butter, softened to room temperature
- ✓3/4 cup Granulated White Sugar
- ✓2 large Eggs, room temperature
- ✓1 tsp Pure Vanilla Extract
- ✓1 cup Full-Fat Sour Cream
- ✓— For the Filling —
- ✓1/2 cup Brown Sugar, packed
- ✓1 1/2 tsp Ground Cinnamon
- ✓— For the Crumb Topping —
- ✓1 1/2 cups All-Purpose Flour
- ✓1/2 cup Brown Sugar, packed
- ✓1/2 cup Granulated White Sugar
- ✓1 tbsp Ground Cinnamon
- ✓1/4 tsp Salt
- ✓1/2 cup Unsalted Butter, melted
Instructions
- Preheat your oven to 350°F (175°C). Grease a 9×9 inch baking pan or a 9-inch springform pan generously with butter or non-stick spray. For easier removal, line the bottom and sides with parchment paper.
- Prepare the Crumb Topping: In a medium bowl, whisk together 1.5 cups flour, 1/2 cup brown sugar, 1/2 cup white sugar, 1 tbsp cinnamon, and 1/4 tsp salt. Pour the melted butter over the mixture. Use a fork to toss the mixture until moist clumps form. Do not overmix into a paste; you want defined crumbs. Set aside.
- Prepare the Filling: In a small bowl, mix together the 1/2 cup brown sugar and 1.5 tsp cinnamon. Set aside.
- Mix Dry Ingredients: In a medium bowl, whisk together the 2 cups flour, baking powder, baking soda, and salt. Set aside.
- Cream Butter and Sugar: In the bowl of a stand mixer fitted with the paddle attachment (or using a hand mixer), beat the softened butter and 3/4 cup granulated sugar on medium-high speed for about 3-4 minutes until light, pale, and fluffy.
- Add Wet Ingredients: Lower the speed and add the eggs one at a time, beating well after each addition. Scrape down the sides of the bowl. Mix in the vanilla extract.
- Combine: Add one-third of the flour mixture to the butter mixture and mix on low speed just until combined. Add half of the sour cream and mix. Repeat with half of the remaining flour, then the rest of the sour cream, and finally the last of the flour. Do not overmix; stop when streaks of flour disappear.
- Assemble: Spread about half of the cake batter into the prepared pan, smoothing it out with a spatula. Sprinkle the cinnamon-sugar filling evenly over this layer. Dollop the remaining batter over the filling and carefully spread it out (it may be thick, just do your best to cover the filling).
- Top and Bake: Generously sprinkle the prepared crumb topping over the entire surface of the cake. Bake for 40-50 minutes, or until a toothpick inserted into the center comes out clean or with just a few moist crumbs attached.
- Cool: Remove from the oven and allow the cake to cool in the pan for at least 20 minutes. This helps the structure set so it doesn’t crumble when sliced. Serve warm or at room temperature.
Expert Cooking Tips
- ✓Ensure your butter and eggs are at room temperature before starting the cake batter to prevent curdling.
- ✓Do not overmix the batter once the flour is added; this ensures the cake remains tender rather than tough.
- ✓For the biggest crumbs, squeeze the topping mixture in your fist and then break it apart into large chunks over the cake.
- ✓If the topping starts browning too quickly before the cake is done, tent the pan loosely with aluminum foil.
- ✓Using a springform pan makes for a beautiful presentation as you can remove the sides before serving.
- ✓Full-fat sour cream is highly recommended, but thick Greek yogurt can be used as a substitute in a pinch.
Substitutions and Variations
This recipe is quite versatile if you need to swap ingredients. If you don’t have sour cream, full-fat plain Greek yogurt or buttermilk can be used, though buttermilk will make the batter slightly thinner. For a dairy-free version, use a high-quality plant-based butter and a coconut yogurt or dairy-free sour cream alternative. You can substitute all-purpose flour with a 1:1 gluten-free baking flour blend if you are avoiding gluten; look for a blend that contains xanthan gum for the best structure. The brown sugar can be light or dark; dark brown sugar will provide a deeper molasses flavor. If you want to add crunch, feel free to mix 1/2 cup of chopped pecans or walnuts into the crumb topping or the filling layer.
Common Mistakes to Avoid
The most common mistake with coffee cake is over-baking, which leads to a dry texture. Start checking for doneness at the 40-minute mark. Another frequent error is using butter that is too warm or melted for the cake base (not the topping), which prevents proper aeration during the creaming process. Conversely, for the topping, if you mix it too much after adding the butter, it can turn into a paste rather than crumbs. Finally, do not slice the cake immediately after taking it out of the oven. The cake needs time to set; cutting it too hot will cause it to fall apart and the steam to escape, drying it out prematurely.
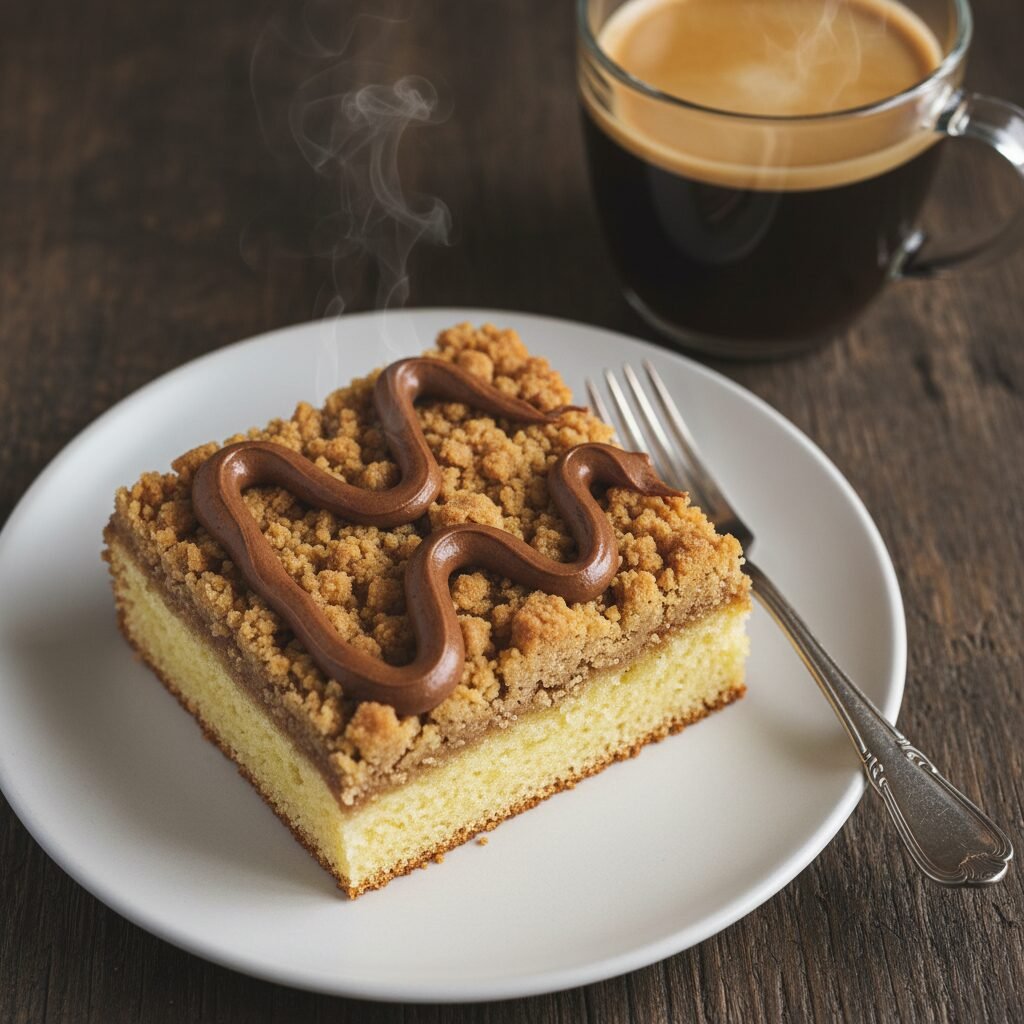
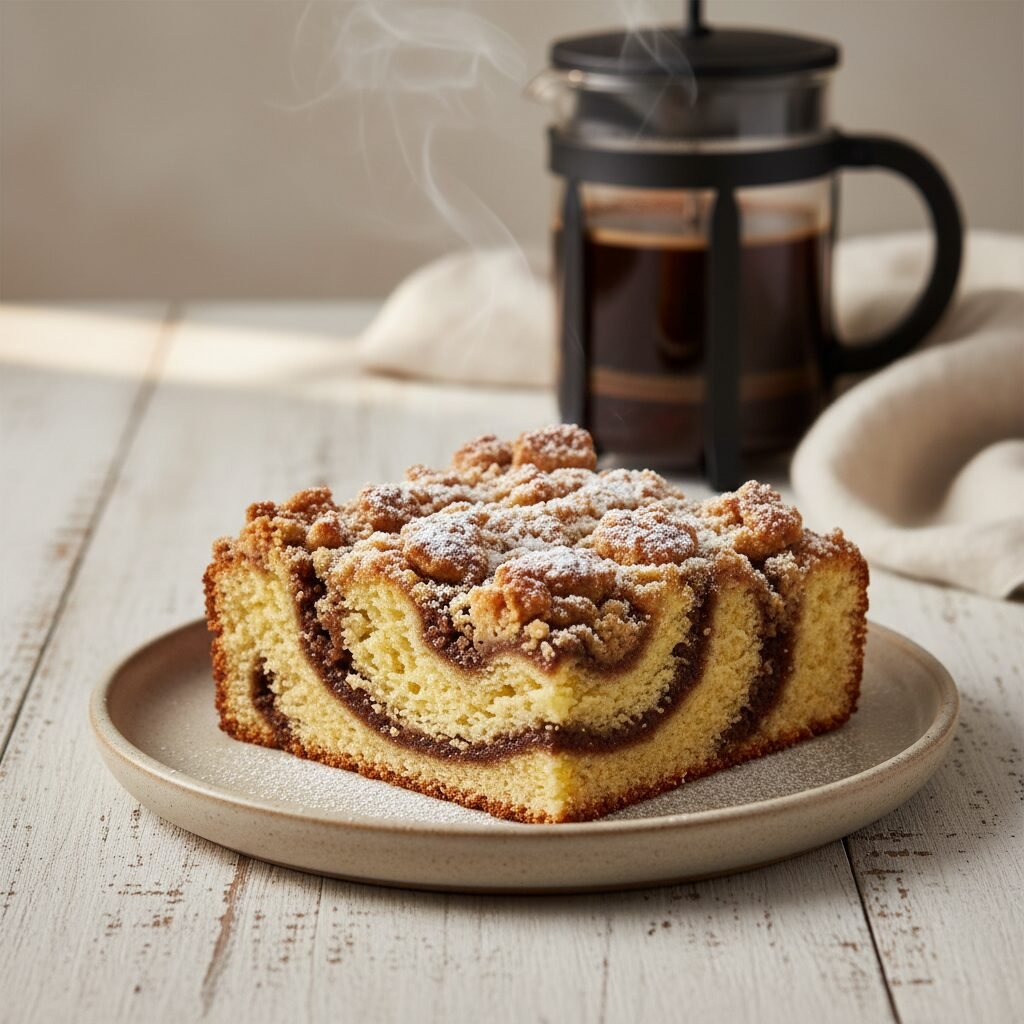
Serving Suggestions
This coffee cake is best served warm, ideally about 30 minutes after coming out of the oven. It stands beautifully on its own, but a dusting of powdered sugar adds a professional bakery finish. For a more decadent brunch, serve slices with a dollop of whipped cream or a drizzle of vanilla glaze (made from powdered sugar and milk). It pairs exceptionally well with dark roast coffee, espresso, or an Earl Grey tea. If serving for a holiday breakfast, accompany it with savory sides like bacon or a vegetable frittata to balance the sweetness.
Storage and Reheating Tips
Store leftover coffee cake in an airtight container at room temperature for up to 3 days. If you live in a very humid climate, you might want to store it in the refrigerator to prevent the topping from getting soggy, though this can dry out the crumb slightly. To reheat, place a slice in the microwave for 15-20 seconds to revive that fresh-baked warmth and softness. This cake also freezes exceptionally well. Wrap individual slices tightly in plastic wrap and then foil. Freeze for up to 3 months. Thaw at room temperature or warm gently in the oven before eating.
Nutrition Facts (Estimated)
| Serving Size | 1 slice |
| Calories | 420 |
| Fat | 22g |
| Saturated Fat | 13g |
| Unsaturated Fat | 8g |
| Trans Fat | 0g |
| Cholesterol | 85mg |
| Sodium | 210mg |
| Carbohydrates | 52g |
| Fiber | 1g |
| Sugar | 28g |
| Protein | 5g |
Frequently Asked Questions
Can I make this coffee cake the night before?
Yes, you can bake it the night before and keep it covered at room temperature. In fact, the flavors often meld beautifully by the next morning. You can also assemble the batter and topping, refrigerate them separately, and bake in the morning, though baking immediately after mixing is usually best for the leavening agents.
Why did my crumb topping sink to the bottom?
This usually happens if the batter is too thin or if the topping is too heavy and dense. Ensuring your batter is thick (which the sour cream helps with) and that you don’t press the crumbs down into the batter will help prevent this.
Can I add fruit to this recipe?
Absolutely. You can fold in about 1 cup of blueberries, chopped apples, or raspberries into the batter before assembling. Just be aware that adding fruit adds moisture, so you may need to extend the baking time slightly.
What is the best way to measure the flour?
For the most accurate results, use a kitchen scale. If you don’t have one, use the ‘spoon and level’ method: spoon flour into the measuring cup and level it off with a knife. Scooping directly from the bag packs the flour and can lead to a dry cake.
Can I bake this in a muffin tin?
Yes, this recipe converts well to muffins. Line a standard muffin tin with papers, fill 3/4 full, add topping, and bake for 18-22 minutes at 350°F.
Why is it called coffee cake if there is no coffee in it?
The name refers to the tradition of eating the cake *with* coffee, not that it contains coffee as an ingredient. It is a cake designed to accompany a coffee break.
Can I use salted butter?
Yes, you can use salted butter. If you do, simply reduce the added salt in the recipe to a pinch or omit it entirely to maintain the right flavor balance.
How do I make a glaze to go on top?
Whisk together 1/2 cup of powdered sugar with 1 tablespoon of milk or heavy cream and a drop of vanilla extract until smooth. Drizzle over the cooled cake.
Conclusion
This Moist Coffee Cake with Crumb Topping is more than just a recipe; it is a reliable staple that brings warmth and comfort to any table. Whether you are a novice baker or a seasoned pro, the straightforward method and pantry-friendly ingredients make it an accessible joy to create. The interplay of the tender cake, the sweet cinnamon ribbon, and that irresistible crunchy topping ensures every bite is perfect. We hope this becomes a cherished part of your brunch rotation, bringing smiles to your family and friends. Happy baking!