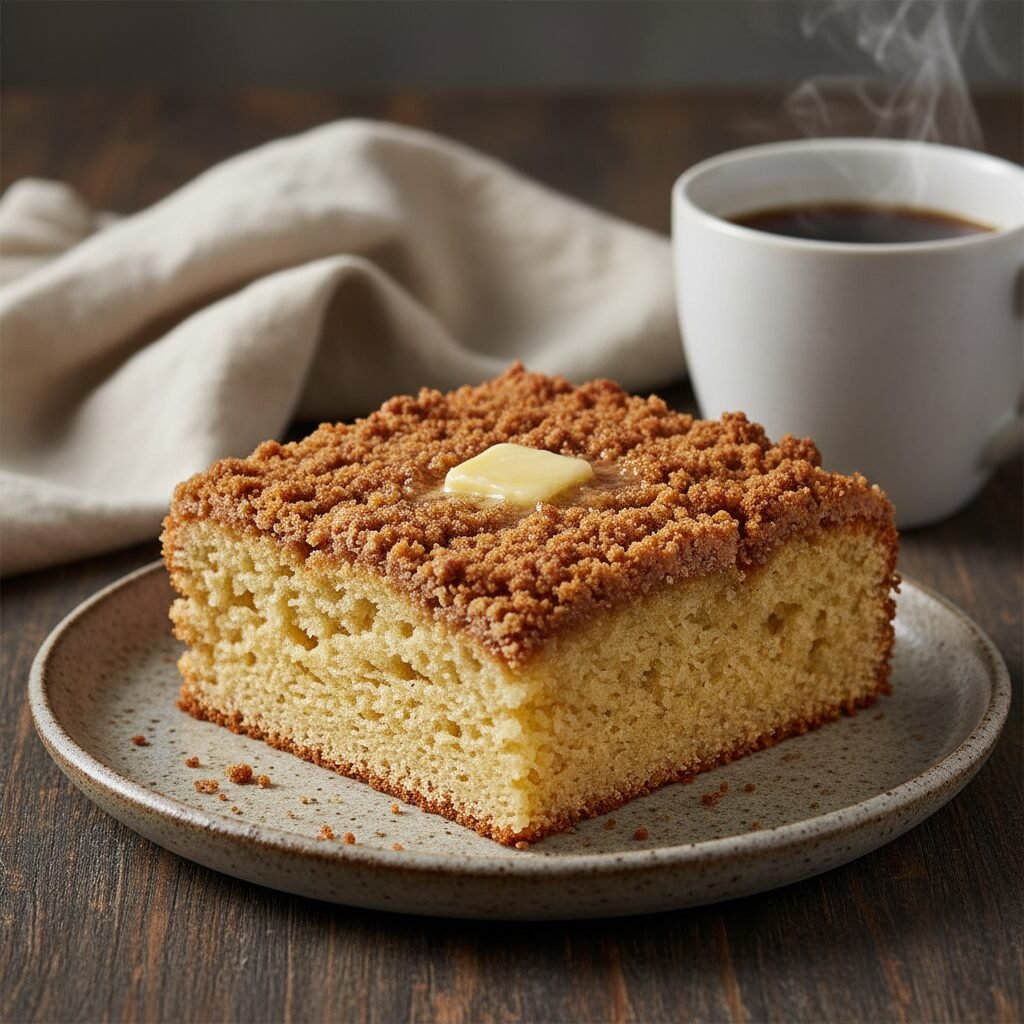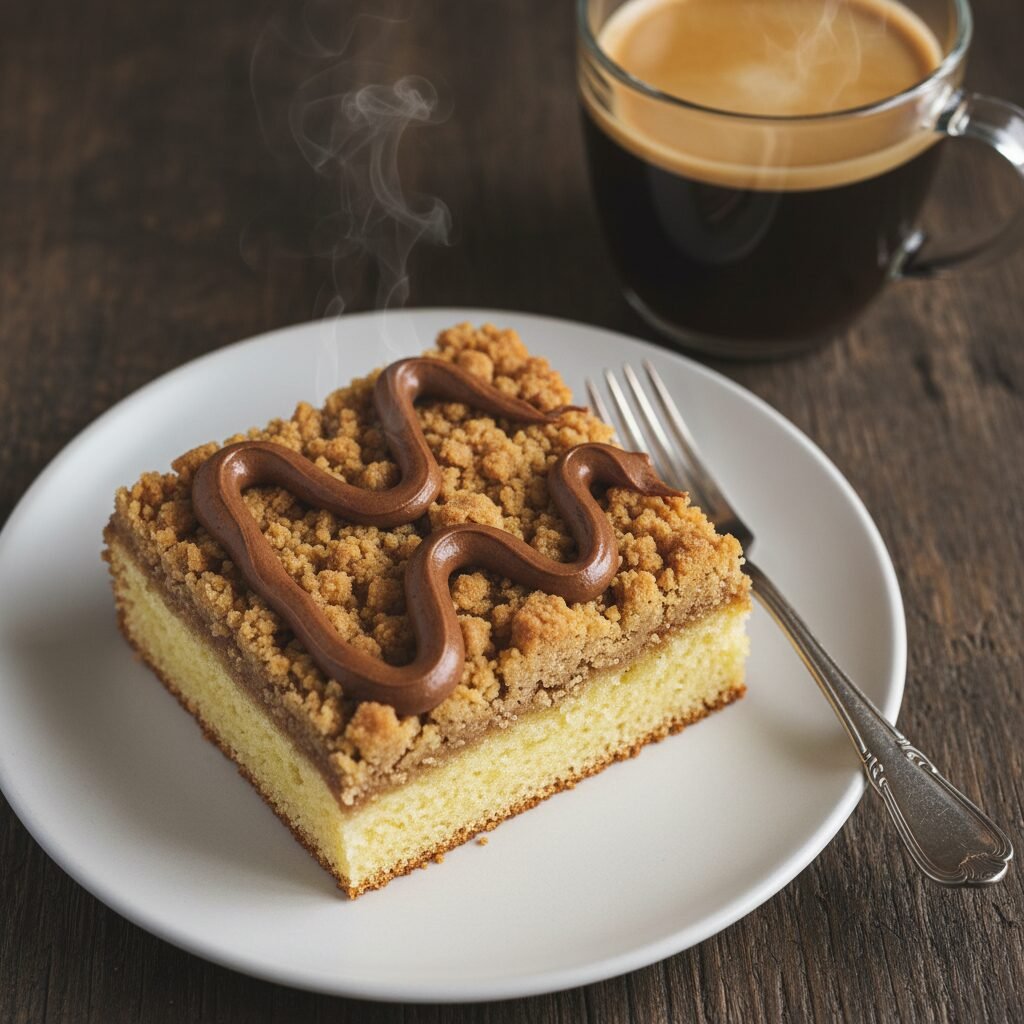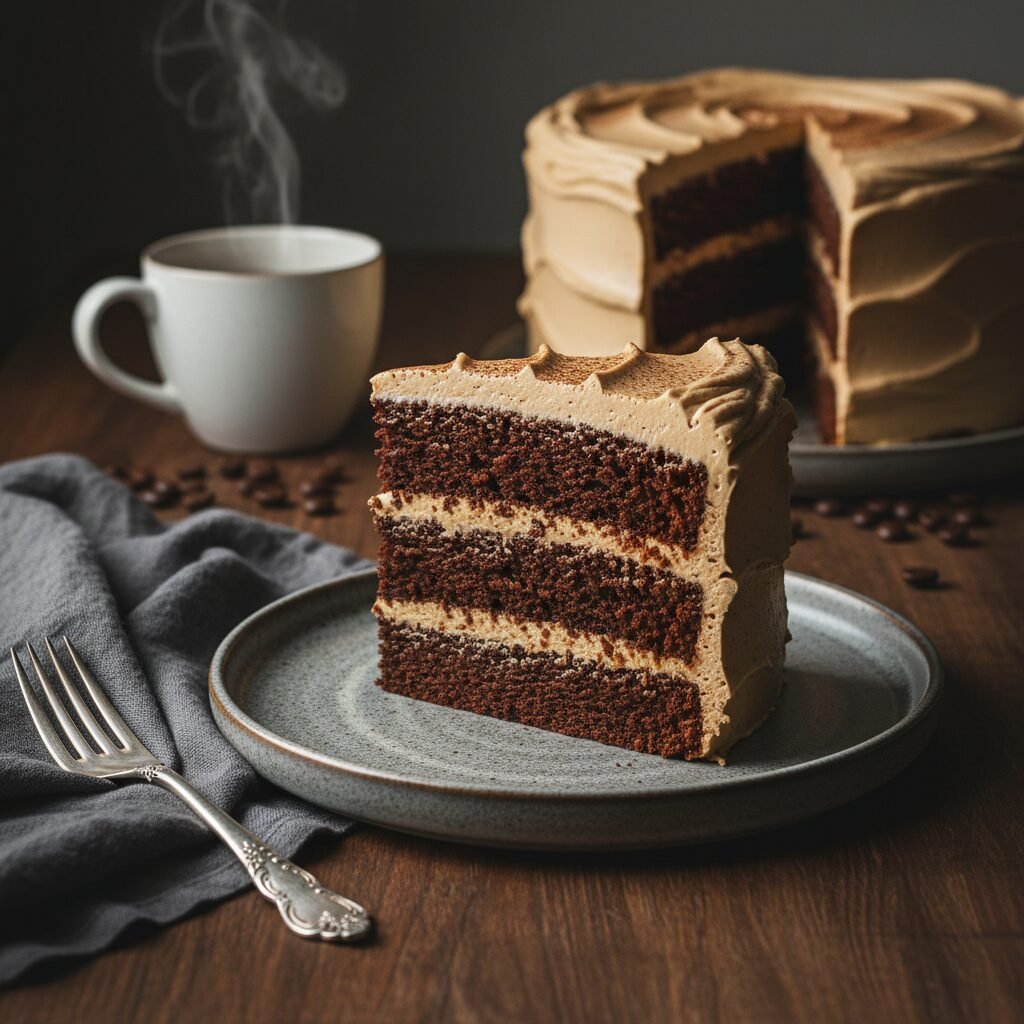
Moist Mocha Layer Cake Recipe
Discover the perfect marriage of rich dark chocolate and bold espresso in this incredible Moist Mocha Layer Cake. Featuring tender, oil-based chocolate sponges soaked in coffee syrup and frosted with a silky, whipped espresso buttercream, this dessert is a coffee lover’s dream come true.
30 minutes
35 minutes
1 hour 45 minutes
12-14 Servings
Dessert
Baking
American
Vegetarian
There is something undeniably magical about the combination of dark chocolate and roasted coffee. While many chocolate cakes claim to be the best, this Moist Mocha Layer Cake truly stands in a league of its own. It is not merely a chocolate cake with a hint of coffee; it is a sophisticated dessert where the espresso acts as a catalyst, deepening the cocoa profile to create a flavor that is robust, complex, and utterly intoxicating. The texture of this cake is what truly sets it apart. Unlike butter-based cakes that can sometimes turn dry or dense upon cooling, this recipe utilizes a specific blend of vegetable oil and buttermilk. This ensures that the crumb remains incredibly plush, velvety, and moist for days after baking. The ‘mocha’ aspect is twofold: first, hot brewed coffee is whisked directly into the batter to ‘bloom’ the cocoa powder, releasing its essential oils. Second, the cake is enveloped in a cloud-like Espresso Buttercream that packs a caffeinated punch without being bitter. Whether you are baking for a birthday, a holiday celebration, or simply to satisfy a midweek craving, this cake promises a bakery-quality result right from your home kitchen. It is a showstopper that looks as impressive as it tastes, with contrasting layers of dark sponge and creamy, light brown frosting. Prepare to have your friends and family asking for the recipe after just one bite.
History & Origins
The term ‘Mocha’ is one of the oldest and most storied names in the world of coffee and confections. Its origins trace back to the port city of Al Mokha (Mocha) in Yemen, which was the primary marketplace for the world’s coffee trade from the 15th to the 18th century. The coffee beans exported from this region, specifically the Coffea arabica variety, were renowned for their distinct, chocolaty undertones. Because of this unique flavor profile, Europeans began associating the word ‘Mocha’ not just with the port, but with a flavor that bridged the gap between coffee and chocolate. As chocolate became more accessible in Europe and later the Americas, bakers began experimenting with combining these two luxury ingredients. By the late 19th and early 20th centuries, as layer cakes became a staple of American culinary tradition, the ‘Mocha Cake’ emerged as a popular variation of the classic Devil’s Food Cake. Early recipes often called for leftover breakfast coffee to be used as the liquid in chocolate cakes to prevent waste and enhance flavor. Over the decades, this evolved into a deliberate culinary technique. In the mid-20th century, with the rise of espresso culture in Italy and its subsequent spread to the United States, the flavor profile intensified. Today, the Mocha Layer Cake is a beloved classic, representing a centuries-old global journey from the ports of Yemen to the modern American kitchen table.
Why This Recipe Works
This recipe succeeds where others fail due to the precise chemistry of its ingredients. First and foremost is the technique of ‘blooming’ the cocoa. By adding boiling hot coffee to the cocoa powder at the start (or mixed into the batter), we dissolve the cocoa butter and release flavor compounds that are otherwise dormant in cold liquid. This results in a chocolate flavor that is three-dimensional and profound. Secondly, the choice of fat is crucial. While butter offers great flavor, it is 80-82% fat and contains water that evaporates, and it solidifies at room temperature. Vegetable oil, being 100% fat and liquid at room temperature, coats the flour proteins more effectively. This inhibits gluten formation—which can make a cake tough—and ensures the cake stays soft and moist even when refrigerated. We introduce the buttery flavor through the frosting, where it belongs. Thirdly, the inclusion of buttermilk provides essential acidity. This acid reacts with the baking soda to create carbon dioxide, giving the cake a glorious rise and a tender, airy crumb structure. Finally, the espresso powder in the frosting is dissolved in heavy cream rather than water, maintaining the stability of the buttercream while injecting a concentrated coffee flavor that cuts through the sweetness of the powdered sugar.
Why You’ll Love This Recipe
- ✓Intense chocolate flavor amplified by hot coffee.
- ✓Stays moist for days thanks to the oil-based batter.
- ✓Silky, pipeable buttercream with a true espresso kick.
- ✓Perfect balance of sweetness and bitterness.
- ✓Impressive height and structure for a professional look.
- ✓Versatile batter that can also make cupcakes.
Equipment You’ll Need
- ✓Three 8-inch round cake pans (or two 9-inch)
- ✓Stand mixer with paddle attachment or hand mixer
- ✓Large mixing bowls
- ✓Wire cooling rack
- ✓Parchment paper
- ✓Offset spatula
- ✓Sifter or fine-mesh sieve
- ✓Measuring cups and spoons
Ingredients
- ✓2 cups granulated sugar
- ✓1 3/4 cups all-purpose flour
- ✓3/4 cup Dutch-process cocoa powder
- ✓2 teaspoons baking soda
- ✓1 teaspoon baking powder
- ✓1 teaspoon kosher salt
- ✓2 large eggs, room temperature
- ✓1 cup buttermilk, room temperature
- ✓1 cup strong brewed hot coffee
- ✓1/2 cup vegetable oil or canola oil
- ✓2 teaspoons vanilla extract
- ✓1 1/2 cups unsalted butter, softened (for frosting)
- ✓4-5 cups powdered sugar, sifted (for frosting)
- ✓1/3 cup unsweetened cocoa powder (for frosting)
- ✓1 tablespoon instant espresso powder dissolved in 2 tbsp heavy cream
- ✓2 teaspoons vanilla extract (for frosting)
- ✓Pinch of salt (for frosting)
- ✓Chocolate covered espresso beans (optional garnish)
Instructions
- 1. Preheat your oven to 350°F (175°C). Grease three 8-inch round cake pans with butter or cooking spray. Line the bottoms with parchment paper rounds and dust the sides with cocoa powder or flour.
- 2. In the bowl of a stand mixer or a large bowl, sift together the sugar, flour, cocoa, baking soda, baking powder, and salt. Whisk by hand to ensure everything is evenly distributed.
- 3. In a separate medium bowl, whisk together the eggs, buttermilk, oil, and vanilla extract until well combined.
- 4. With the mixer on low speed, slowly pour the wet ingredients into the dry ingredients. Mix until just combined, scraping down the sides of the bowl as needed.
- 5. With the mixer still on low, carefully pour in the hot coffee. The batter will be very thin and liquid; this is normal. Mix gently until combined, ensuring no pockets of flour remain at the bottom.
- 6. Divide the batter evenly among the prepared cake pans. Weighing the pans with a kitchen scale helps ensure even layers.
- 7. Bake for 30-35 minutes, or until a toothpick inserted into the center comes out clean or with just a few moist crumbs attached. Do not overbake.
- 8. Remove the cakes from the oven and let them cool in the pans for about 10-15 minutes. Then, carefully invert them onto a wire rack to cool completely before frosting.
- 9. While cakes cool, make the frosting. In a stand mixer fitted with a paddle attachment, beat the softened butter on medium-high speed for about 5 minutes until it is pale and fluffy.
- 10. Reduce speed to low and gradually add the powdered sugar and cocoa powder. Once incorporated, increase speed to medium and beat for 2 minutes.
- 11. Add the espresso/cream mixture, vanilla, and a pinch of salt. Beat on medium-high for another 3-4 minutes until the frosting is light, airy, and creamy. If it’s too stiff, add a teaspoon of cream at a time.
- 12. To assemble, place one cake layer on a serving plate or cake stand. Spread a generous layer of frosting over the top. Repeat with the remaining layers.
- 13. Cover the top and sides of the cake with the remaining frosting. Smooth with an offset spatula or create rustic swirls. Garnish with chocolate-covered espresso beans or chocolate shavings if desired.
Expert Cooking Tips
- ✓Ensure all cold ingredients (eggs, buttermilk) are at room temperature before mixing to prevent the batter from curdling.
- ✓Do not skip the parchment paper; it guarantees your layers will release from the pans perfectly.
- ✓Use high-quality Dutch-process cocoa powder for a darker color and smoother, less acidic chocolate flavor.
- ✓Weigh your flour using a kitchen scale (approx 120g per cup) to avoid a dense cake caused by accidental over-measuring.
- ✓The hot coffee must be hot, not lukewarm, to properly bloom the cocoa powder.
- ✓Wait until the cakes are completely cool before frosting, otherwise, the butter in the buttercream will melt and the cake will slide.
Substitutions and Variations
If you do not have buttermilk, you can make a quick substitute by adding 1 tablespoon of white vinegar or lemon juice to a cup of whole milk and letting it sit for 5 minutes. For a gluten-free version, substitute the all-purpose flour with a high-quality 1:1 gluten-free baking flour blend that contains xanthan gum. If you want to reduce the caffeine content, you can use hot decaf coffee for the cake and decaf instant espresso for the frosting; the flavor will remain largely the same. For the oil, melted coconut oil or grapeseed oil are excellent alternatives to vegetable oil. If you prefer a ganache finish instead of buttercream, simply melt equal parts heavy cream and dark chocolate and pour over the cooled cake.
Common Mistakes to Avoid
The most common mistake is overmixing the batter after adding the flour. Once the wet and dry ingredients meet, gluten begins to form. Overmixing leads to a tough, rubbery cake rather than a tender one. Another issue is opening the oven door too frequently during baking; this can cause the temperature to drop and the center of the cakes to sink. Using old baking soda or baking powder is also a culprit for flat cakes; always check expiration dates. Finally, attempting to frost the cake while it is even slightly warm will result in a disaster; the frosting will slide right off. Patience during the cooling process is key.
Serving Suggestions
This rich cake pairs beautifully with a cold glass of milk to cut through the sweetness. For a more sophisticated pairing, serve it alongside a hot cappuccino or a shot of espresso. If you want to add a fresh element, serve each slice with a handful of fresh raspberries or strawberries; the tartness of the berries complements the dark chocolate and coffee flavors perfectly. A scoop of vanilla bean ice cream or a dollop of unsweetened whipped cream also works wonders to balance the richness.
Storage and Reheating Tips
This cake can be stored at room temperature in an airtight cake carrier for up to 3 days. The oil in the batter helps it stay moist. If you live in a very hot or humid climate, it is better to store it in the refrigerator for up to 5 days; just be sure to let the slices come to room temperature before eating for the best texture and flavor. You can also freeze the unfrosted cake layers. Wrap them tightly in plastic wrap and then foil, and freeze for up to 3 months. Thaw in the refrigerator overnight before assembling.
Nutrition Facts (Estimated)
| Serving Size | 1 slice |
| Calories | 650 |
| Fat | 34g |
| Saturated Fat | 14g |
| Unsaturated Fat | 18g |
| Trans Fat | 0g |
| Cholesterol | 85mg |
| Sodium | 320mg |
| Carbohydrates | 82g |
| Fiber | 4g |
| Sugar | 55g |
| Protein | 6g |
Frequently Asked Questions
Can I make this cake ahead of time?
Yes, absolutely. You can bake the layers a day in advance, wrap them tightly in plastic wrap once cool, and store them at room temperature. The flavor often improves the next day.
Will the cake taste overwhelmingly like coffee?
No. The coffee in the sponge cake primarily enhances the chocolate flavor. The frosting has a more distinct coffee profile, but it balances well with the sugar and butter.
Can I use instant coffee for the liquid in the cake batter?
Yes. Dissolve 2 teaspoons of instant coffee or espresso powder into 1 cup of boiling water to replace the brewed coffee.
Why is my batter so runny?
This is intentional! A thin batter allows for better hydration of the flour and cocoa, resulting in a super moist cake. Do not add more flour.
Can I bake this as a sheet cake?
Yes. This recipe fits a 9×13 inch pan. Bake time will need to be adjusted, likely around 35-45 minutes.
Can I use natural cocoa powder instead of Dutch-process?
It is best to use Dutch-process because it is neutral in acidity, which works with the baking powder/soda ratio here. Natural cocoa is more acidic and might alter the rise and taste.
How do I get smooth sides on my cake?
Use a crumb coat first (a thin layer of frosting to trap crumbs), chill the cake for 20 minutes, and then apply the final thick layer of frosting using a turntable and a bench scraper.
Can I make cupcakes with this recipe?
Yes, this batter makes excellent cupcakes. Fill liners 2/3 full and bake for 18-22 minutes at 350°F.
Conclusion
Mastering this Moist Mocha Layer Cake recipe is a milestone for any home baker. It demonstrates how simple pantry staples, when combined with the right technique and understanding of ingredients, can transform into a dessert that rivals high-end patisseries. The depth of flavor provided by the coffee, combined with the unbeatable moisture from the oil and buttermilk, makes this a recipe you will turn to time and time again. Whether it is for a special occasion or a weekend treat, this cake brings comfort, luxury, and a caffeine kick all in one slice. Happy baking!