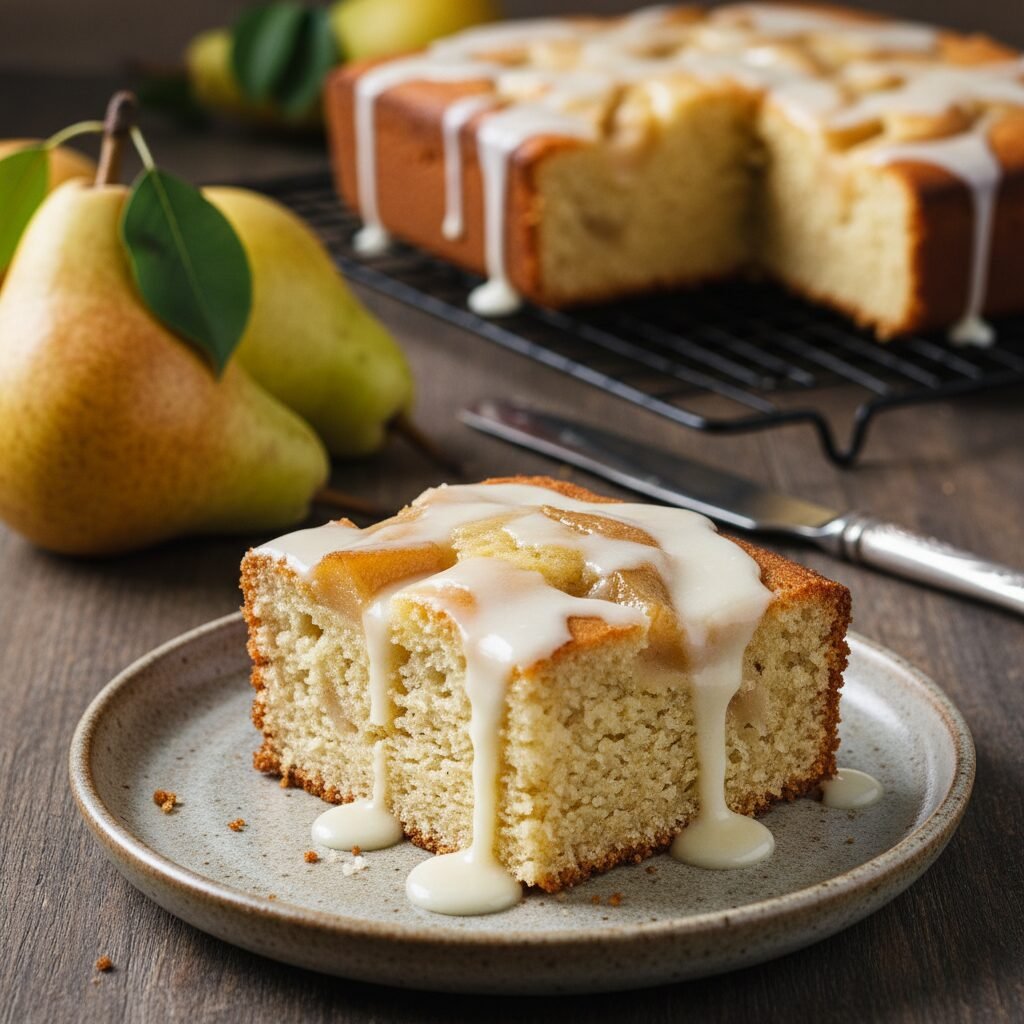
Moist Pear Snack Cake Recipe
This incredibly moist pear snack cake is studded with fresh juicy pears and warm autumn spices, making it the perfect treat for coffee breaks or dessert. It comes together quickly in one bowl and is topped with a simple, irresistible glaze that highlights the natural sweetness of the fruit.
20 minutes
45 minutes
65 minutes
9-12 servings
Dessert
Baking
American
Vegetarian
Pears are often the unsung heroes of the baking world, frequently overshadowed by the popularity of apples during the autumn harvest. However, a perfectly ripe pear offers a floral, delicate sweetness and a buttery texture that pairs exquisitely with warm spices like cardamom, cinnamon, and ginger. This Moist Pear Snack Cake is a celebration of that unique flavor profile. It is designed to be the kind of cake you leave on the counter and ‘snack’ on as you walk by—hence the name. It is not a towering layer cake requiring hours of decoration; it is a humble, rustic, single-layer cake that delivers maximum comfort with minimal effort.
The crumb is exceptionally tender, thanks to the inclusion of both vegetable oil and Greek yogurt, ensuring it stays soft and moist for days. As the cake bakes, the chunks of fresh pear soften into jammy pockets of fruit that burst with flavor in every bite. The aroma that fills your kitchen while this bakes—a mix of caramelized brown sugar, vanilla, and baked fruit—is intoxicating. Whether you are looking for a cozy companion to your morning latte, a sweet addition to a brunch spread, or a simple dessert to end a family dinner, this recipe checks every box. It bridges the gap between a breakfast muffin and a decadent dessert cake, making it versatile enough for any time of day.
History & Origins
The concept of the ‘snack cake’ is deeply rooted in American culinary history, particularly rising to prominence in the mid-20th century. During the post-war era, convenience was king, and boxed mixes for single-layer cakes became a staple in pantries across the country. These cakes were marketed as everyday treats—something easy enough to whip up on a Tuesday afternoon for an after-school snack or a coffee break with neighbors, distinct from the elaborate cakes reserved for birthdays and weddings.
However, the tradition of incorporating fresh fruit into batters goes back much further than the 1950s. In Europe, rustic fruit cakes like the French ‘gâteau au yaourt’ (yogurt cake) or Italian ‘torta di mele’ (apple cake) have been household staples for generations. These recipes relied on seasonal produce and simple pantry staples to create affordable, nourishing treats. The pear itself has a storied past, cultivated in China as early as 2000 BC and spread across Europe by the Romans. In this recipe, we are marrying that ancient fruit with the nostalgic American tradition of the countertop snack cake. It is a scratch-made homage to the convenience cakes of the mid-century, but with the superior flavor and texture that only fresh, whole ingredients can provide. By using fresh pears instead of dried or canned fruit, we connect with the harvest traditions of the past while enjoying modern baking science.
Why This Recipe Works
The success of this Moist Pear Snack Cake lies in the careful balance of moisture-retaining ingredients and the specific handling of the fruit. First, we use vegetable oil instead of butter for the primary fat source. While butter adds flavor, it consists of water and milk solids that can lead to a drier crumb once the cake cools. Oil remains liquid at room temperature, guaranteeing a sensationally moist texture that lasts for days. To compensate for the buttery flavor, we use a generous amount of dark brown sugar, which adds deep molasses notes, alongside a blend of cinnamon, nutmeg, and ginger.
Secondly, the addition of Greek yogurt (or sour cream) serves a dual purpose. The acidity in the yogurt reacts with the baking soda to create a robust rise, resulting in a fluffy rather than dense texture, while the protein in the dairy tenderizes the gluten strands. Finally, the pears themselves are key. By chopping them into small cubes rather than grating them, we create distinct pockets of fruit that release steam internally as they bake. This keeps the surrounding cake batter hydrated without turning it into mush. The ratio of flour to liquid is specifically calibrated to support the weight of the fruit, ensuring the pears are distributed evenly throughout the slice rather than sinking to the bottom.
Why You’ll Love This Recipe
- ✓One-bowl method means minimal cleanup.
- ✓Stays incredibly moist for up to 4 days.
- ✓Perfect way to utilize overripe pears.
- ✓Versatile enough for breakfast, brunch, or dessert.
- ✓Freezer-friendly for make-ahead meal prep.
- ✓Can be made dairy-free with simple substitutions.
Equipment You’ll Need
- ✓8×8 or 9×9 inch square baking pan
- ✓Large mixing bowl
- ✓Medium mixing bowl
- ✓Whisk
- ✓Rubber spatula
- ✓Vegetable peeler
- ✓Parchment paper
- ✓Wire cooling rack
Ingredients
- ✓1 1/2 cups All-Purpose Flour
- ✓1 teaspoon Baking Soda
- ✓1/2 teaspoon Salt
- ✓1 teaspoon Ground Cinnamon
- ✓1/4 teaspoon Ground Nutmeg
- ✓1/4 teaspoon Ground Ginger
- ✓2 large Eggs, room temperature
- ✓1/2 cup Vegetable Oil (or Canola Oil)
- ✓1/2 cup Granulated Sugar
- ✓1/2 cup Dark Brown Sugar, packed
- ✓1 teaspoon Pure Vanilla Extract
- ✓1/2 cup Plain Greek Yogurt or Sour Cream
- ✓2 cups Ripe Pears, peeled, cored, and diced (approx. 2-3 medium pears)
- ✓1/2 cup Powdered Sugar (for glaze)
- ✓1 tablespoon Milk (for glaze)
- ✓1/4 teaspoon Vanilla Extract (for glaze)
Instructions
- Preheat your oven to 350°F (175°C). Grease an 8×8 or 9×9 inch baking pan with non-stick spray or butter, and line it with parchment paper, leaving an overhang on the sides for easy removal.
- In a medium bowl, whisk together the flour, baking soda, salt, cinnamon, nutmeg, and ginger until well combined. Set aside.
- In a large mixing bowl, whisk the eggs, vegetable oil, granulated sugar, brown sugar, vanilla extract, and Greek yogurt until smooth and glossy. Ensure there are no lumps of brown sugar.
- Gradually add the dry ingredients to the wet ingredients. Use a rubber spatula to fold the mixture together gently. Stop mixing just before all the flour streaks disappear to avoid overworking the gluten.
- Add the diced pears to the batter. Fold them in gently until they are evenly distributed and no dry flour remains. The batter will be thick.
- Pour the batter into the prepared baking pan and spread it into an even layer with the spatula.
- Bake for 40-50 minutes, or until a toothpick inserted into the center comes out clean or with just a few moist crumbs attached. Be careful not to hit a pear chunk when testing.
- Remove the cake from the oven and place the pan on a wire rack. Let it cool completely in the pan.
- While the cake cools, make the glaze. Whisk together the powdered sugar, milk, and vanilla in a small bowl until smooth. Adjust consistency with more milk or sugar if needed.
- Once the cake is cool, lift it out using the parchment paper handles. Drizzle the glaze over the top before slicing into squares.
Expert Cooking Tips
- ✓Use ripe but firm pears. If they are too mushy, they will disintegrate; if they are rock hard, they won’t soften enough during baking.
- ✓Do not overmix the batter. Once the flour is added, mix only until combined to ensure a tender crumb.
- ✓Room temperature ingredients (eggs and yogurt) emulsify better, creating a more uniform texture.
- ✓If your pears are very juicy, toss them in a tablespoon of the flour mixture before folding them in to prevent them from sinking.
- ✓Wait for the cake to cool completely before glazing, otherwise the glaze will melt into the cake and disappear.
- ✓Bartlett or Bosc pears are the best varieties for baking due to their texture and flavor.
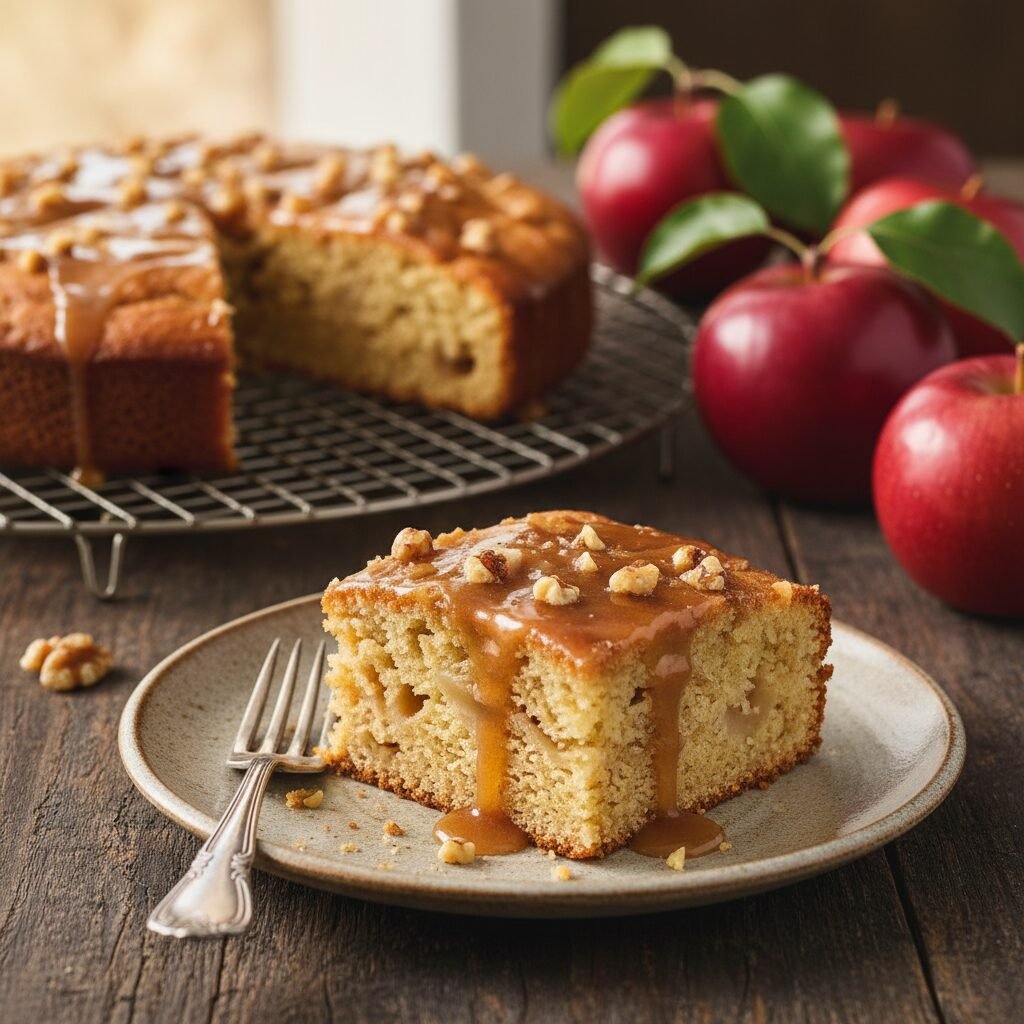
- ✓For an extra crunch, sprinkle chopped walnuts or pecans on top of the batter before baking.
Substitutions and Variations
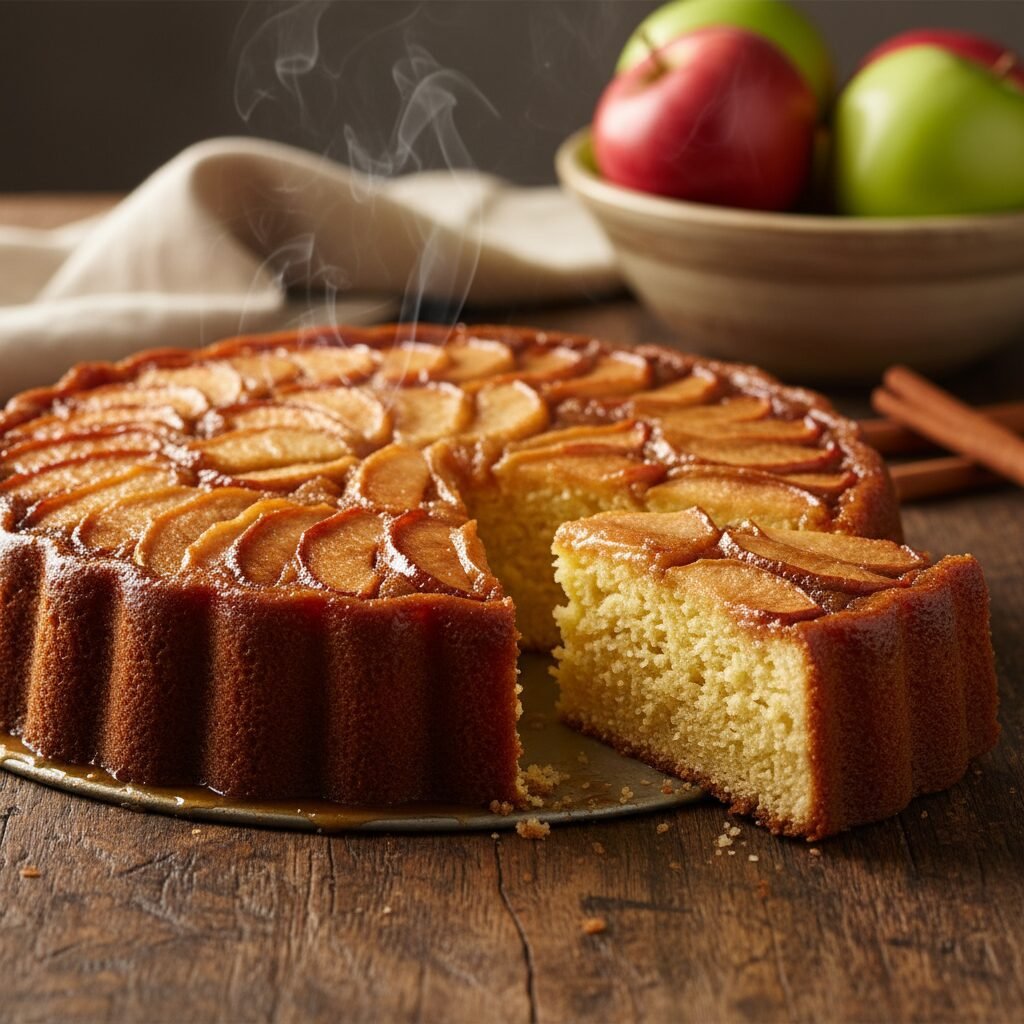
This recipe is quite forgiving and allows for several substitutions. If you don’t have pears, this recipe works wonderfully with apples (Granny Smith or Honeycrisp are best). For the flour, you can use a 1:1 gluten-free baking flour blend to make this gluten-free; just ensure the blend contains xanthan gum. If you are out of Greek yogurt, sour cream is the best direct replacement, but plain buttermilk can also work (though the batter will be slightly thinner). You can swap the vegetable oil for melted coconut oil or melted butter, though butter will result in a slightly denser cake that dries out faster. For a lower sugar option, you can reduce the granulated sugar by a tablespoon or two, but keep the brown sugar for moisture. To make the recipe dairy-free, use a plant-based yogurt (like coconut or almond yogurt) and almond milk for the glaze.
Common Mistakes to Avoid
The most common mistake with this cake is overmixing the batter after adding the flour. This develops the gluten too much and results in a rubbery, tough texture rather than a tender crumb. Another issue is using under-ripe pears. Hard pears lack flavor and moisture, leading to a bland cake with crunchy fruit bits. Conversely, using canned pears without draining them thoroughly can introduce too much liquid, causing the cake to be soggy and dense in the middle. Finally, oven temperatures vary; relying solely on the timer can lead to under or over-baking. Always use the toothpick test, and check the cake a few minutes before the timer goes off. If the top is browning too fast but the center is raw, tent the pan loosely with aluminum foil.
Serving Suggestions
This cake is incredibly versatile. Serve it slightly warm with a dollop of whipped cream or a scoop of vanilla bean ice cream for a comforting dessert. For breakfast or brunch, it pairs beautifully with a hot cup of coffee or chai tea. You can also dress it up by drizzling caramel sauce over the top instead of the vanilla glaze, or serving it with a side of crème fraîche to cut the sweetness. A dusting of powdered sugar is a simple alternative to the glaze if you prefer less sugar.
Storage and Reheating Tips
This cake stores beautifully and actually tastes even better the next day as the flavors meld. Store the cake in an airtight container at room temperature for up to 3 days. If your kitchen is particularly hot or humid, you may want to store it in the refrigerator for up to 5 days, but bring it to room temperature before eating for the best texture. To freeze, wrap individual slices tightly in plastic wrap and then place them in a freezer-safe bag. Freeze for up to 3 months. Thaw slices on the counter for an hour or warm them in the microwave for 20 seconds before serving.
Nutrition Facts (Estimated)
| Serving Size | 1 slice |
| Calories | 295 |
| Fat | 14g |
| Saturated Fat | 2g |
| Unsaturated Fat | 11g |
| Trans Fat | 0g |
| Cholesterol | 35mg |
| Sodium | 180mg |
| Carbohydrates | 42g |
| Fiber | 3g |
| Sugar | 22g |
| Protein | 4g |
Frequently Asked Questions
Can I use canned pears for this recipe?
Yes, you can use canned pears in a pinch. However, you must drain them very thoroughly and pat them dry with paper towels to remove excess syrup or water, otherwise, the cake will be soggy. Fresh pears are recommended for the best texture.
Do I need to peel the pears?
Yes, it is highly recommended to peel the pears. Pear skin can become tough and unappealing in texture when baked inside a cake. Peeling ensures a smooth, uniform consistency.
Why did my pears sink to the bottom?
This usually happens if the batter is too thin or the pear chunks are too large. Ensure your batter is thick (don’t over-measure liquids) and dice the pears into small 1/2 inch cubes. You can also toss the diced pears in a tablespoon of flour before folding them in.
Can I make this cake vegan?
Yes. Substitute the eggs with ‘flax eggs’ (2 tbsp ground flaxseed meal mixed with 6 tbsp water, let sit for 5 mins), use a plant-based yogurt, and ensure your sugar is vegan-certified.
Can I bake this in a loaf pan instead?
Yes, you can bake this in a standard 9×5 inch loaf pan. However, the baking time will increase significantly, likely taking 55-65 minutes. Keep an eye on it and tent with foil if the top browns too quickly.
What spices can I add for more flavor?
Cardamom is a fantastic pairing with pears. You can add 1/2 teaspoon of ground cardamom to the dry ingredients. Allspice or cloves (in small amounts, about 1/8 tsp) also work well for a spicier kick.
How do I know when the cake is done?
Insert a toothpick or cake tester into the center of the cake. It should come out clean or with a few moist crumbs. If it comes out with wet batter, it needs more time. Try to test a spot that isn’t directly inside a pear chunk.
Why is my cake dry?
Dry cake is usually caused by over-baking or measuring the flour incorrectly. Make sure to spoon and level your flour rather than scooping the cup directly into the bag, which packs it down.
Can I use whole wheat flour?
You can substitute up to 50% of the all-purpose flour with white whole wheat flour. Using 100% whole wheat flour will result in a denser, nuttier cake that may be drier, so you might need to add an extra tablespoon of yogurt.
Is the glaze necessary?
Not at all! The cake is delicious on its own. The glaze adds a nice sweetness and visual appeal, but you can skip it or simply dust the top with powdered sugar.
Conclusion
This Moist Pear Snack Cake is a testament to the beauty of simple baking. It doesn’t require fancy equipment or complicated techniques, yet it yields a result that feels special and indulgent. The combination of tender cake, warm spices, and sweet, soft pears is truly timeless. Whether you are an experienced baker or a novice in the kitchen, this recipe is forgiving and reliable. We hope it becomes a staple in your home during pear season and beyond. If you make this recipe, please leave a comment and let us know how it turned out—we love hearing your baking stories!