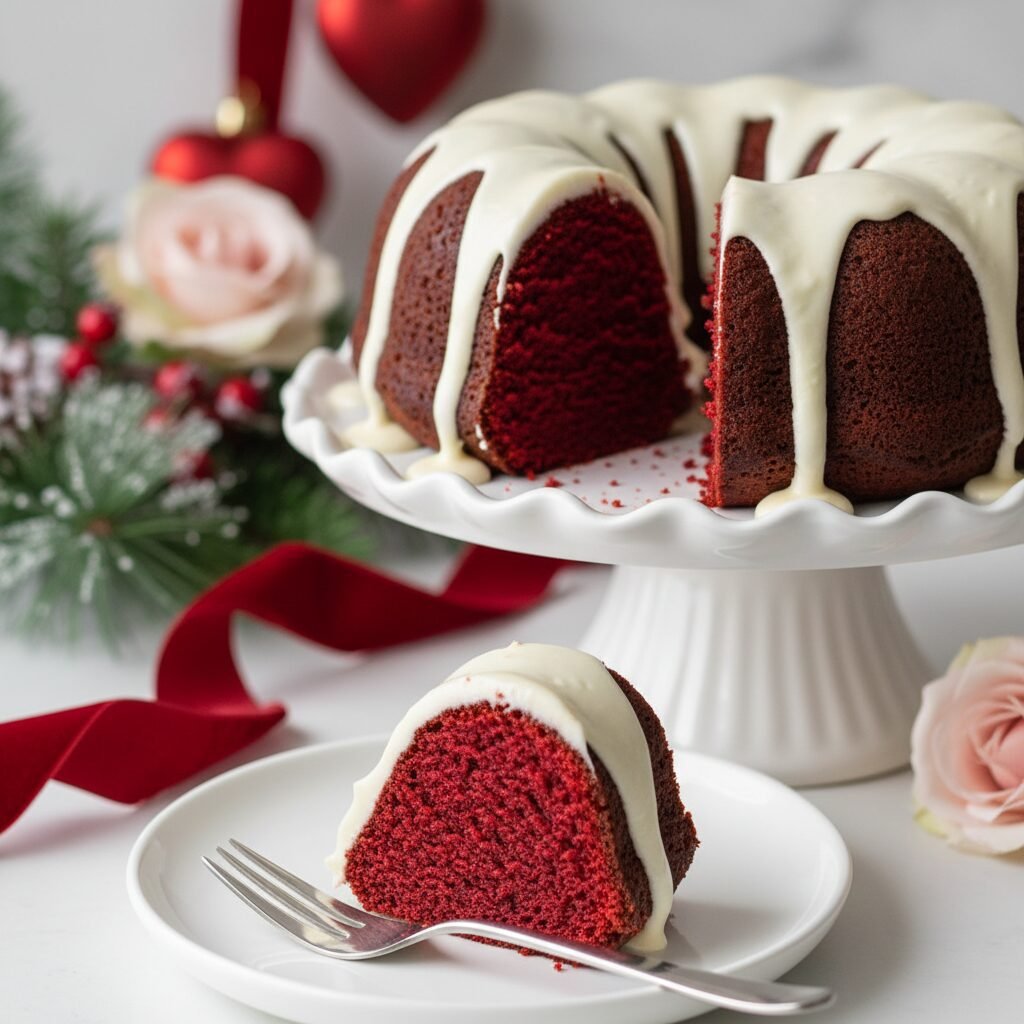
Moist Red Velvet Bundt Cake With Cream Cheese Frosting Recipe
This isn’t just another cake recipe; it is the softest, most vibrant red velvet bundt cake you will ever bake. Topped with a tangy, melt-in-your-mouth cream cheese icing, it is guaranteed to be the star of your dessert table.
20 minutes
55 minutes
1 hour 15 minutes
12-14 Servings
Dessert
Baking
American
Vegetarian
Hey there, lovely friends! Welcome back to my kitchen. Today, we are tackling a classic that holds a very special place in my heart: Red Velvet Bundt Cake. There is something so incredibly nostalgic and elegant about a bundt cake. It sits there on the cake stand, looking effortlessly chic with ribbons of frosting cascading down the sides, practically begging to be sliced.
I have spent years—and I mean years—trying to find the perfect balance for red velvet. Too often, they come out dry or just taste like a bland vanilla cake with a bottle of food coloring dumped in. Not this one! This recipe is the holy grail. It is incredibly moist (thanks to a secret weapon ingredient!), has that subtle chocolatey depth we all crave, and the texture? Oh my goodness, it is like velvet. Literally.
Whether you are prepping for a festive Christmas dinner, a romantic Valentine’s treat for your hubby, or just because it is Tuesday and you deserve a treat, this cake is your answer. Plus, let’s be real, the ratio of cake to cream cheese frosting on a bundt is just superior. So, grab your apron and let’s get baking!
History & Origins
Red Velvet cake is shrouded in a bit of culinary mystery and drama, which just makes me love it more! While many believe it originated at the Waldorf-Astoria Hotel in New York, the concept of a “velvet” cake actually dates back to the Victorian era. The term “velvet” was used to describe cakes with a soft, fine crumb, distinguishing them from the coarser sponge cakes of the time.
The distinct reddish hue originally wasn’t from food coloring at all. It was a chemical reaction between raw cocoa powder (which contains anthocyanin) and acidic ingredients like buttermilk and vinegar. This reaction revealed a ruddy, mahogany tint. During the Great Depression and World War II, when foods were rationed, bakers used beet juice to keep their cakes moist and enhance the color. It wasn’t until later, with the mass production of food dyes, that we got the neon bright red we know today. This bundt version pays homage to that velvety texture while embracing the modern festive look!
Why This Recipe Works
So, why is this specific recipe a total winner? It comes down to the science of moisture and flavor balance. First, we use oil instead of butter for the cake base. While I love butter, oil is superior for keeping cakes moist for days because it remains liquid at room temperature. This ensures every bite is tender, never dry.
Secondly, the combination of buttermilk and vinegar is non-negotiable. The acidity breaks down the gluten strands in the flour, resulting in that signature tender crumb, and it also activates the baking soda for a great rise. Finally, we use just enough cocoa powder to give it that hint of chocolate flavor without overpowering the vanilla and tang notes. It is a delicate dance of ingredients that results in perfection every single time.
Why You’ll Love This Recipe
- ✓Incredibly moist texture that stays soft for days
- ✓Tangy, thick cream cheese frosting that pours perfectly
- ✓Stunning deep red color without being neon
- ✓No mixer required for the cake batter
- ✓Perfect for holiday centerpieces
Equipment You’ll Need
- ✓10-12 cup Bundt Pan
- ✓Large Mixing Bowl
- ✓Medium Mixing Bowl
- ✓Whisk
- ✓Wire Cooling Rack
- ✓Measuring Cups and Spoons
- ✓Electric Hand Mixer (for frosting)
Ingredients
- ✓2 1/2 cups All-Purpose Flour
- ✓1 1/2 cups Granulated Sugar
- ✓1 teaspoon Baking Soda
- ✓1 teaspoon Salt
- ✓1/4 cup Unsweetened Cocoa Powder
- ✓1 1/2 cups Vegetable Oil (or Canola Oil)
- ✓1 cup Buttermilk, room temperature
- ✓2 large Eggs, room temperature
- ✓2 tablespoons Red Food Coloring (liquid)
- ✓1 teaspoon White Distilled Vinegar
- ✓1 teaspoon Vanilla Extract
- ✓8 oz Cream Cheese, softened (for frosting)
- ✓1/4 cup Unsalted Butter, softened (for frosting)
- ✓2 cups Powdered Sugar (for frosting)
- ✓1-2 tablespoons Milk or Heavy Cream (for frosting)
- ✓1 teaspoon Vanilla Extract (for frosting)
Instructions
- Preheat and Prep: Preheat your oven to 350°F (175°C). This is the most crucial step: generously grease your Bundt pan. I recommend using a baking spray containing flour, or grease with shortening and dust with cocoa powder (so you don’t see white flour streaks on your red cake!).
- Whisk Dry Ingredients: In a large bowl, sift together the flour, sugar, baking soda, salt, and cocoa powder. Sifting is key here to ensure there are no lumps of cocoa in your batter.
- Mix Wet Ingredients: In a separate medium bowl, whisk together the vegetable oil, buttermilk, eggs, food coloring, vinegar, and vanilla extract until fully combined and the mixture is a bright red emulsion.
- Combine: Pour the wet ingredients into the dry ingredients. Using a whisk or a rubber spatula, gently mix until just combined. Do not overmix! Stop as soon as the flour streaks disappear. Overmixing leads to a tough cake.
- Bake: Pour the batter evenly into your prepared Bundt pan. Tap the pan gently on the counter a few times to release any trapped air bubbles. Bake for 50-60 minutes, or until a toothpick inserted into the center comes out clean or with just a few moist crumbs.
- Cool: Let the cake cool in the pan for exactly 10-15 minutes. Then, place a wire rack over the pan and invert it to release the cake. Let it cool completely before frosting. If you frost a warm cake, the icing will melt right off!
- Make the Frosting: While the cake cools, beat the softened cream cheese and butter together until smooth and creamy. Gradually add the powdered sugar and vanilla. Add milk one tablespoon at a time until you reach a thick but pourable consistency.
- Decorate: Spoon or pour the frosting over the crown of the cooled Bundt cake, letting it drip organically down the sides. Top with sprinkles or cake crumbs if desired.
Expert Cooking Tips
- ✓Room Temperature Ingredients: Ensure your buttermilk and eggs are at room temperature so they emulsify properly with the oil.
- ✓Don’t Skimp on Grease: Bundt pans are notorious for sticking. Get into every nook and cranny with your grease.
- ✓Check Your Cocoa: Use standard unsweetened cocoa powder, not Dutch-processed, as the acidity is needed to react with the baking soda.
- ✓The Toothpick Test: Because bundt pans vary, start checking at the 50-minute mark. You want moist crumbs, not wet batter.
Substitutions and Variations
If you find yourself missing an ingredient, don’t panic! Here are some easy swaps:
- Buttermilk: You can make your own sour milk by adding 1 tablespoon of vinegar or lemon juice to a cup of regular milk and letting it sit for 5 minutes.
- Vegetable Oil: Melted coconut oil or grapeseed oil works beautifully too.
- Red Food Coloring: If you prefer a natural route, you can use beet powder, though it will change the flavor profile slightly and the color will be more brownish-red.
- Cream Cheese: If you aren’t a fan of tangy frosting, a simple vanilla glaze or chocolate ganache is also delicious.
Common Mistakes to Avoid
The biggest heartbreak with bundt cakes is the cake sticking to the pan. This usually happens because the pan wasn’t greased enough or the cake cooled in the pan for too long (causing the sugars to solidify like glue). Another common mistake is overmixing the batter. Once the wet and dry ingredients touch, the gluten starts to develop. Mix gently and by hand to keep that tender, velvety crumb.
Serving Suggestions
This cake is a stunner on its own, but I love serving it with a side of fresh berries—raspberries or strawberries look gorgeous against the red cake and white frosting. A dollop of freshly whipped cream never hurts, either! For a festive touch, sprinkle some red sanding sugar or shaved white chocolate over the frosting before it sets.
Storage and Reheating Tips
Because of the cream cheese frosting, this cake should be stored in the refrigerator. Keep it in an airtight cake carrier or wrap it gently in plastic wrap. It will stay fresh for up to 5 days. Actually, I think it tastes even better on day two as the flavors meld! You can also freeze individual slices wrapped in parchment and foil for up to 3 months.
Nutrition Facts (Estimated)
| Serving Size | 1 Slice |
| Calories | 480 |
| Fat | 26g |
| Saturated Fat | 8g |
| Unsaturated Fat | 16g |
| Trans Fat | 0g |
| Cholesterol | 45mg |
| Sodium | 310mg |
| Carbohydrates | 58g |
| Fiber | 1g |
| Sugar | 38g |
| Protein | 5g |
Frequently Asked Questions
Can I make this cake ahead of time?
Absolutely! You can bake the cake the day before, wrap it tightly in plastic wrap once cool, and store it at room temperature. Make the frosting and decorate on the day you plan to serve it.
Why did my red velvet cake turn brown?
This can happen if you use Dutch-processed cocoa powder instead of natural cocoa, or if you don’t use enough food coloring. The acidity in natural cocoa helps maintain the reddish hue.
Can I use gel food coloring instead of liquid?
Yes, you can! Gel is much more concentrated, so you will need significantly less. Start with 1 teaspoon of gel and add more until you reach your desired color.
Why is my cake dry?
Dry cake usually results from over-baking or measuring flour incorrectly. Make sure to spoon and level your flour rather than scooping the measuring cup directly into the flour bag, which packs it down.
Do I have to use vinegar?
Yes, the vinegar is essential! It reacts with the baking soda to help the cake rise and also contributes to preserving the red color.
Can I bake this in a regular cake pan?
Sure! This recipe will make two 8-inch or 9-inch round cakes. You will need to reduce the baking time to about 30-35 minutes.
How do I get the frosting to drip perfectly?
The consistency is key. It should be thick like honey. If it’s too runny, add more sugar. If it’s too stiff, add a tiny splash of milk. Test a spoonful on the side of the bowl before pouring.
My cake sank in the middle, what happened?
This often happens if the oven door was opened too early during baking, causing a temperature drop, or if the cake was underbaked. It can also happen if there was too much leavening agent (baking soda).
Conclusion
I truly hope you love this Moist Red Velvet Bundt Cake as much as my family does. It has become our go-to tradition for Christmas Eve, but honestly, it is too good to save for just once a year. The contrast between the deep red crumb and the snowy white frosting is just magical. If you make this, please snap a photo and tag me! I love seeing your beautiful creations. Happy baking, friends!

