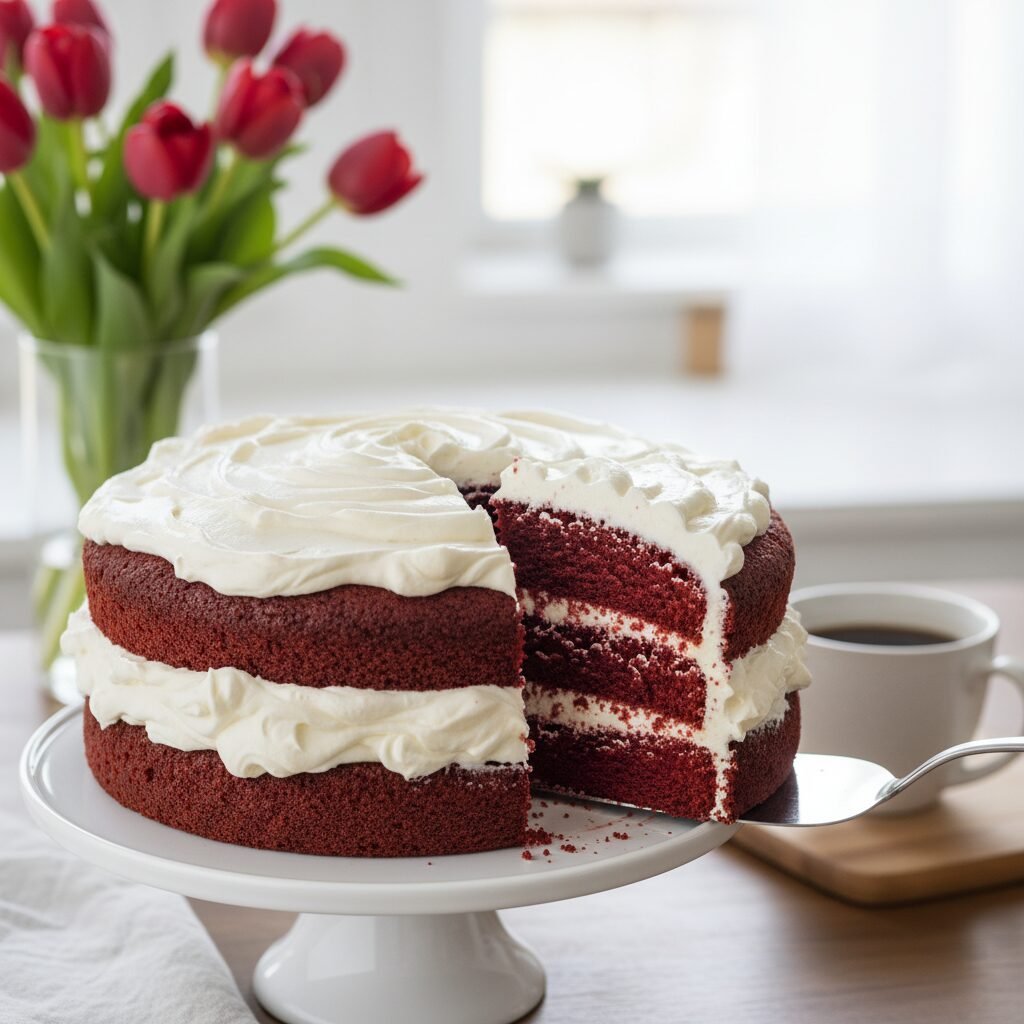
Moist Red Velvet Layer Cake Recipe
Get ready to fall in love with this show-stopping dessert! This isn’t just chocolate cake dyed red; it is a tender, buttery, vanilla-scented masterpiece with a hint of cocoa and the most incredible tangy cream cheese frosting.
30 minutes
30 minutes
2 hours (includes cooling)
12-16 Slices
Dessert
Baking
American
Vegetarian
Hey friends! Welcome back to my kitchen. Today, we are tackling a classic that often intimidates home bakers but is actually incredibly simple if you have the right recipe: Red Velvet Cake. I cannot tell you how many dry, flavorless red cakes I have tasted in my life. You know the ones—they look pretty but taste like red cardboard? Well, toss those memories out the window because this recipe is a total game-changer.
There is something so nostalgic and romantic about a slice of Red Velvet. Maybe it is the striking contrast between the deep crimson crumb and the snowy white frosting, or maybe it is just that unique flavor profile that is a little bit chocolate, a little bit vanilla, and a whole lot of tangy goodness. This specific recipe has been my go-to for years. It is requested at every single family birthday, and honestly, it is the first thing to disappear at potlucks.
What makes this the ultimate recipe? It comes down to the texture. We are aiming for a crumb that is soft, velvety (hence the name!), and incredibly moist without being dense. We are using a combination of oil and butter to get the best of both worlds: the flavor of butter and the lasting moisture of oil. Trust me, once you try this, you will never need another box mix again!
History & Origins
The history of Red Velvet Cake is actually a bit of a culinary mystery wrapped in a delicious enigma! While many people think it is a Southern invention, its roots might actually be traced back to the Victorian era’s "Velvet Cakes," which were fancy cakes with a softer crumb than the coarser cakes of the time.
The signature red color originally wasn’t from food dye at all. Back in the day, cocoa powder wasn’t Dutch-processed (alkalized) like it is today. Raw cocoa contains anthocyanins, which turn red when mixed with acidic ingredients like buttermilk and vinegar. So, the chemical reaction literally changed the color of the cake! During the Great Depression and WWII, when foods were rationed, bakers used beet juice to keep cakes moist and add color. Later, the Adams Extract company popularized the recipe we know today to sell more red food coloring and vanilla. So, when you bake this, you are baking a little slice of history!
Why This Recipe Works
Let’s geek out on baking science for a second—I promise to keep it simple! The magic of this cake lies in the balance of acid and fat. Here is the breakdown:
- Buttermilk & Vinegar: These are the acidic powerhouses. They break down the long strands of gluten in the flour, which leads to a super tender, "melt-in-your-mouth" texture. They also react with the baking soda to create the lift, making the cake fluffy.
- Oil & Butter Blend: Butter provides that classic rich flavor we all crave, but butter is about 20% water, which evaporates. Oil is 100% fat and stays liquid at room temperature, which keeps the cake feeling moist on your tongue days after baking. Using both gives you the best flavor and texture.
- Cake Flour: This has a lower protein content than all-purpose flour. Less protein means less gluten formation, resulting in a finer, lighter crumb that truly feels like velvet.
Why You’ll Love This Recipe
- ✓Stays moist for days thanks to the oil-butter blend
- ✓Perfect balance of vanilla and mild cocoa flavor
- ✓The frosting is tangy, not overly sweet
- ✓Vibrant red color without a bitter aftertaste
- ✓Sturdy enough for layer cakes but soft enough to melt in your mouth
Equipment You’ll Need
- ✓Two 9-inch round cake pans
- ✓Stand mixer or electric hand mixer
- ✓Sifter or fine-mesh sieve
- ✓Rubber spatula
- ✓Wire cooling rack
- ✓Offset spatula for frosting
- ✓Measuring cups and spoons
- ✓Parchment paper
Ingredients
- ✓2 1/2 cups cake flour, sifted (spooned and leveled)
- ✓2 tablespoons unsweetened cocoa powder
- ✓1 teaspoon baking soda
- ✓1 teaspoon salt
- ✓1/2 cup unsalted butter, softened to room temperature
- ✓1 1/2 cups granulated sugar
- ✓1 cup vegetable oil (or canola oil)
- ✓2 large eggs, room temperature
- ✓2 large egg yolks, room temperature
- ✓1 tablespoon pure vanilla extract
- ✓1 teaspoon distilled white vinegar
- ✓2 tablespoons red food coloring (liquid or gel)
- ✓1 cup buttermilk, room temperature
- ✓For the Frosting:
- ✓16 oz (2 blocks) full-fat cream cheese, softened
- ✓1/2 cup unsalted butter, softened
- ✓4 cups powdered sugar
- ✓1 tablespoon heavy cream or milk
- ✓1 teaspoon vanilla extract
Instructions
- Prep the Oven and Pans: Preheat your oven to 350°F (175°C). Grease two 9-inch round cake pans with butter or baking spray. I highly recommend lining the bottoms with parchment paper to guarantee they don’t stick!
- Whisk Dry Ingredients: In a medium bowl, sift together the cake flour, cocoa powder, baking soda, and salt. Whisk them to ensure everything is evenly distributed. Set this aside.
- Cream Butter and Sugar: In the bowl of your stand mixer fitted with the paddle attachment (or a large bowl with a hand mixer), beat the softened butter and granulated sugar on medium-high speed for about 2-3 minutes. It should look light and fluffy.
- Add Oil and Eggs: Pour in the vegetable oil and mix until combined. Add the eggs and egg yolks one at a time, beating well after each addition. Scrape down the sides of the bowl with your rubber spatula.
- Add Color and Flavor: Mix in the vanilla extract, vinegar, and red food coloring. Mix on low speed until you have a vibrant red batter. Don’t be shy with the color!
- Combine Wet and Dry: With the mixer on low speed, add the dry ingredients in three parts, alternating with the buttermilk in two parts (Dry, Buttermilk, Dry, Buttermilk, Dry). Mix just until combined. Do not overmix or the cake will be tough!
- Bake: Divide the batter evenly between the two prepared cake pans. Bake for 28-32 minutes, or until a toothpick inserted into the center comes out clean or with just a few moist crumbs. Be careful not to overbake.
- Cool: Remove cakes from the oven and let them cool in the pans for about 10-15 minutes. Then, carefully invert them onto a wire rack to cool completely before frosting. If you frost a warm cake, the icing will slide right off!
- Make the Frosting: While the cakes cool, beat the softened cream cheese and butter together on medium-high speed until smooth and creamy (no lumps!). Add the vanilla and heavy cream. Gradually add the powdered sugar, one cup at a time, mixing on low until combined, then whip on high for 2 minutes until fluffy.
- Assemble: Place one cake layer on your serving platter. Spread a generous layer of frosting on top. Place the second cake layer on top. Frost the top and sides of the cake. Garnish with cake crumbs if desired!
Expert Cooking Tips
- ✓Room Temperature is Key: Make sure your butter, eggs, buttermilk, and cream cheese are all at room temperature. This ensures they emulsify properly for a smooth batter.
- ✓Don’t Skip the Sifting: Cocoa powder tends to be lumpy. Sifting your dry ingredients ensures you don’t bite into a pocket of dry bitter cocoa.
- ✓Measure Flour Correctly: Use a kitchen scale or the ‘spoon and level’ method. Scooping the cup directly into the flour bag packs it down and leads to a dry cake.
- ✓Gel vs. Liquid Color: If you want a super intense red, use gel food coloring (you will need less). Liquid works fine but you need the full 2 tablespoons.
- ✓Cooling: Pop the baked cake layers in the fridge for 30 minutes before frosting. It makes them firmer and easier to work with!
Substitutions and Variations
No buttermilk? No problem! You can make a DIY version by adding 1 tablespoon of lemon juice or white vinegar to a measuring cup, then filling it to the 1-cup line with whole milk. Let it sit for 5 minutes until it curdles slightly. If you don’t have cake flour, you can use all-purpose flour: remove 2 tablespoons of flour per cup and replace it with 2 tablespoons of cornstarch. Sift well!
Common Mistakes to Avoid
The biggest mistake people make with Red Velvet is overbaking. Because of the cocoa and red color, it’s hard to see when it’s browning. Trust the toothpick test! Another mistake is overmixing the batter once the flour is added. This develops gluten and makes the cake rubbery instead of velvety. Mix until just combined!
Serving Suggestions
This cake is a stunner on its own, but I love serving it with fresh berries—raspberries or strawberries look beautiful against the white frosting. A sprig of fresh mint adds a nice pop of green for Christmas. If you want to get fancy, save the crumbs from leveling the tops of the cakes and sprinkle them around the rim of the frosting for that classic bakery look.
Storage and Reheating Tips
Because of the cream cheese frosting, this cake should be stored in the refrigerator. It will stay fresh for up to 5 days in an airtight container (or covered with a cake dome). However, it tastes best at room temperature! I recommend taking it out of the fridge about an hour before serving so the butter and cream cheese can soften up again. You can also freeze the unfrosted cake layers for up to 2 months wrapped tightly in plastic wrap.
Nutrition Facts (Estimated)
| Serving Size | 1 Slice |
| Calories | 580 kcal |
| Fat | 32g |
| Saturated Fat | 16g |
| Unsaturated Fat | 14g |
| Trans Fat | 0.5g |
| Cholesterol | 85mg |
| Sodium | 340mg |
| Carbohydrates | 70g |
| Fiber | 1g |
| Sugar | 45g |
| Protein | 5g |
Frequently Asked Questions
Does Red Velvet cake taste like chocolate?
Sort of! It has a mild chocolate flavor, but it’s much more subtle than a standard chocolate cake. It’s really a hybrid of vanilla and chocolate with a tangy buttermilk finish.
Can I use natural food coloring like beets?
You can, but be warned that the color will be more of a rusty brown-red rather than the vibrant bright red you see in bakeries. The flavor might also be slightly earthier.
Why did my cake turn brown instead of red?
This can happen if you use Dutch-processed cocoa powder, which is less acidic. Stick to regular unsweetened cocoa powder for the best chemical reaction and color retention.
Can I make this into cupcakes?
Absolutely! This recipe will make about 24-30 standard cupcakes. Bake them for 18-22 minutes at 350°F.
My frosting is too runny, what do I do?
This usually happens if the cream cheese was too warm or if you over-mixed it. Pop the bowl in the fridge for 20 minutes to firm up, or add a little more powdered sugar to stiffen it.
Do I have to use vinegar?
Yes! The vinegar is crucial for activating the baking soda and helping the cake rise. You won’t taste the vinegar at all in the final product.
Can I make the cake layers ahead of time?
Yes, baking ahead is a great stress-saver. Bake the layers, let them cool completely, wrap them tightly in plastic wrap, and freeze them. Frost them while they are still frozen—it’s actually easier!
Is this recipe gluten-free friendly?
I haven’t tested it with GF flour personally, but many readers have had success using a high-quality 1:1 Gluten-Free Baking Flour blend (like King Arthur or Bob’s Red Mill).
Conclusion
I hope you love this Red Velvet Layer Cake as much as my family does! It really is the perfect combination of tender, moist cake and tangy, sweet frosting. It’s one of those recipes that makes you look like a professional pastry chef with minimal effort. If you make this for a birthday or holiday, please tag me in your photos—I live to see your creations! Happy baking, mamas!