Moist Red Velvet Loaf Cake For Birthday Recipe
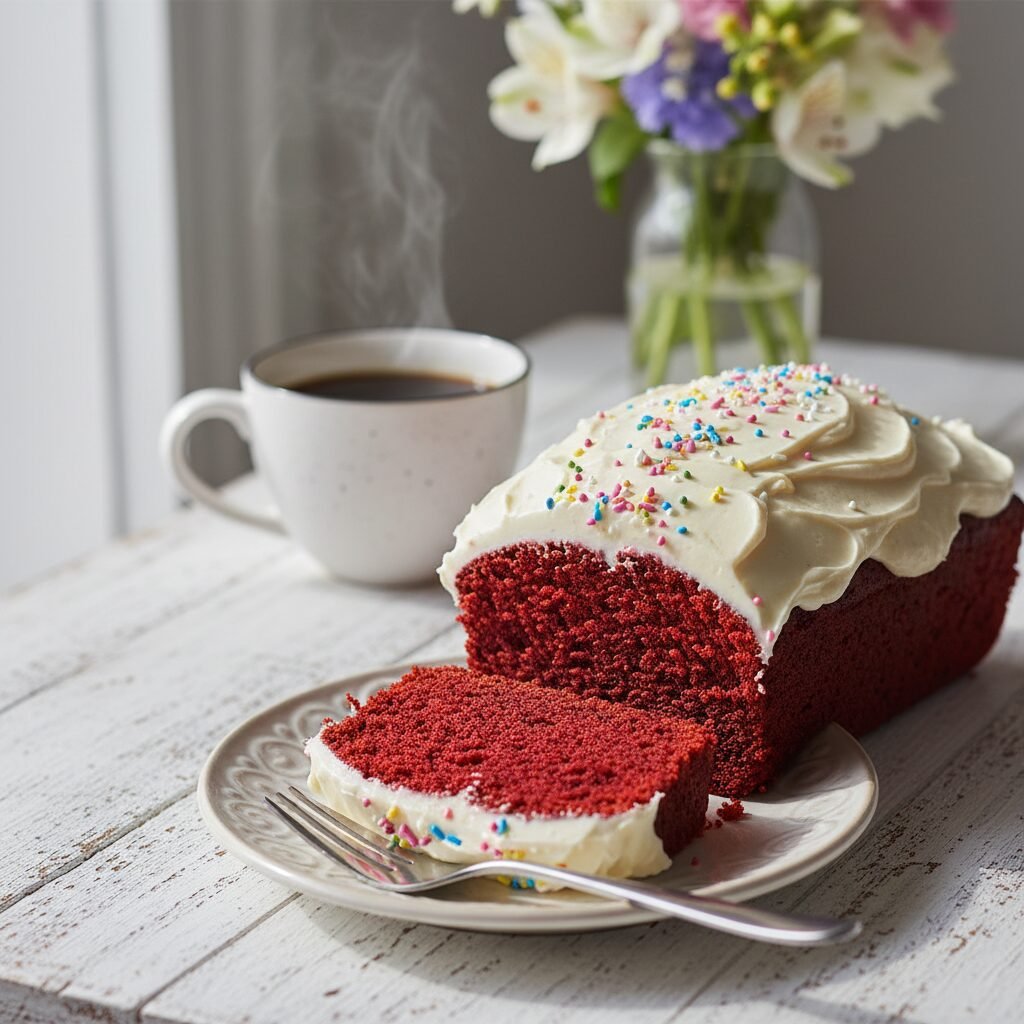
Forget the stress of stacking layers! This Red Velvet Loaf Cake delivers all that classic, velvety flavor and vibrant color in an easy-to-bake loaf. It is incredibly moist, topped with a swoon-worthy cream cheese frosting, and absolutely perfect for a low-stress birthday treat.
15 minutes
55 minutes
1 hour 10 minutes
1 Loaf (8-10 Slices)
Dessert
Baking
American
Vegetarian
Let’s be real, mamas: birthdays are magical, but baking a three-tier layer cake with intricate piping while managing a household, work, and the kids’ soccer practice? That is a whole different level of stress. Enter the Red Velvet Loaf Cake. It is the unsung hero of the baking world and my absolute go-to when I want that distinct, luxurious “birthday cake” feeling without the architectural engineering of a round cake.
There is something so nostalgic and visually stunning about red velvet. That deep crimson crumb contrasting against snowy white cream cheese frosting just screams celebration! This particular recipe is one I have tweaked over years of birthday parties and bake sales. It is not dry (my biggest pet peeve with store-bought cakes), and it has that signature hint of chocolate and tang that authentic red velvet is known for.
Whether you are making this for your partner’s birthday breakfast, a treat for the kiddos, or just because you survived the week, this loaf cake is a hug in a pan. Grab your coffee, preheat that oven, and let’s make something beautiful together!
History & Origins
Red Velvet cake has a fascinating history that goes way back before it was a Pinterest staple. Originally, in the Victorian era, “velvet” cakes were just cakes with a very fine crumb, usually thanks to the use of almond flour or cornstarch. The “red” part is where the science comes in! traditionally, unprocessed cocoa powder reacts with acidic ingredients like buttermilk and vinegar, revealing a reddish-brown hue. It wasn’t the bright neon red we see today, but a lovely mahogany.
During the Great Depression and WWII, when foods were rationed, bakers used beet juice to keep cakes moist and add color. The modern, bright red version became iconic thanks to the Adams Extract company in Texas, which popularized red food dye with tear-off recipe cards in grocery stores. Today, it is a Southern staple that has conquered the world, symbolizing celebration and indulgence.
Why This Recipe Works
I am often asked, “What makes this recipe so much moister than others?” The secret lies in the fat and the acid. Unlike butter-based cakes which can sometimes dry out if overbaked even by a minute, this recipe uses oil. Oil remains liquid at room temperature, ensuring the cake stays soft and tender for days. We combine this with buttermilk and a splash of vinegar.
This acidity does two things: first, it breaks down the long gluten strands in the flour, resulting in a tender, melt-in-your-mouth crumb (the “velvet” factor). Second, the acid reacts with the baking soda to create lift, giving the loaf a beautiful dome without being dense. Finally, the small amount of cocoa powder provides that subtle chocolate flavor without overpowering the vanilla notes, creating that unique red velvet profile we all crave.
Why You’ll Love This Recipe
- ✓Incredibly moist crumb that stays soft for days
- ✓Rich, tangy cream cheese frosting (generous amount!)
- ✓No mixer required for the batter – just a whisk
- ✓Festive and perfect for birthdays or holidays
- ✓Freezer-friendly for make-ahead meal prep
- ✓Better than the Starbucks copycat versions
Equipment You’ll Need
- ✓9×5 inch Loaf Pan
- ✓Large Mixing Bowl
- ✓Medium Mixing Bowl
- ✓Whisk
- ✓Rubber Spatula
- ✓Electric Hand Mixer (for frosting)
- ✓Cooling Rack
- ✓Measuring Cups and Spoons
Ingredients
- ✓1 1/2 cups All-Purpose Flour
- ✓1/4 cup Unsweetened Cocoa Powder (regular, not Dutch-processed)
- ✓1 teaspoon Baking Soda
- ✓1/4 teaspoon Salt
- ✓1 cup Granulated Sugar
- ✓1/2 cup Vegetable Oil (or Canola Oil)
- ✓1 Large Egg (Room Temperature)
- ✓3/4 cup Buttermilk (Room Temperature)
- ✓1 teaspoon Vanilla Extract
- ✓1 teaspoon White Vinegar
- ✓1 tablespoon Red Food Coloring (Liquid or Gel)
- ✓For The Frosting:
- ✓4 oz Cream Cheese (Softened)
- ✓2 tablespoons Unsalted Butter (Softened)
- ✓1 1/2 cups Powdered Sugar
- ✓1/2 teaspoon Vanilla Extract
- ✓1-2 tablespoons Heavy Cream or Milk (optional, for consistency)
Instructions
- Preheat and Prep: Preheat your oven to 350°F (175°C). Grease a 9×5 inch loaf pan generously with butter or cooking spray and line it with parchment paper, leaving an overhang on the sides for easy removal later.
- Whisk Dry Ingredients: In a medium bowl, sift together the flour, cocoa powder, baking soda, and salt. Sifting is key here to avoid lumps of cocoa in your beautiful red cake!
- Mix Wet Ingredients: In a large bowl, whisk together the sugar and vegetable oil until combined. Add the egg, buttermilk, vanilla extract, and vinegar. Whisk vigorously until the mixture is smooth and pale.
- Add the Color: Stir in the red food coloring. If you want a really vibrant red, don’t be shy! Mix until the color is fully incorporated and uniform.
- Combine: Pour the dry ingredients into the wet ingredients. Using a rubber spatula, gently fold the batter just until no flour streaks remain. Do not overmix, or the cake will be tough instead of velvety.
- Bake: Pour the batter into the prepared loaf pan and smooth the top. Bake for 50-60 minutes. Test for doneness by inserting a toothpick into the center; it should come out clean or with just a few moist crumbs attached.
- Cool: Let the cake cool in the pan for about 15 minutes. Then, use the parchment paper handles to lift it out onto a wire rack to cool completely. It must be 100% cool before frosting, or the frosting will melt right off!
- Make the Frosting: While the cake cools, beat the softened cream cheese and butter together until smooth and creamy. Gradually add the powdered sugar and vanilla. Beat on high for 2-3 minutes until fluffy. Add a splash of milk if it’s too thick.
- Decorate: Swoop the frosting generously over the top of the cooled loaf. Top with sprinkles if it’s a birthday celebration!
Expert Cooking Tips
- ✓Room Temperature Ingredients: Ensure your egg, buttermilk, and cream cheese are at room temperature. This ensures they emulsify properly for a smooth batter and frosting.
- ✓Don’t Skimp on the Coloring: Cocoa powder is dark, so you need a good amount of dye to overcome the brown and get that bright red. Gel coloring is more concentrated and works best.
- ✓Tent with Foil: If the top of your loaf is browning too quickly before the center is cooked, loosely tent a piece of aluminum foil over the top for the last 15 minutes of baking.
- ✓DIY Buttermilk: No buttermilk? No problem! Add 1 tablespoon of lemon juice or vinegar to a measuring cup, fill to the 1-cup line with milk, and let sit for 5 minutes until curdled.
Substitutions and Variations
If you are looking to switch things up, here are a few mom-approved swaps. For a Gluten-Free version, use a high-quality 1:1 gluten-free baking flour blend (one that contains xanthan gum). If you are trying to avoid Red Dye 40, you can use beet powder or natural food coloring, though the color will be more of a rusty brown than a vibrant red. You can also swap the vegetable oil for melted coconut oil, but make sure all other ingredients are warm so the oil doesn’t solidify during mixing.
Common Mistakes to Avoid
The most common mistake with loaf cakes is overmixing the batter. Once the flour hits the wet ingredients, stop mixing as soon as the white streaks disappear. Overmixing develops gluten and makes the cake rubbery. Another issue is opening the oven door too early. This can cause the center to sink. Resist the urge to peek until at least 45 minutes have passed! Lastly, frosting a warm cake is a recipe for disaster; patience is a virtue here—let it cool completely.
Serving Suggestions
This loaf is stunning on its own, but for a birthday, I love to dress it up! Add festive sprinkles, or even some shaved white chocolate on top of the frosting. Serve it with a side of fresh raspberries or strawberries to cut through the sweetness. It pairs perfectly with a hot cup of coffee for the adults or a glass of cold milk for the kids.
Storage and Reheating Tips
Because of the cream cheese frosting, this cake needs to be stored in the refrigerator. Place leftovers in an airtight container and keep in the fridge for up to 5 days. Let the slices sit at room temperature for 15-20 minutes before eating to soften the crumb and frosting. To freeze, wrap the unfrosted loaf tightly in plastic wrap and foil, and freeze for up to 3 months. Thaw overnight in the fridge before frosting.
Nutrition Facts (Estimated)
| Serving Size | 1 Slice |
| Calories | 420 kcal |
| Fat | 22g |
| Saturated Fat | 8g |
| Unsaturated Fat | 13g |
| Trans Fat | 0g |
| Cholesterol | 45mg |
| Sodium | 280mg |
| Carbohydrates | 54g |
| Fiber | 1g |
| Sugar | 32g |
| Protein | 4g |
Frequently Asked Questions
Why did my red velvet cake turn brown?
This usually happens if you use too much baking soda or if you use Dutch-processed cocoa powder instead of natural cocoa powder. The acidity is needed to keep the red color bright!
Can I make this into muffins instead?
Absolutely! This batter makes wonderful muffins. Bake them in a standard muffin tin at 350°F for about 18-22 minutes.
What does the vinegar do in the recipe?
Vinegar reacts with the baking soda to provide leavening (lift) and helps preserve the red color against the cocoa powder.
Can I reduce the sugar?
You can reduce the sugar by about 1/4 cup, but keep in mind sugar also provides moisture and structure, not just sweetness. Reducing it too much may result in a drier loaf.
Is red velvet just chocolate cake with dye?
Not quite! While it has cocoa, it has much less than a standard chocolate cake. It also has a distinct tangy flavor from the buttermilk and vinegar that chocolate cake lacks.
My loaf sank in the middle, what happened?
This usually means it was underbaked. Loaf cakes take a long time to bake through to the center. Always do the toothpick test!
Can I use butter instead of oil?
You can, but I highly recommend sticking with oil. Oil coats the flour proteins better than butter, keeping the cake moist for much longer, which is crucial for a loaf cake.
How do I get the frosting so fluffy?
Whip the butter and cream cheese together thoroughly before adding the sugar, and then whip it again on high speed at the end to incorporate air.
Conclusion
There you have it, friends! The only Red Velvet Loaf Cake recipe you will ever need. It is simple, stunning, and undeniably delicious. Whether you are celebrating a birthday or just celebrating making it through a Tuesday, this cake is sure to bring a smile to everyone’s face. If you make this, please tag me on Pinterest or Instagram—I love seeing your creations! Happy baking!

