Moist Red Velvet Loaf Cake With Oreo Crumbs Recipe
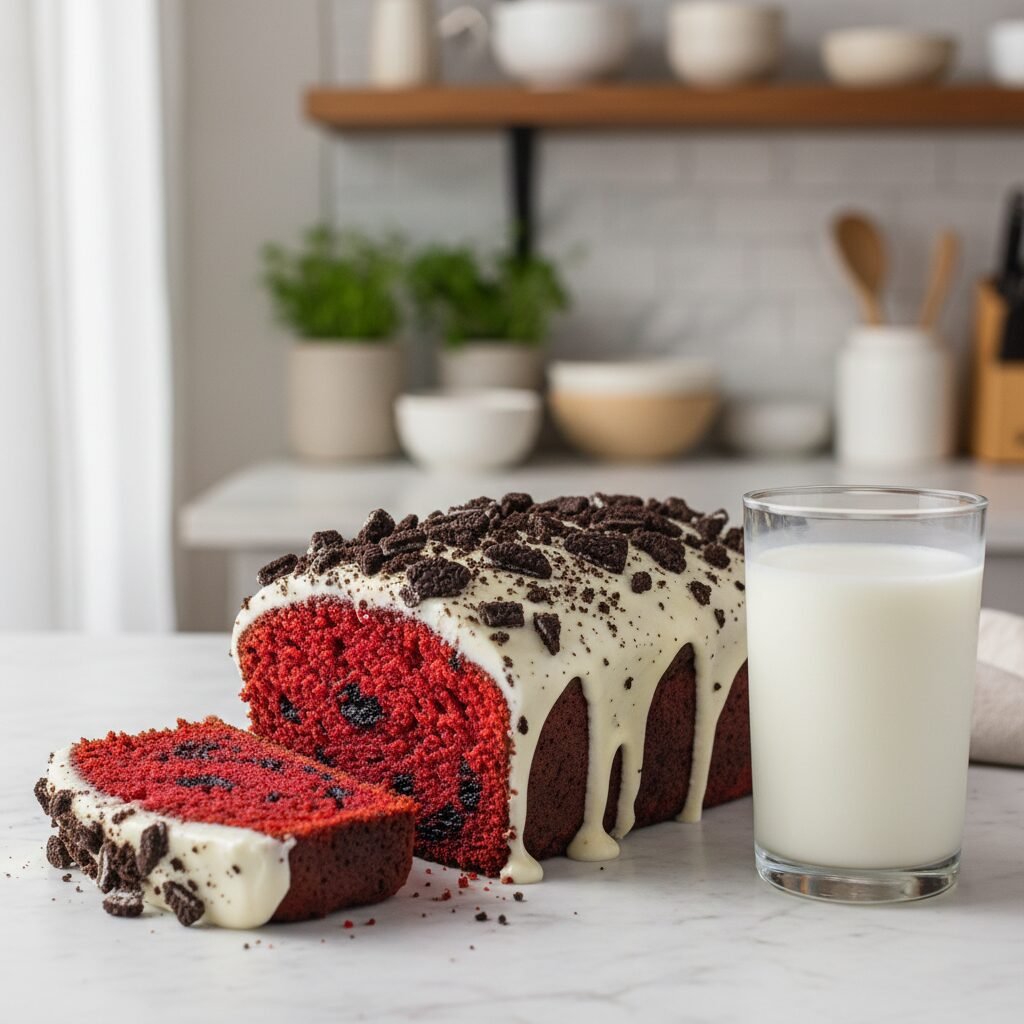
This isn’t just any cake; it’s a hug in loaf form! With its vibrant red hue, velvety crumb, and that irresistible Oreo crunch on top, this Red Velvet Loaf Cake is guaranteed to become your family’s new obsession.
20 minutes
50 minutes
1 hour 15 minutes
1 Loaf (10 slices)
Dessert
Baking
American
Vegetarian
Hey there, lovely mamas and baking enthusiasts! Welcome back to my kitchen. Today, we are diving into something so incredibly lush and decadent that I actually had to hide the leftovers from myself just so the kids could have some after school. We are talking about a Moist Red Velvet Loaf Cake With Oreo Crumbs. Yes, you read that right—Oreos!
There is something so timeless about red velvet. It feels fancy, doesn’t it? Like something you’d order at a cute little café with a steaming latte. But here is the secret: making it in a loaf pan makes it approachable, un-fussy, and totally doable for a busy weekday or a lazy Sunday morning. It takes that classic, slightly cocoa-flavored, tangy cake we all adore and gives it a modern twist with a thick layer of cream cheese glaze and a mountain of crushed chocolate sandwich cookies.
Whether you are prepping for a festive Valentine’s Day treat, looking for a show-stopping contribution to the PTA bake sale, or just need a little ‘me-time’ snack, this recipe checks every single box. It is moist (sorry if you hate that word, but it’s the truth!), tender, and has that perfect balance of sweet and tangy. Let’s get baking!
History & Origins
Let’s take a quick little trip down memory lane! Red Velvet cake has a bit of a mysterious and dramatic history, much like the cake itself. While many believe it originated at the Waldorf-Astoria Hotel in New York, others credit its popularity to the Adams Extract company in Texas, which sold red food coloring with tear-off recipe cards during the Great Depression to boost sales. Before food dye was common, the ‘red’ actually came from a chemical reaction between raw cocoa powder and acidic ingredients like buttermilk and vinegar, which revealed the red anthocyanin in the cocoa.
Over the decades, it evolved from a subtle mahogany color to the bright, vibrant crimson we know and love today. By transforming the traditional layer cake into a loaf cake, we are embracing a more rustic, home-style tradition that gained traction in the mid-2000s as home bakers looked for easier, slice-and-go alternatives to towering tiered cakes. Adding Oreos? Well, that is just a modern stroke of genius because who doesn’t love cookies on top of cake?
Why This Recipe Works
You might be wondering, what makes this specific recipe foolproof? It comes down to the chemistry of the wet ingredients. We use oil instead of butter for the cake base. While butter offers flavor, oil is superior at keeping cakes soft and moist for days because it remains liquid at room temperature. This ensures your loaf doesn’t dry out, even if it sits on the counter for a day or two.
Secondly, the combination of buttermilk and vinegar is non-negotiable. This acidity tenderizes the gluten in the flour, resulting in that signature ‘velvety’ soft crumb. It also reacts with the baking soda to give the loaf a nice lift. Finally, the Oreo crumbs aren’t just for looks; they provide a critical textural contrast. The cake is soft, the glaze is creamy, and the Oreos add a necessary crunch that makes every bite interesting.
Why You’ll Love This Recipe
- ✓Ultra-moist texture that stays fresh for days
- ✓Vibrant red color perfect for holidays
- ✓Tangy cream cheese glaze that balances the sweetness
- ✓Crunchy Oreo topping for texture contrast
- ✓No mixer required for the cake batter
- ✓Freezer-friendly for meal prepping treats
Equipment You’ll Need
- ✓9×5 inch Loaf Pan
- ✓Large Mixing Bowl
- ✓Medium Mixing Bowl
- ✓Whisk
- ✓Rubber Spatula
- ✓Measuring Cups and Spoons
- ✓Cooling Rack
- ✓Ziploc bag (for crushing Oreos)
Ingredients
- ✓1 1/2 cups All-Purpose Flour
- ✓1/4 cup Unsweetened Cocoa Powder
- ✓1 tsp Baking Soda
- ✓1/4 tsp Salt
- ✓1 cup Granulated Sugar
- ✓1/2 cup Vegetable Oil (or Canola Oil)
- ✓2 Large Eggs (Room Temperature)
- ✓3/4 cup Buttermilk (Room Temperature)
- ✓2 tsp Vanilla Extract
- ✓1 tbsp Red Food Coloring (Liquid or Gel)
- ✓1 tsp White Distilled Vinegar
- ✓4 oz Cream Cheese (Softened, for glaze)
- ✓2 tbsp Unsalted Butter (Softened, for glaze)
- ✓1 cup Powdered Sugar (for glaze)
- ✓1-2 tbsp Milk (for glaze)
- ✓6-8 Oreo Cookies (Crushed, for topping)
Instructions
- Preheat your oven to 350°F (175°C). Grease a 9×5 inch loaf pan generously with non-stick spray or line it with parchment paper, leaving an overhang on the sides for easy removal.
- In a medium bowl, whisk together the flour, cocoa powder, baking soda, and salt until well combined and no lumps remain. Set this dry mix aside.
- In a large mixing bowl, whisk together the sugar and vegetable oil until it looks like wet sand.
- Add the eggs one at a time, whisking well after each addition. Stir in the buttermilk, vanilla extract, red food coloring, and vinegar. Whisk until the mixture is smooth and a vibrant red color.
- Gently pour the dry ingredients into the wet ingredients. Switch to a rubber spatula and fold the batter just until no streaks of flour remain. Do not overmix, or the cake will be dense!
- Pour the batter into your prepared loaf pan and smooth the top with the spatula.
- Bake for 45-55 minutes. Test for doneness by inserting a toothpick into the center; it should come out clean or with just a few moist crumbs attached. If the top is browning too fast, tent it loosely with foil after 30 minutes.
- Remove from the oven and let the cake cool in the pan for about 15 minutes. Then, lift it out using the parchment paper handles and transfer it to a wire rack to cool completely before glazing.
- While the cake cools, make the glaze. Beat the softened cream cheese and butter together until smooth. Gradually add the powdered sugar and 1 tablespoon of milk. Whisk until creamy and pourable. Add more milk if needed for desired consistency.
- Pour the glaze over the completely cooled loaf, letting it drip down the sides. Immediately sprinkle the crushed Oreo crumbs over the wet glaze so they stick.
- Slice and serve immediately, or store for later!
Expert Cooking Tips
- ✓Room Temperature Ingredients: Ensure your eggs, buttermilk, and cream cheese are at room temperature. This ensures they emulsify properly, creating a smoother batter and a fluffier cake.
- ✓Don’t Skimp on the Dye: If you want that iconic bright red color, don’t be shy with the food coloring. If using gel paste, you need less than liquid dye, but the color intensifies as it bakes.
- ✓Crushing the Oreos: Place the cookies in a Ziploc bag and bash them with a rolling pin. You want a mix of fine dust and larger chunks for the best texture.
- ✓Cool Completely: It is tempting to glaze a warm cake, but don’t do it! The cream cheese glaze will melt and slide right off. Patience is key here, mama!
Substitutions and Variations
No buttermilk? No problem! You can make a DIY version by adding 1 tablespoon of lemon juice or white vinegar to a scant cup of regular milk and letting it sit for 5 minutes until it curdles. If you are out of vegetable oil, melted coconut oil or canola oil works perfectly fine. For a gluten-free version, swap the all-purpose flour for a high-quality 1:1 Gluten-Free Baking Flour blend (one that contains xanthan gum).
Common Mistakes to Avoid
The most common mistake with loaf cakes is overmixing the batter. Once you add the flour, stop mixing as soon as the white streaks disappear. Overmixing develops gluten, which makes the cake tough and rubbery rather than soft and velvety. Another mistake is opening the oven door too early to peek; this can cause the center of the loaf to sink. Trust your timer!
Serving Suggestions
This loaf cake is stunning on its own, but if you want to elevate it for a dessert party, serve a slice alongside a scoop of vanilla bean ice cream or a dollop of fresh whipped cream. It pairs beautifully with a hot cup of black coffee to cut through the sweetness, or a cold glass of milk for the kiddos.
Storage and Reheating Tips
Because of the cream cheese glaze, this cake should technically be stored in the refrigerator if you aren’t eating it within 24 hours. Store it in an airtight container in the fridge for up to 5 days. Let the slices come to room temperature before eating for the best texture. If you haven’t glazed it yet, the plain loaf can be stored at room temperature for 3 days.
Nutrition Facts (Estimated)
| Serving Size | 1 slice |
| Calories | 420 |
| Fat | 22g |
| Saturated Fat | 8g |
| Unsaturated Fat | 12g |
| Trans Fat | 0g |
| Cholesterol | 45mg |
| Sodium | 280mg |
| Carbohydrates | 54g |
| Fiber | 1g |
| Sugar | 32g |
| Protein | 5g |
Frequently Asked Questions
Can I freeze this Red Velvet Loaf Cake?
Absolutely! It freezes beautifully. I recommend freezing it without the glaze and Oreos for the best results. Wrap the cooled loaf tightly in plastic wrap and then foil. Freeze for up to 3 months. Thaw on the counter and glaze fresh before serving.
Why did my red velvet cake turn brown?
This usually happens if you use a low-quality food coloring or if the chemical reaction between the cocoa and baking soda neutralized the red dye. Ensure you are using enough dye and that your baking soda is fresh.
Can I use natural beet powder instead of food coloring?
You can, but be aware that the color will be more of a muted, earthy brick-red rather than the vibrant artificial red. The flavor profile might also shift slightly to be earthier.
Can I make this into muffins instead?
Yes! This batter makes fantastic muffins. Line a muffin tin and bake at 350°F for about 18-22 minutes. Watch them closely so they don’t dry out.
Do I have to use vinegar?
Yes, please don’t skip it! The vinegar is essential for activating the baking soda (to help the cake rise) and for preserving the red color.
Can I use Greek yogurt instead of buttermilk?
Yes, plain Greek yogurt or sour cream can be substituted for buttermilk in a 1:1 ratio. It makes the cake incredibly rich and dense.
Why did my Oreo crumbs get soggy?
If the cake sits in the fridge for several days, the moisture from the glaze will soften the cookies. It’s best to add the Oreo topping shortly before serving if you want maximum crunch.
Is this cake overly sweet?
It is a dessert, so it is sweet, but the tanginess of the buttermilk, the bitterness of the cocoa, and the cream cheese glaze help balance the sugar so it isn’t cloying.
Conclusion
And there you have it, friends! The most delightful, moist, and visually stunning Red Velvet Loaf Cake with Oreo Crumbs. I hope this recipe brings a little splash of color and a whole lot of joy to your kitchen. It is truly one of those low-effort, high-reward recipes that makes you look like a professional baker without the stress.
If you try this recipe, please snap a photo and tag me on Pinterest or Instagram—I absolutely love seeing your creations! Don’t forget to pin this recipe to your ‘Dessert’ or ‘Valentine’s Day’ boards so you can find it easily later. Happy baking!

