Moist Vanilla Layer Cake For 8 Inch Pan Recipe
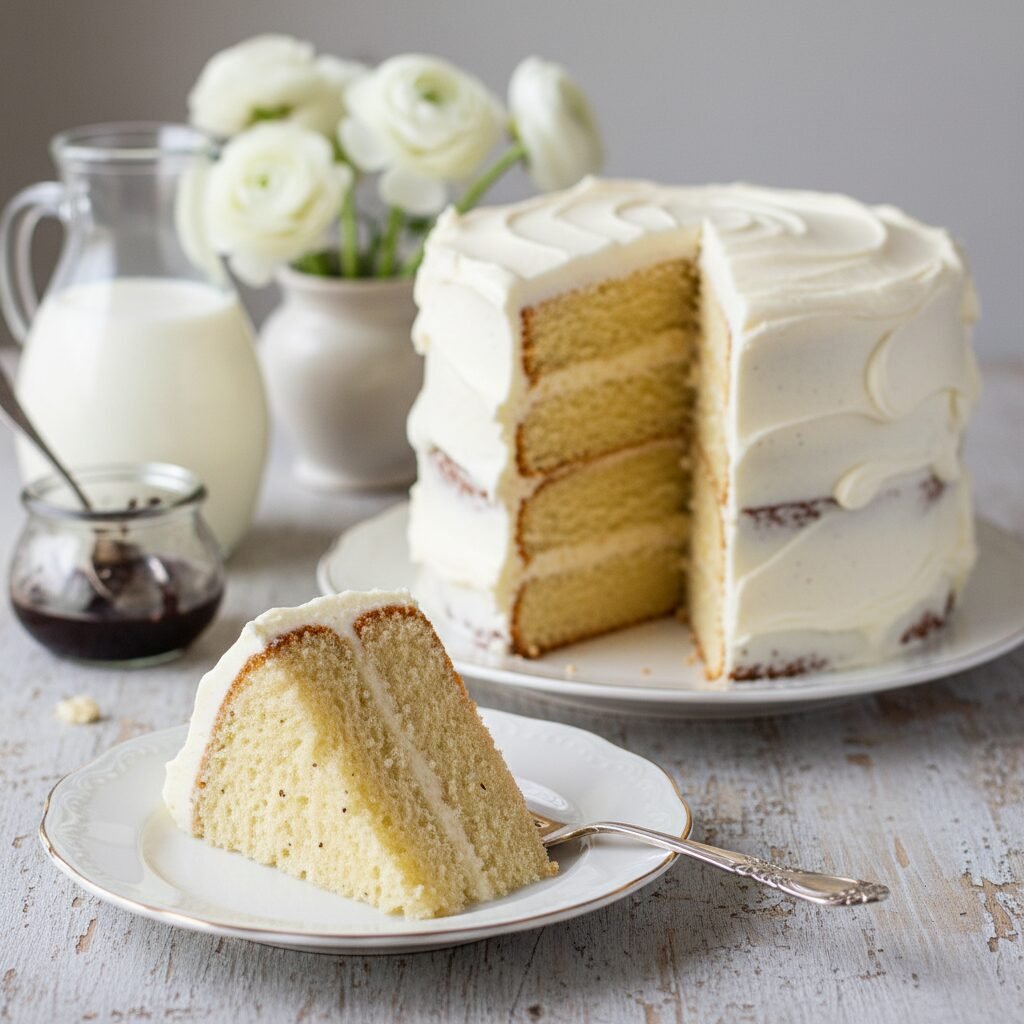
Discover the secret to the perfect crumb with this foolproof moist vanilla layer cake recipe designed specifically for 8-inch pans. It offers a tender, melt-in-your-mouth texture and a robust vanilla flavor that serves as the perfect canvas for any frosting.
30 minutes
35 minutes
1 hour 5 minutes
12-14 servings
Dessert
Baking
American
Vegetarian
For years, I have been on an obsessive quest to find the holy grail of baking: the perfect moist vanilla layer cake. You might think chocolate cake is the hardest to master, but vanilla leaves you nowhere to hide. Every nuance of texture, every subtle note of flavor, and the precise crumb structure is on full display. This recipe is the culmination of countless trials, errors, and taste tests. It is designed specifically for the home baker who wants professional bakery results using standard 8-inch pans. The magic lies in the balance of ingredients. We are not just throwing flour and sugar together; we are engineering a structure that can hold moisture without becoming dense. This cake features a plush, velvety crumb that stays soft for days, thanks to a unique combination of butter for flavor and oil for lasting moisture. The addition of sour cream adds a tang that cuts through the sweetness while tenderizing the gluten strands. Whether you are baking for a birthday, a wedding, or just a Tuesday afternoon craving, this vanilla cake delivers a sophisticated flavor profile that pairs beautifully with everything from rich chocolate ganache to light berry compotes. It is sturdy enough to stack but delicate enough to melt in your mouth. Get ready to ditch the box mix forever because once you taste the depth of real vanilla bean paste and high-quality butter in this scratch-made masterpiece, there is simply no going back.
History & Origins
The history of the vanilla cake is deeply intertwined with the evolution of baking technology and the global spice trade. While cakes have existed since ancient times, often as sweetened bread-like concoctions, the light, fluffy layer cakes we know today are a relatively modern invention. In the early days, cakes were leavened with yeast or by mechanically beating eggs to trap air, similar to a sponge cake. It wasn’t until the mid-19th century, with the invention of baking powder, that butter cakes began to take on the consistent, high-rising texture we adore. Vanilla itself, derived from the orchids of the genus Vanilla, was originally cultivated by Totonac people of Mexico and later the Aztecs. It was introduced to Europe by Spanish conquistadors in the 16th century, but for a long time, it was an exclusive luxury reserved for nobility and the extremely wealthy. It wasn’t until the mid-19th century that vanilla became more accessible to the general public, cementing its status as the default flavoring for desserts in the West. The concept of the ‘white cake’ or ‘yellow cake’ became a staple in American culinary history, evolving through decades of community cookbooks and family recipe cards. This specific iteration pays homage to the classic American butter cake but updates it with modern food science principles—specifically the ‘reverse creaming’ method popularized in the late 20th century—to ensure a texture that our ancestors could only dream of.
Why This Recipe Works
This recipe succeeds where many others fail because it meticulously addresses the two biggest complaints about homemade vanilla cake: dryness and lack of flavor. First, we tackle moisture. Butter is essential for that classic flavor, but it contains water which evaporates during baking, leading to dryness. Oil, on the other hand, is 100% fat and remains liquid at room temperature, coating the flour proteins to prevent toughness. By using a blend of both butter and vegetable oil, we get the best of both worlds: the rich taste of butter and the enduring moistness of oil. Furthermore, we utilize sour cream. The acidity in sour cream reacts with the baking soda (if used) and tenderizes the gluten, resulting in a finer crumb. We also use cake flour instead of all-purpose flour. Cake flour has a lower protein content (usually around 7-9%), which means less gluten formation. This ensures the cake is tender rather than chewy. Finally, the method matters. We avoid over-mixing by alternating wet and dry ingredients, which prevents the development of tough gluten networks. The result is a cake that is structurally sound for layering yet incredibly soft to the bite.
Why You’ll Love This Recipe
- ✓Uses a blend of butter and oil for superior moisture and flavor.
- ✓Specifically scaled for standard 8-inch cake pans.
- ✓Incorporates sour cream for a tender, velvety crumb.
- ✓Robust vanilla flavor using vanilla bean paste.
- ✓Sturdy enough for fondant or heavy buttercream.
- ✓Stays fresh and moist for up to 4 days.
Equipment You’ll Need
- ✓Two 8-inch round cake pans
- ✓Stand mixer with paddle attachment or electric hand mixer
- ✓Mixing bowls
- ✓Digital kitchen scale
- ✓Sifter or fine-mesh sieve
- ✓Rubber spatula
- ✓Wire cooling rack
- ✓Parchment paper
- ✓Measuring cups and spoons
Ingredients
- ✓2 1/2 cups (300g) Cake flour, sifted
- ✓2 cups (400g) Granulated white sugar
- ✓1 tbsp Baking powder
- ✓1/2 tsp Salt
- ✓3/4 cup (170g) Unsalted butter, room temperature and cut into cubes
- ✓1/4 cup (60ml) Vegetable oil (or canola oil)
- ✓1 cup (240ml) Whole milk, room temperature
- ✓1/2 cup (120g) Full-fat sour cream, room temperature
- ✓3 Large eggs, room temperature
- ✓2 tsp Vanilla bean paste (or high-quality vanilla extract)
Instructions
- Preheat your oven to 350°F (175°C). Grease two 8-inch round cake pans with butter or baking spray, line the bottoms with parchment paper, and grease the parchment. Dust with a little flour and tap out the excess.
- In the bowl of a stand mixer fitted with the paddle attachment, sift together the cake flour, granulated sugar, baking powder, and salt. Mix on low speed for about 30 seconds to combine.
- Add the room temperature cubed butter and the vegetable oil to the dry ingredients. Mix on low speed until the mixture resembles coarse sand or damp breadcrumbs. This method, known as reverse creaming, coats the flour particles in fat to inhibit gluten formation.
- In a separate medium bowl or large measuring cup, whisk together the eggs, sour cream, milk, and vanilla bean paste until fully combined and smooth.
- With the mixer on low speed, slowly pour in about 1/2 of the liquid mixture. Turn the speed up to medium-high and beat for exactly 2 minutes. This step builds the cake’s structure and aerates the batter.
- Scrape down the sides and bottom of the bowl with a rubber spatula to ensure no dry ingredients are stuck. Reduce the mixer speed to low and add the remaining liquid mixture in two batches, mixing for about 15-20 seconds after each addition, just until combined. Do not overmix.
- Divide the batter evenly between the two prepared cake pans. Use a digital scale for precision if desired (approx. 600g-650g per pan). Tap the pans gently on the counter 2-3 times to release any large air bubbles.
- Bake in the preheated oven for 30-35 minutes, or until a toothpick inserted into the center comes out clean or with just a few moist crumbs attached. The tops should be a pale golden brown.
- Remove the cakes from the oven and allow them to cool in the pans for 10-15 minutes. This helps them set and makes them easier to remove.
- Invert the cakes onto a wire cooling rack, peel off the parchment paper, and flip them right-side up to cool completely before frosting.
Expert Cooking Tips
- ✓Room temperature ingredients are non-negotiable. Cold eggs or milk will cause the batter to curdle and result in a dense cake.
- ✓Weigh your flour using a kitchen scale. Scooping with a cup often leads to packing too much flour, which dries out the cake.
- ✓Don’t skip the parchment paper. It guarantees your cake layers come out perfectly intact every time.
- ✓Tap the pans on the counter before baking to remove large air bubbles, ensuring an even crumb structure.
- ✓If you notice the tops browning too quickly before the center is cooked, tent the pans loosely with aluminum foil.
Substitutions and Variations
Baking is a science, so substitutions should be made with caution, but there are some flexible areas. If you cannot find cake flour, you can make a DIY version by measuring 1 cup of all-purpose flour, removing 2 tablespoons, and replacing them with 2 tablespoons of cornstarch. Sift this mixture 3-4 times to aerate it. For the sour cream, full-fat plain Greek yogurt is an excellent substitute that provides similar acidity and moisture. If you prefer to avoid vegetable oil, you can substitute it with an equal amount of melted coconut oil, though this may impart a slight coconut flavor. For the milk, whole milk is best for fat content, but 2% can work in a pinch; avoid skim milk as it lacks the necessary richness. Gluten-free 1:1 baking flour blends usually work well with this recipe, though the texture may be slightly different.
Common Mistakes to Avoid
The most common mistake is overmixing the batter after adding the wet ingredients. Once the flour is hydrated, mixing stimulates gluten development. While you want some structure, too much mixing creates a tough, chewy bread-like texture rather than a tender cake. Another frequent error is opening the oven door too early. Doing so releases heat and can cause the cake to collapse in the center before the structure has set. Wait until at least 25 minutes have passed before peeking. Additionally, using old baking powder can result in a flat cake; always check the expiration date. Finally, frosting a warm cake is a disaster waiting to happen; the butter in the frosting will melt, causing the layers to slide. Ensure the cake is completely cool to the touch.
Serving Suggestions
This versatile vanilla cake is a blank canvas for flavors. For a classic birthday cake, pair it with a rich chocolate Swiss meringue buttercream. For a lighter, summer vibe, fill the layers with lemon curd and frost with a whipped vanilla bean mascarpone cream, garnished with fresh strawberries or raspberries. It also pairs exceptionally well with salted caramel sauce drizzled between layers of cream cheese frosting. Serve slices at room temperature to ensure the butter in the cake is soft and the flavors are at their peak.
Storage and Reheating Tips
To store the unfrosted cake layers, wrap them tightly in plastic wrap once completely cooled. They can be kept at room temperature for up to 2 days. For longer storage, wrap the plastic-wrapped layers in aluminum foil and freeze for up to 3 months. Thaw frozen layers in the refrigerator overnight before using. If the cake is already frosted, it can be stored at room temperature for 2-3 days under a cake dome (unless the filling is perishable like custard or fresh fruit, in which case refrigerate). Refrigerated cake should be brought to room temperature for at least an hour before serving to regain its soft texture.
Nutrition Facts (Estimated)
| Serving Size | 1 slice |
| Calories | 380 |
| Fat | 18g |
| Saturated Fat | 10g |
| Unsaturated Fat | 7g |
| Trans Fat | 0g |
| Cholesterol | 65mg |
| Sodium | 210mg |
| Carbohydrates | 52g |
| Fiber | 0.5g |
| Sugar | 28g |
| Protein | 4g |
Frequently Asked Questions
Can I make this recipe into cupcakes?
Yes, absolutely. This batter makes excellent cupcakes. Line a muffin tin with liners and fill them about 2/3 full. Bake at 350°F (175°C) for 18-22 minutes. The recipe yields approximately 24 standard cupcakes.
Why did my cake sink in the middle?
Cakes usually sink due to underbaking or opening the oven door too early. It could also be caused by too much leavening (baking powder) or over-beating the batter which incorporates too much air that the structure can’t support.
Can I use salted butter instead of unsalted?
You can, but you lose control over the salt content. If you only have salted butter, reduce the added salt in the recipe to 1/4 teaspoon.
How do I get flat cake layers?
You can use ‘cake strips’ wrapped around the outside of the pan to insulate the edges, preventing them from cooking faster than the center. Alternatively, just trim the domes off with a serrated knife once cooled.
Can I make this cake ahead of time?
Yes, cake layers are actually easier to frost if they have been baked a day in advance. Wrap them tightly in plastic wrap and store at room temperature or in the fridge overnight.
What is the best frosting for this cake?
Because the cake is sturdy yet tender, it pairs well with American Buttercream, Swiss Meringue Buttercream, or Cream Cheese Frosting. The choice depends on your sweetness preference.
Can I use this recipe for a 9-inch pan?
Yes, you can use two 9-inch pans, but the layers will be thinner. Reduce the baking time to roughly 25-30 minutes and keep an eye on them.
Why do I need both butter and oil?
Butter provides the beloved flavor and fluffy texture when creamed, while oil ensures the cake stays moist for days and doesn’t dry out in the fridge.
Can I double this recipe?
Yes, this recipe doubles well. Ensure you have a large enough mixer bowl (at least 6 quarts) to handle the volume of batter without overflowing.
Is vanilla bean paste necessary?
While not strictly necessary, vanilla bean paste provides a much deeper, truer vanilla flavor and beautiful black specks in the cake. High-quality vanilla extract is a good substitute.
Conclusion
Mastering the perfect vanilla cake is a milestone for any home baker, and with this moist vanilla layer cake recipe for 8-inch pans, you have a reliable, delicious formula you can turn to again and again. The combination of simple techniques and precise ingredients results in a dessert that feels truly special. Whether you dress it up with sprinkles and candles or keep it elegant with fresh flowers and a naked frosting style, this cake is sure to impress. So preheat your oven, gather your ingredients, and get ready to bake the best vanilla cake you’ve ever tasted. Happy baking!

