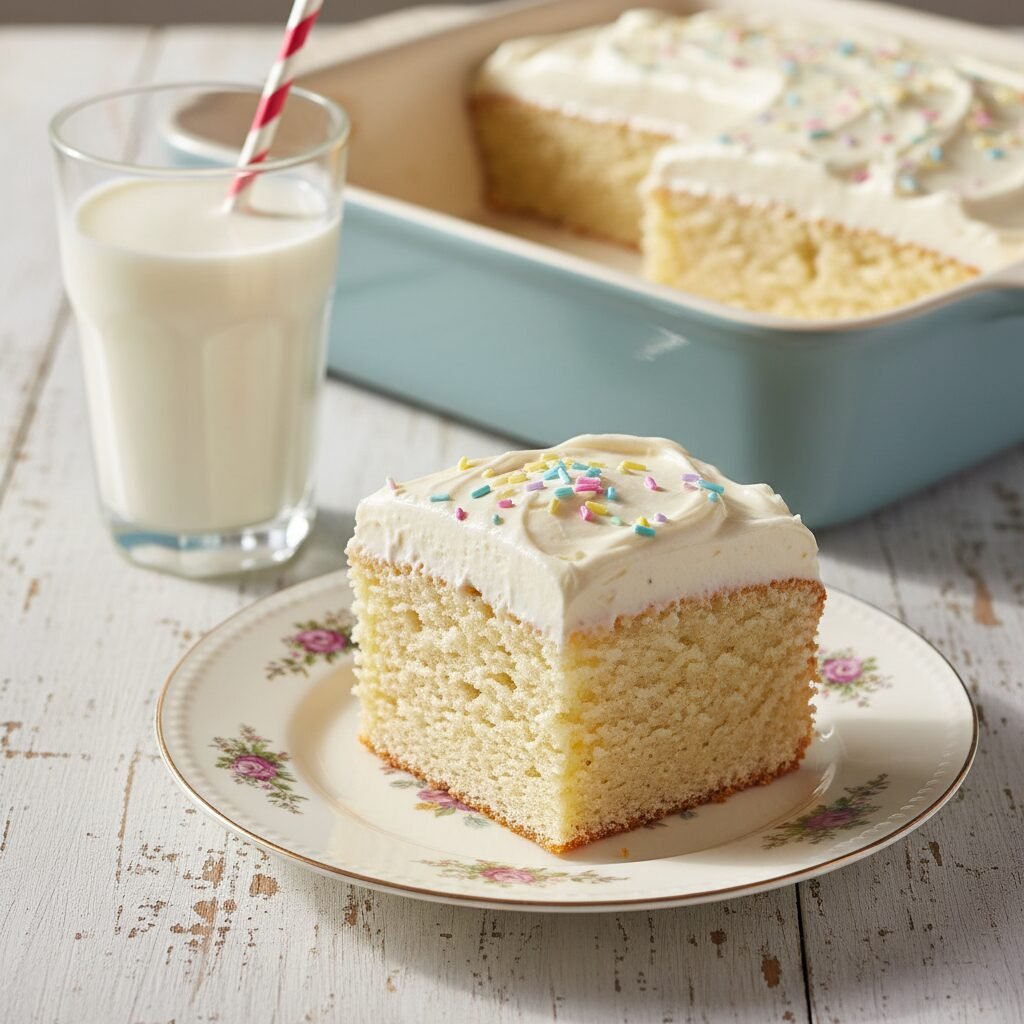
Moist Vanilla Layer Cake For 9×13 Pan Recipe
Discover the secret to the most tender, velvety vanilla cake you’ve ever tasted, perfectly scaled for a standard 9×13 pan. This recipe combines the rich flavor of butter with the lasting moisture of oil, creating a foolproof dessert that steals the show at any potluck or birthday party.
25 minutes
35 minutes
1 hour
12-15 servings
Dessert
Baking
American
Vegetarian
Vanilla cake is often unfairly maligned as the ‘plain’ or ‘boring’ option in a world of decadent chocolates and exotic fruit flavors. However, a truly excellent vanilla cake is a masterpiece of baking chemistry and flavor balance. It should be aromatic, smelling of sweet cream and pure vanilla bean, with a crumb that is tender, plush, and undeniably moist. This Moist Vanilla Layer Cake for a 9×13 pan is designed to banish the memory of every dry, lackluster sheet cake you have ever encountered.
Designed specifically for the home baker who wants bakery-quality results without the fuss of stacking multiple round tiers, this recipe utilizes the trusty 9×13 rectangular pan—the workhorse of American kitchens. Whether you are baking for a child’s birthday party, a church potluck, or a simple Sunday family dinner, this cake delivers consistent perfection. We have engineered the batter to ensure it rises evenly, stays moist for days, and possesses a sturdy enough structure to hold up to generous swirls of buttercream or rich ganache. The magic lies in the specific combination of fats and the use of buttermilk, which we will explore in depth. Prepare to fall in love with vanilla all over again; this isn’t just a cake, it’s a celebration of simple, high-quality ingredients coming together to create comfort food at its finest.
History & Origins
The history of the cake is a long and evolving journey, but the concept of the ‘vanilla cake’ as we know it is relatively modern. For centuries, cakes were yeast-leavened, more akin to sweetened breads like brioche or panettone. It wasn’t until the mid-19th century, with the invention of chemical leaveners like baking soda and baking powder, that the light, fluffy ‘butter cakes’ became possible. These agents allowed batters to rise quickly and reliably in the oven without the long fermentation times required by yeast.
Vanilla itself has a storied past. Native to Mexico and cultivated by the Totonac people and later the Aztecs, it was introduced to Europe by Spanish conquistadors. For a long time, it was an exclusive luxury, used primarily to flavor chocolate drinks for nobility. It wasn’t until the mid-19th century, when hand-pollination techniques were discovered, that vanilla became more accessible. By the 20th century, vanilla extract had become a pantry staple in American households.
The 9×13 pan, often made of Pyrex or aluminum, became an icon of mid-century American suburban life. Following World War II, the rise of casual entertaining, backyard barbecues, and community potlucks solidified the ‘sheet cake’ or ‘tray bake’ as a cultural phenomenon. It was easier to transport and serve than a precarious multi-layered round cake. This recipe honors that tradition of communal sharing while elevating the humble sheet cake with modern understanding of food science, bridging the gap between 1950s convenience and 21st-century gourmet expectations.
Why This Recipe Works
This recipe succeeds where many others fail due to a specific ‘hybrid fat’ approach. Many vanilla cake recipes use strictly butter, which provides excellent flavor but can lead to a dry texture if overbaked or refrigerated. Others rely solely on oil, which guarantees moisture but lacks that distinct, creamy buttery taste. This recipe uses both: unsalted butter brings the rich, nostalgic flavor, while a neutral oil ensures the crumb remains soft and moist days after baking. Oil is liquid at room temperature, meaning it coats the flour proteins better and prevents the cake from drying out.
Furthermore, we utilize cake flour instead of all-purpose flour. Cake flour has a lower protein content (usually around 7-9%), which limits gluten development. Less gluten means a softer, more tender crumb that melts in your mouth. The addition of buttermilk is another crucial factor; its acidity reacts with the baking soda to create lift and tenderness, while also breaking down long strands of gluten. Finally, the ‘reverse creaming’ technique—or a modified version where we ensure the fat coats the flour before adding liquids—can be used, but even with the standard creaming method provided here, the high ratio of sugar and liquid ensures a plush texture. We also use a generous amount of pure vanilla extract, because in a vanilla cake, the flavor cannot be subtle—it needs to sing.
Why You’ll Love This Recipe
- ✓Uses a blend of butter and oil for superior flavor and lasting moisture.
- ✓Perfectly scaled for a standard 9×13 inch baking pan.
- ✓Features buttermilk for a tender, velvety crumb.
- ✓Stays soft and delicious for up to 4 days at room temperature.
- ✓Versatile base that pairs with chocolate, fruit, or vanilla frostings.
- ✓Simple preparation method suitable for beginner bakers.
Equipment You’ll Need
- ✓9×13 inch baking pan (metal preferred)
- ✓Stand mixer or electric hand mixer
- ✓Large mixing bowl
- ✓Medium mixing bowl
- ✓Whisk
- ✓Rubber spatula
- ✓Measuring cups and spoons
- ✓Wire cooling rack
- ✓Parchment paper
Ingredients
- ✓2 1/2 cups (300g) cake flour, sifted (spoon and leveled)
- ✓2 cups (400g) granulated sugar
- ✓2 1/2 teaspoons baking powder
- ✓1/2 teaspoon baking soda
- ✓1 teaspoon salt
- ✓3/4 cup (170g) unsalted butter, softened to room temperature
- ✓1/4 cup (60ml) vegetable oil or canola oil
- ✓3 large eggs, room temperature
- ✓2 large egg whites, room temperature
- ✓1 tablespoon pure vanilla extract
- ✓1 cup (240ml) buttermilk, room temperature
Instructions
- Preheat your oven to 350°F (175°C). Grease a 9×13 inch baking pan generously with butter or non-stick spray. For extra insurance, line the bottom with parchment paper leaving an overhang on the sides for easy removal.
- In a medium bowl, whisk together the sifted cake flour, baking powder, baking soda, and salt. Set this dry mixture aside.
- In the bowl of a stand mixer fitted with the paddle attachment (or a large bowl using a hand mixer), beat the softened butter and granulated sugar on medium-high speed for about 3-4 minutes. The mixture should look pale, fluffy, and aerated.
- Pour in the vegetable oil and vanilla extract. Beat for another minute until fully incorporated.
- Reduce the mixer speed to medium-low. Add the eggs and egg whites one at a time, beating well after each addition. Stop to scrape down the sides and bottom of the bowl with a rubber spatula to ensure everything is mixing evenly.
- Reduce the mixer speed to low. Add the flour mixture in three parts, alternating with the buttermilk in two parts, starting and ending with the flour (Flour -> Buttermilk -> Flour -> Buttermilk -> Flour).
- Mix only until the last streak of flour just disappears. Do not overmix at this stage, or the cake will become dense.
- Give the batter a final stir by hand with the spatula to catch any unmixed bits at the bottom of the bowl. The batter should be smooth and velvety.
- Pour the batter into the prepared 9×13 pan and spread it into an even layer. Tap the pan gently on the counter once or twice to release any large air bubbles.
- Bake in the center of the preheated oven for 30-35 minutes. The cake is done when the top is light golden brown, the edges pull away slightly from the pan, and a toothpick inserted into the center comes out clean or with just a few moist crumbs.
- Remove from the oven and place the pan on a wire cooling rack. Allow the cake to cool completely in the pan before frosting. This usually takes about 1 to 1.5 hours.
Expert Cooking Tips
- ✓Room temperature ingredients are non-negotiable. Cold eggs or buttermilk can cause the batter to curdle, affecting the rise.
- ✓If you don’t have cake flour, you can make a substitute: measure 1 cup of all-purpose flour, remove 2 tablespoons, and replace with 2 tablespoons of cornstarch. Sift well.
- ✓Do not overmix the batter once the flour is added. Overmixing develops gluten, resulting in a tough, bread-like texture.
- ✓Use a metal baking pan for sharper edges and more even heat conduction. Glass pans retain heat longer and can sometimes overbake the edges while the center is still raw.
- ✓Weigh your flour if possible. Using a kitchen scale (300g) is far more accurate than cups, preventing a dry cake.
- ✓For an extra white cake crumb, you can use clear vanilla extract, though pure vanilla extract offers a superior, natural flavor.
- ✓Check the cake at the 30-minute mark to prevent overbaking; every oven is slightly different.
Substitutions and Variations
Baking is a science, but there is some room for flexibility if you are in a pinch. As mentioned, cake flour can be substituted with an all-purpose flour and cornstarch blend (DIY cake flour). If you do not have buttermilk, you can make a ‘sour milk’ substitute by adding 1 tablespoon of white vinegar or lemon juice to a measuring cup and filling it to the 1-cup line with whole milk; let it sit for 5 minutes before using. While we recommend unsalted butter to control sodium, you can use salted butter and simply reduce the added salt in the recipe to 1/4 teaspoon. Vegetable oil can be swapped for any neutral oil like canola, grapeseed, or even melted coconut oil (though coconut oil may impart a slight flavor). We use a combination of whole eggs and egg whites for structure and lightness; using only whole eggs (4 total) creates a richer, yellower cake, while using only egg whites (6 total) creates a very white, delicate cake.
Common Mistakes to Avoid
The most common mistake is measuring flour incorrectly. If you scoop the measuring cup directly into the flour bag, you compact the flour and can end up with up to 25% more than the recipe calls for, leading to a dry, dense brick. Always use the ‘spoon and level’ method or a scale. Another error is using cold ingredients; the emulsion of butter and sugar breaks if cold eggs are introduced, leading to a greasy or flat cake. Opening the oven door too frequently during baking can cause the temperature to fluctuate and the cake to collapse in the center. Finally, rushing the cooling process is a mistake; frosting a warm cake will cause the buttercream to melt and slide off, ruining the presentation.
Serving Suggestions
This versatile vanilla cake pairs beautifully with almost any frosting. For a classic birthday cake, top it with a fluffy Chocolate Buttercream or a rich Vanilla Bean Swiss Meringue Buttercream. If you want something lighter for summer, a Whipped Cream Cheese Frosting with fresh berries (strawberries, raspberries, or blueberries) is delightful. You can also serve it warm with a scoop of vanilla ice cream and a drizzle of salted caramel sauce. Because it is a sturdy sheet cake, it transports easily, making it perfect for cutting into squares and serving on napkins at casual gatherings.
Storage and Reheating Tips
This cake has excellent keeping qualities thanks to the oil content. An unfrosted cake can be wrapped tightly in plastic wrap and stored at room temperature for up to 2 days. Once frosted, it can stay at room temperature for 3 days (unless the frosting contains cream cheese or whipped cream, in which case it must be refrigerated). To keep the cut edges from drying out, press a piece of plastic wrap directly against the exposed cake crumb. For long-term storage, the cake freezes beautifully. Wrap individual slices or the whole slab in plastic wrap, then a layer of aluminum foil, and freeze for up to 3 months. Thaw at room temperature before serving.
Nutrition Facts (Estimated)
| Serving Size | 1 slice (1/15th of cake) |
| Calories | 320 |
| Fat | 14g |
| Saturated Fat | 6g |
| Unsaturated Fat | 8g |
| Trans Fat | 0g |
| Cholesterol | 45mg |
| Sodium | 180mg |
| Carbohydrates | 45g |
| Fiber | 0.5g |
| Sugar | 22g |
| Protein | 4g |
Frequently Asked Questions
Can I bake this recipe in round pans instead of a 9×13?
Yes, absolutely. This batter fits perfectly into two 8-inch round pans or two 9-inch round pans. For 8-inch pans, bake for roughly 30-35 minutes. For 9-inch pans, check around 25-30 minutes. The layers will be nice and tall.
Why did my cake sink in the middle?
Sinking usually happens if the cake was underbaked (the structure wasn’t set), the oven door was opened too early, or there was too much leavening (baking powder/soda). Ensure your oven temperature is accurate using an oven thermometer.
Can I make this cake ahead of time?
Yes! In fact, the flavor and texture often improve the next day as the moisture redistributes. You can bake it one day before serving, cover it tightly, and frost it on the day of the event.
Is it necessary to use both baking powder and baking soda?
Yes. Baking powder provides the primary lift, while baking soda reacts specifically with the acidic buttermilk to tenderize the crumb and help with browning. Omitting one will affect the texture and rise.
Can I make this gluten-free?
You can substitute the cake flour with a high-quality 1:1 gluten-free baking flour blend that contains xanthan gum. However, the texture might be slightly different, as gluten-free flours absorb moisture differently.
Why does the recipe call for oil AND butter?
Butter provides flavor, while oil provides moisture. Butter is 80% fat and 20% water/solids; water evaporates, leading to dryness. Oil is 100% fat and stays liquid, keeping the cake soft.
Can I use a glass pan?
You can, but reduce the oven temperature by 25°F (to 325°F) and keep an eye on it. Glass conducts heat faster and can overcook the edges. Metal pans generally yield better cakes.
How do I know when the cake is perfectly done?
Look for visual cues: the cake should have risen, be golden brown, and the edges should be pulling away from the pan. A toothpick inserted in the center should come out clean or with a few crumbs, but no wet batter.
Conclusion
In the world of baking, mastering a classic vanilla cake is a milestone. This Moist Vanilla Layer Cake for a 9×13 pan offers the perfect intersection of convenience and gourmet quality, proving that you don’t need complicated techniques to achieve professional results. Whether it serves as the canvas for your cake decorating skills or is simply dusted with powdered sugar for a humble treat, this recipe is sure to become a cherished staple in your recipe box. The combination of buttery flavor and melt-in-your-mouth texture is truly timeless. So, preheat your oven, gather your ingredients, and get ready to bake a cake that creates memories, one slice at a time.

