Moist Yellow Layer Cake For Beginners Recipe
Ditch the box mix for good with this foolproof recipe for the most tender, buttery yellow cake you will ever taste. Perfectly paired with rich chocolate buttercream, this classic dessert is surprisingly easy to master and guaranteed to become your new go-to for birthdays and celebrations.
30 minutes
30 minutes
1 hour 15 minutes
12-14 servings
Dessert
Baking
American
Vegetarian
There is something profoundly nostalgic about a classic yellow cake. It is the quintessential birthday flavor, the centerpiece of childhood memories, and the comfort food that never goes out of style. While white cakes are known for their delicate, airy texture and stark color, yellow cake is the warm, inviting hug of the baking world. Its golden hue, derived from rich egg yolks and high-quality butter, promises a depth of flavor that is custard-like and intensely satisfying. For many beginners, the prospect of baking a layer cake from scratch can be daunting. The fear of dry crumbs, sunken centers, or tough textures often drives home bakers back to the safety of the boxed aisle. However, this recipe is designed specifically to dismantle those fears. We have engineered a method that balances the structural integrity needed for layering with a melt-in-your-mouth tenderness that rivals any professional bakery.
This isn’t just another cake recipe; it is a masterclass in baking basics. We utilize specific ingredients like buttermilk and a blend of butter and oil to ensure the cake stays moist for days, not just hours. The crumb is tight yet soft, sturdy enough to hold up to generous swoops of frosting but light enough to leave you wanting a second slice. Whether you are celebrating a milestone or simply craving a slice of homemade happiness on a Tuesday night, this moist yellow layer cake is your ticket to baking success. Forget the artificial aftertaste of preservatives; once you experience the aroma of real vanilla and butter wafting through your kitchen, you will understand exactly why making this from scratch is worth every minute.
History & Origins
The lineage of the modern yellow cake can be traced back to the English pound cakes of the 18th century, which relied on a simple ratio of a pound each of flour, sugar, butter, and eggs. These early cakes were dense and heavy, lacking the chemical leavening agents we use today. As baking technology evolved in the 19th century, the introduction of baking powder and baking soda revolutionized the texture of cakes, allowing for lighter, fluffier creations that didn’t rely solely on the aeration of eggs.
The distinction between ‘white’, ‘yellow’, and ‘gold’ cakes became prominent in American cookbooks during the late 1800s and early 1900s. White cakes utilized only egg whites to achieve a snowy appearance, often reserved for weddings, while yellow or gold cakes utilized the whole egg or extra yolks, resulting in a richer flavor and color. This made yellow cake a practical household staple, as it wasted no part of the expensive ingredients.
By the mid-20th century, with the post-war industrial boom, boxed cake mixes flooded the market, promising consistency and convenience. The ‘yellow cake mix’ became an icon of American suburbia. However, this convenience came at a cost: the loss of the dense, buttery crumb and the authentic custard flavor that only a scratch-made cake can provide. In recent years, there has been a massive resurgence in heritage baking. Home cooks are reclaiming the yellow cake, moving away from the airy, artificial texture of mixes and returning to the substantial, flavorful roots of the classic American butter cake.
Why This Recipe Works
This recipe succeeds where others fail because it meticulously balances fat, liquid, and flour protein to prevent the common pitfall of dryness. First, we use a combination of unsalted butter and vegetable oil. Butter provides that undeniable, classic flavor that defines a yellow cake, while the oil ensures the cake remains moist at room temperature and doesn’t dry out, as oil remains liquid while butter solidifies.
Secondly, the inclusion of buttermilk is non-negotiable. The acidity in the buttermilk reacts with the baking powder and soda to tenderize the gluten strands in the flour, resulting in a soft, velvety crumb rather than a chewy, bread-like texture. We also utilize the ‘creaming method’ but with a specific focus on room-temperature ingredients. Emulsifying the butter and sugar properly creates pockets of air that expand during baking, giving the cake lift.
Finally, the ratio of egg yolks to whites is tweaked. By using whole eggs plus extra yolks, we increase the fat content and emulsifiers (lecithin) in the batter, which contributes to the rich golden color and a texture that is almost pudding-like in its moistness. This structural stability means the layers bake up flat and even, requiring less trimming and making the assembly process much easier for beginners.
Why You’ll Love This Recipe
- ✓Incredibly moist texture that stays fresh for days.
- ✓Rich, buttery vanilla custard flavor profile.
- ✓Sturdy crumb perfect for stacking and frosting.
- ✓Beginner-friendly instructions with high success rate.
- ✓Uses simple pantry staples available at any grocery store.
- ✓Versatile base that pairs with chocolate, vanilla, or fruit frostings.
Equipment You’ll Need
- ✓Two 8-inch or 9-inch round cake pans
- ✓Stand mixer or electric hand mixer
- ✓Large mixing bowls
- ✓Whisk
- ✓Rubber spatula
- ✓Parchment paper
- ✓Wire cooling rack
- ✓Measuring cups and spoons
- ✓Kitchen scale (optional but recommended)
Ingredients
- ✓2 1/2 cups (300g) Cake flour, sifted (spooned and leveled)
- ✓2 teaspoons Baking powder
- ✓1/2 teaspoon Baking soda
- ✓1 teaspoon Salt
- ✓3/4 cup (170g) Unsalted butter, softened to room temperature
- ✓1/4 cup (60ml) Vegetable oil or Canola oil
- ✓1 3/4 cups (350g) Granulated sugar
- ✓3 Large eggs, room temperature
- ✓2 Large egg yolks, room temperature
- ✓1 tablespoon Pure vanilla extract
- ✓1 cup (240ml) Buttermilk, room temperature
Instructions
- Preheat your oven to 350°F (177°C). Grease two 8-inch or 9-inch round cake pans with butter or cooking spray. Line the bottoms with parchment paper circles to guarantee the cakes won’t stick. Dust the sides with a little flour and tap out the excess.
- In a medium bowl, whisk together the cake flour, baking powder, baking soda, and salt until well combined. Set this dry mixture aside.
- In the bowl of a stand mixer fitted with the paddle attachment (or a large bowl using a hand mixer), beat the softened butter, vegetable oil, and granulated sugar on medium-high speed for about 3-4 minutes. The mixture should look pale, fluffy, and aerated. Scrape down the sides and bottom of the bowl as needed.
- Reduce the mixer speed to medium-low. Add the eggs and egg yolks one at a time, beating well after each addition until fully incorporated. Stir in the vanilla extract. Scrape down the bowl again to ensure everything is evenly mixed.
- With the mixer on low speed, add the dry ingredients in three parts, alternating with the buttermilk in two parts. Start with the flour mixture, then buttermilk, then flour, then buttermilk, and end with the flour. (Flour -> Buttermilk -> Flour -> Buttermilk -> Flour).
- Mix only until the last streaks of flour have just disappeared. Do not overmix! Stop the mixer and finish folding the batter gently by hand with a rubber spatula to ensure no flour pockets remain at the bottom.
- Divide the batter evenly between the prepared cake pans. Use a kitchen scale for precision if desired. Smooth the tops with an offset spatula or the back of a spoon.
- Bake for 28-32 minutes, or until a toothpick inserted into the center comes out clean or with just a few moist crumbs attached. The tops should spring back lightly when touched.
- Remove the cakes from the oven and place the pans on a wire rack. Let them cool in the pans for about 15-20 minutes. This settling time is crucial for the structure.
- Invert the cakes onto the wire rack, peel off the parchment paper, and flip them right-side up to cool completely before frosting. Do not attempt to frost warm cakes.
Expert Cooking Tips
- ✓Room temperature ingredients are mandatory. If your butter, eggs, or buttermilk are cold, the batter will curdle and the cake won’t rise properly.
- ✓Measure flour correctly. Use a scale (300g) or the spoon-and-level method. Scooping the cup directly into the flour bag compacts it, leading to a dry cake.
- ✓Don’t overmix the batter once the flour is added. Overmixing activates gluten, making the cake tough instead of tender.
- ✓Use cake flour for the softest crumb. If you only have all-purpose flour, the cake will be slightly denser but still edible.
- ✓Tap the pans on the counter before baking to release any large air bubbles that could cause holes in your cake.
- ✓Check your oven temperature with an external thermometer. Many ovens run hot or cold, which can ruin delicate cakes.
Substitutions and Variations
If you do not have cake flour, you can make a DIY version by measuring 1 cup of all-purpose flour, removing 2 tablespoons, and replacing them with 2 tablespoons of cornstarch. Sift this mixture twice before using. If you don’t have buttermilk, you can make a ‘sour milk’ substitute by adding 1 tablespoon of white vinegar or lemon juice to a measuring cup and filling it to the 1-cup line with whole milk; let it sit for 5-10 minutes until curdled. While vegetable oil is recommended for its neutral flavor, you can use melted coconut oil or grapeseed oil. For a dairy-free version, use a high-quality plant-based butter stick and a dairy-free milk mixed with vinegar (soy milk works best for curdling like buttermilk).
Common Mistakes to Avoid
The most common mistake is rushing the cooling process. Frosting a cake that is even slightly warm will cause the butter in the frosting to melt, leading to sliding layers and a greasy mess. Another frequent error is opening the oven door too early. Checking the cake before the structure is set can cause the center to collapse due to the sudden drop in temperature. Also, using salted butter instead of unsalted can make the cake taste savory; stick to unsalted so you can control the sodium level. Finally, failing to scrape the bowl during mixing results in streaks of unmixed butter or egg, creating uneven textures in the baked cake.
Serving Suggestions
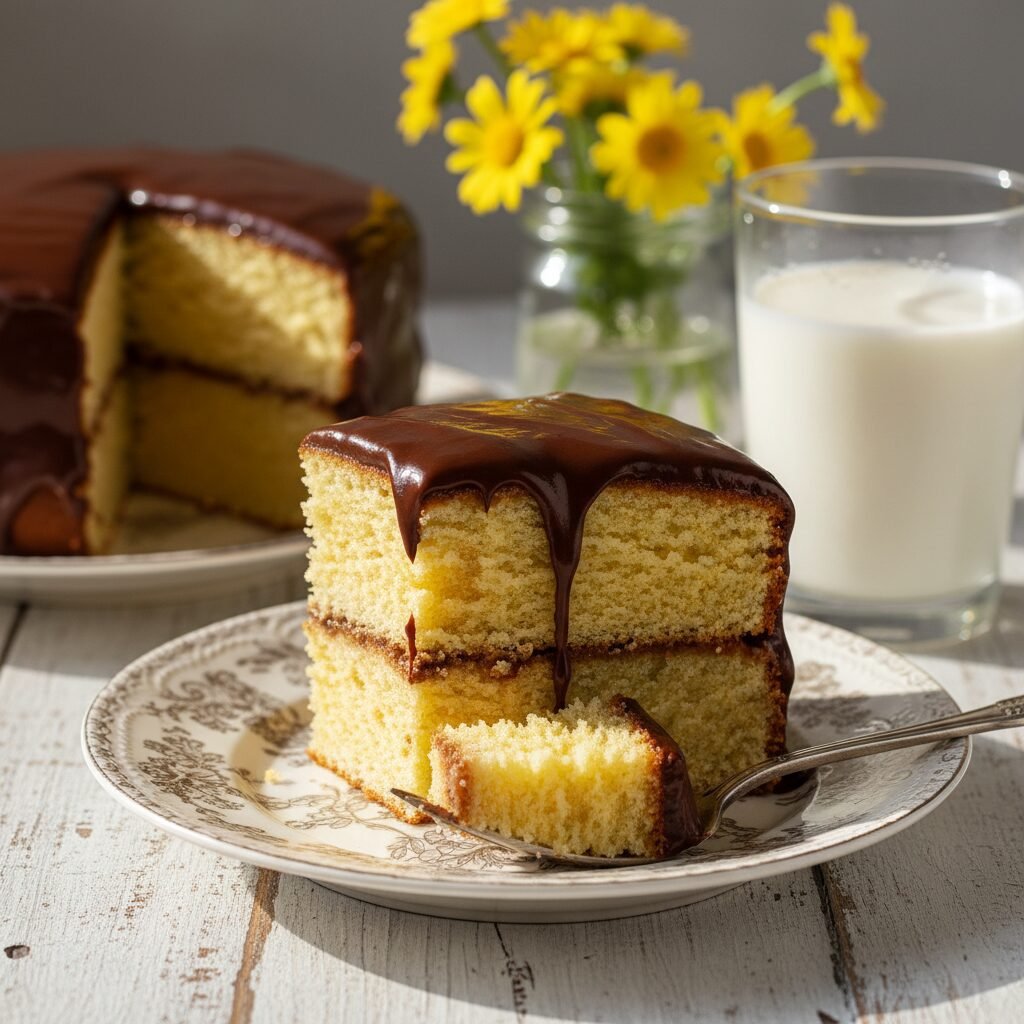
This moist yellow cake is incredibly versatile. For the classic American birthday experience, frost it with a rich Chocolate Fudge Buttercream or a Swiss Meringue Buttercream. If you prefer something lighter, a whipped vanilla bean frosting with fresh berries (strawberries or raspberries) between the layers adds a fresh, tart contrast to the sweet, buttery cake. It is best served at room temperature; cold cake can taste dry and the butter solidifies, masking the flavor. Serve with a cold glass of milk or a hot cup of coffee to cut through the sweetness.
Storage and Reheating Tips
Store the frosted cake at room temperature in an airtight cake carrier for up to 3 days. The sugar and fat content act as preservatives. If you live in a very hot or humid climate, you may need to refrigerate it. If refrigerating, let the slices sit on the counter for 20-30 minutes before eating to return to room temperature texture. To freeze unfrosted layers, wrap them tightly in plastic wrap, then in aluminum foil, and freeze for up to 3 months. Thaw in the refrigerator overnight before frosting. Frosted slices can also be frozen in airtight containers for a quick treat later.
Nutrition Facts (Estimated)
| Serving Size | 1 slice |
| Calories | 520 |
| Fat | 28g |
| Saturated Fat | 14g |
| Unsaturated Fat | 12g |
| Trans Fat | 0g |
| Cholesterol | 95mg |
| Sodium | 310mg |
| Carbohydrates | 68g |
| Fiber | 1g |
| Sugar | 45g |
| Protein | 6g |
Frequently Asked Questions
Why did my cake sink in the middle?
Sinking usually happens if the oven door was opened too early, the oven temperature was too low, or there was too much leavening (baking powder/soda) or liquid in the batter.
Can I make this into cupcakes?
Yes! This recipe makes approximately 24 standard cupcakes. Bake them at 350°F for 18-22 minutes.
Why is my cake dry?
Dryness typically comes from over-baking or measuring the flour incorrectly (packing it into the cup). Always check the cake a few minutes before the timer goes off.
Can I use all-purpose flour instead of cake flour?
You can, but the texture will be slightly heavier and more bread-like. Cake flour has less protein, which ensures the softest, most tender crumb.
Do I have to use oil? Can I use all butter?
You can use all butter, but the oil is a secret weapon for keeping the cake moist for longer. An all-butter cake tends to dry out faster.
Can I freeze the batter?
It is not recommended to freeze the batter as the baking powder begins to react as soon as it gets wet. It’s better to bake the layers, cool them, and then freeze the baked cake.
How do I get flat layers without doming?
You can use ‘cake strips’ soaked in water wrapped around the pans, which cool the sides and promote even baking. Alternatively, lower the oven temp by 25 degrees and bake longer.
My batter looks curdled after adding eggs. Is it ruined?
No, it’s fine! This happens if the eggs were cold. Once you add the flour, the batter will come back together and smooth out perfectly.
Conclusion
Mastering this Moist Yellow Layer Cake recipe is a rite of passage for any home baker, and the rewards are incredibly sweet. By following these steps and understanding the science behind the ingredients, you are not just making a dessert; you are creating a centerpiece for memories. The combination of the tender, golden crumb and the rich, nostalgic flavor is something no box mix can ever replicate. So preheat that oven, grab your whisk, and get ready to impress your friends and family with the best yellow cake they have ever tasted. Happy baking!

